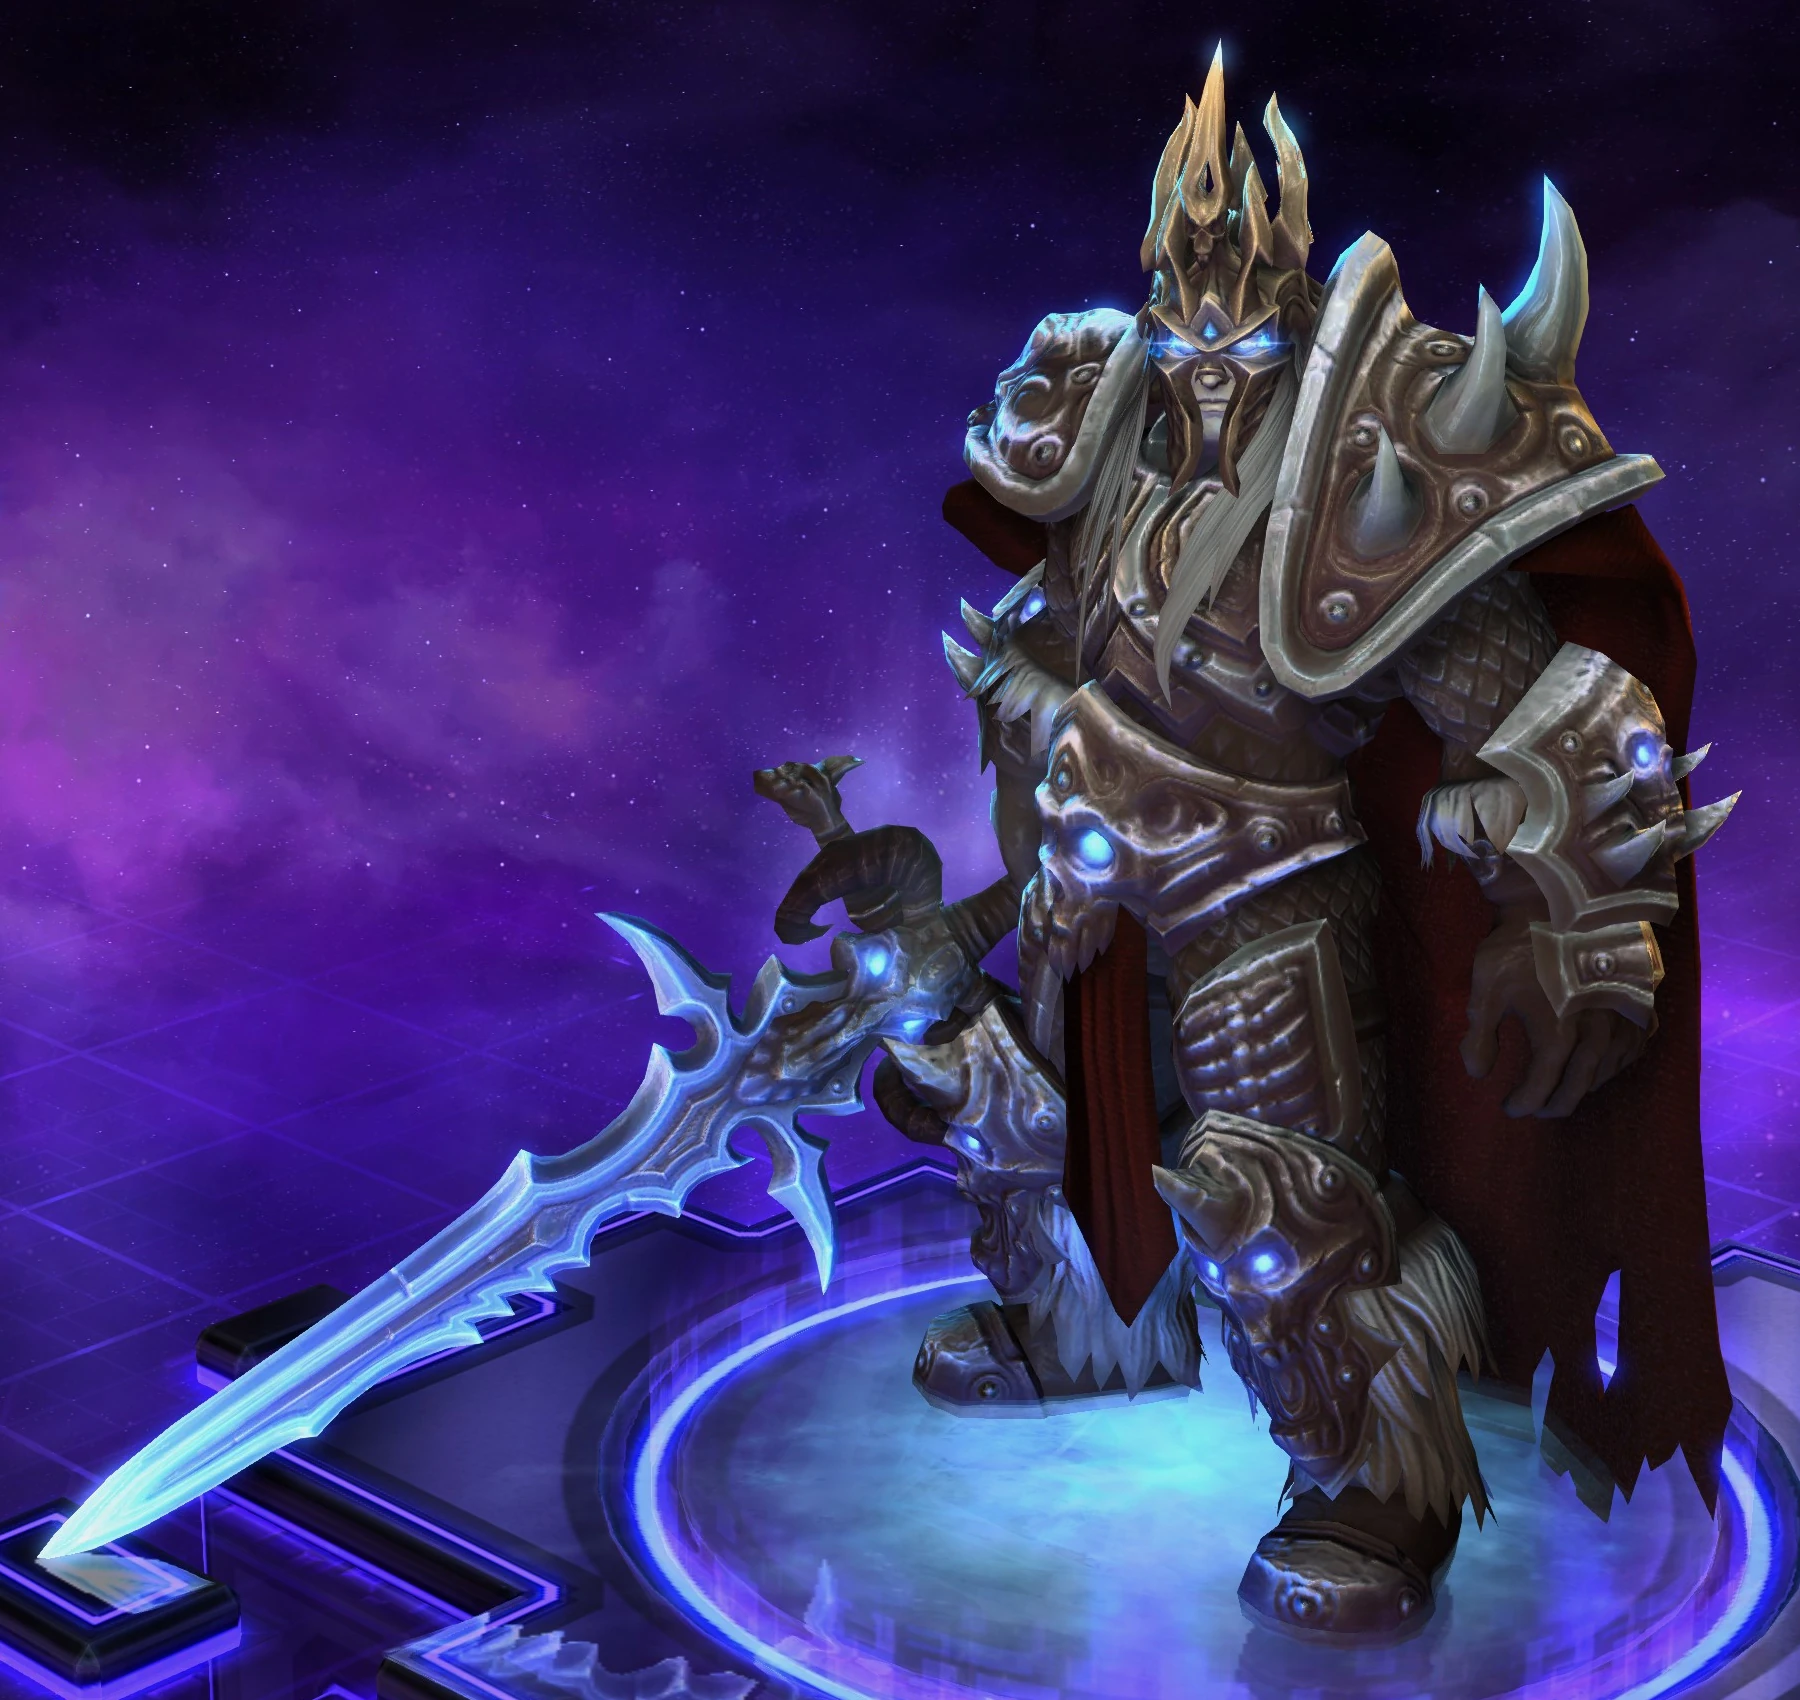
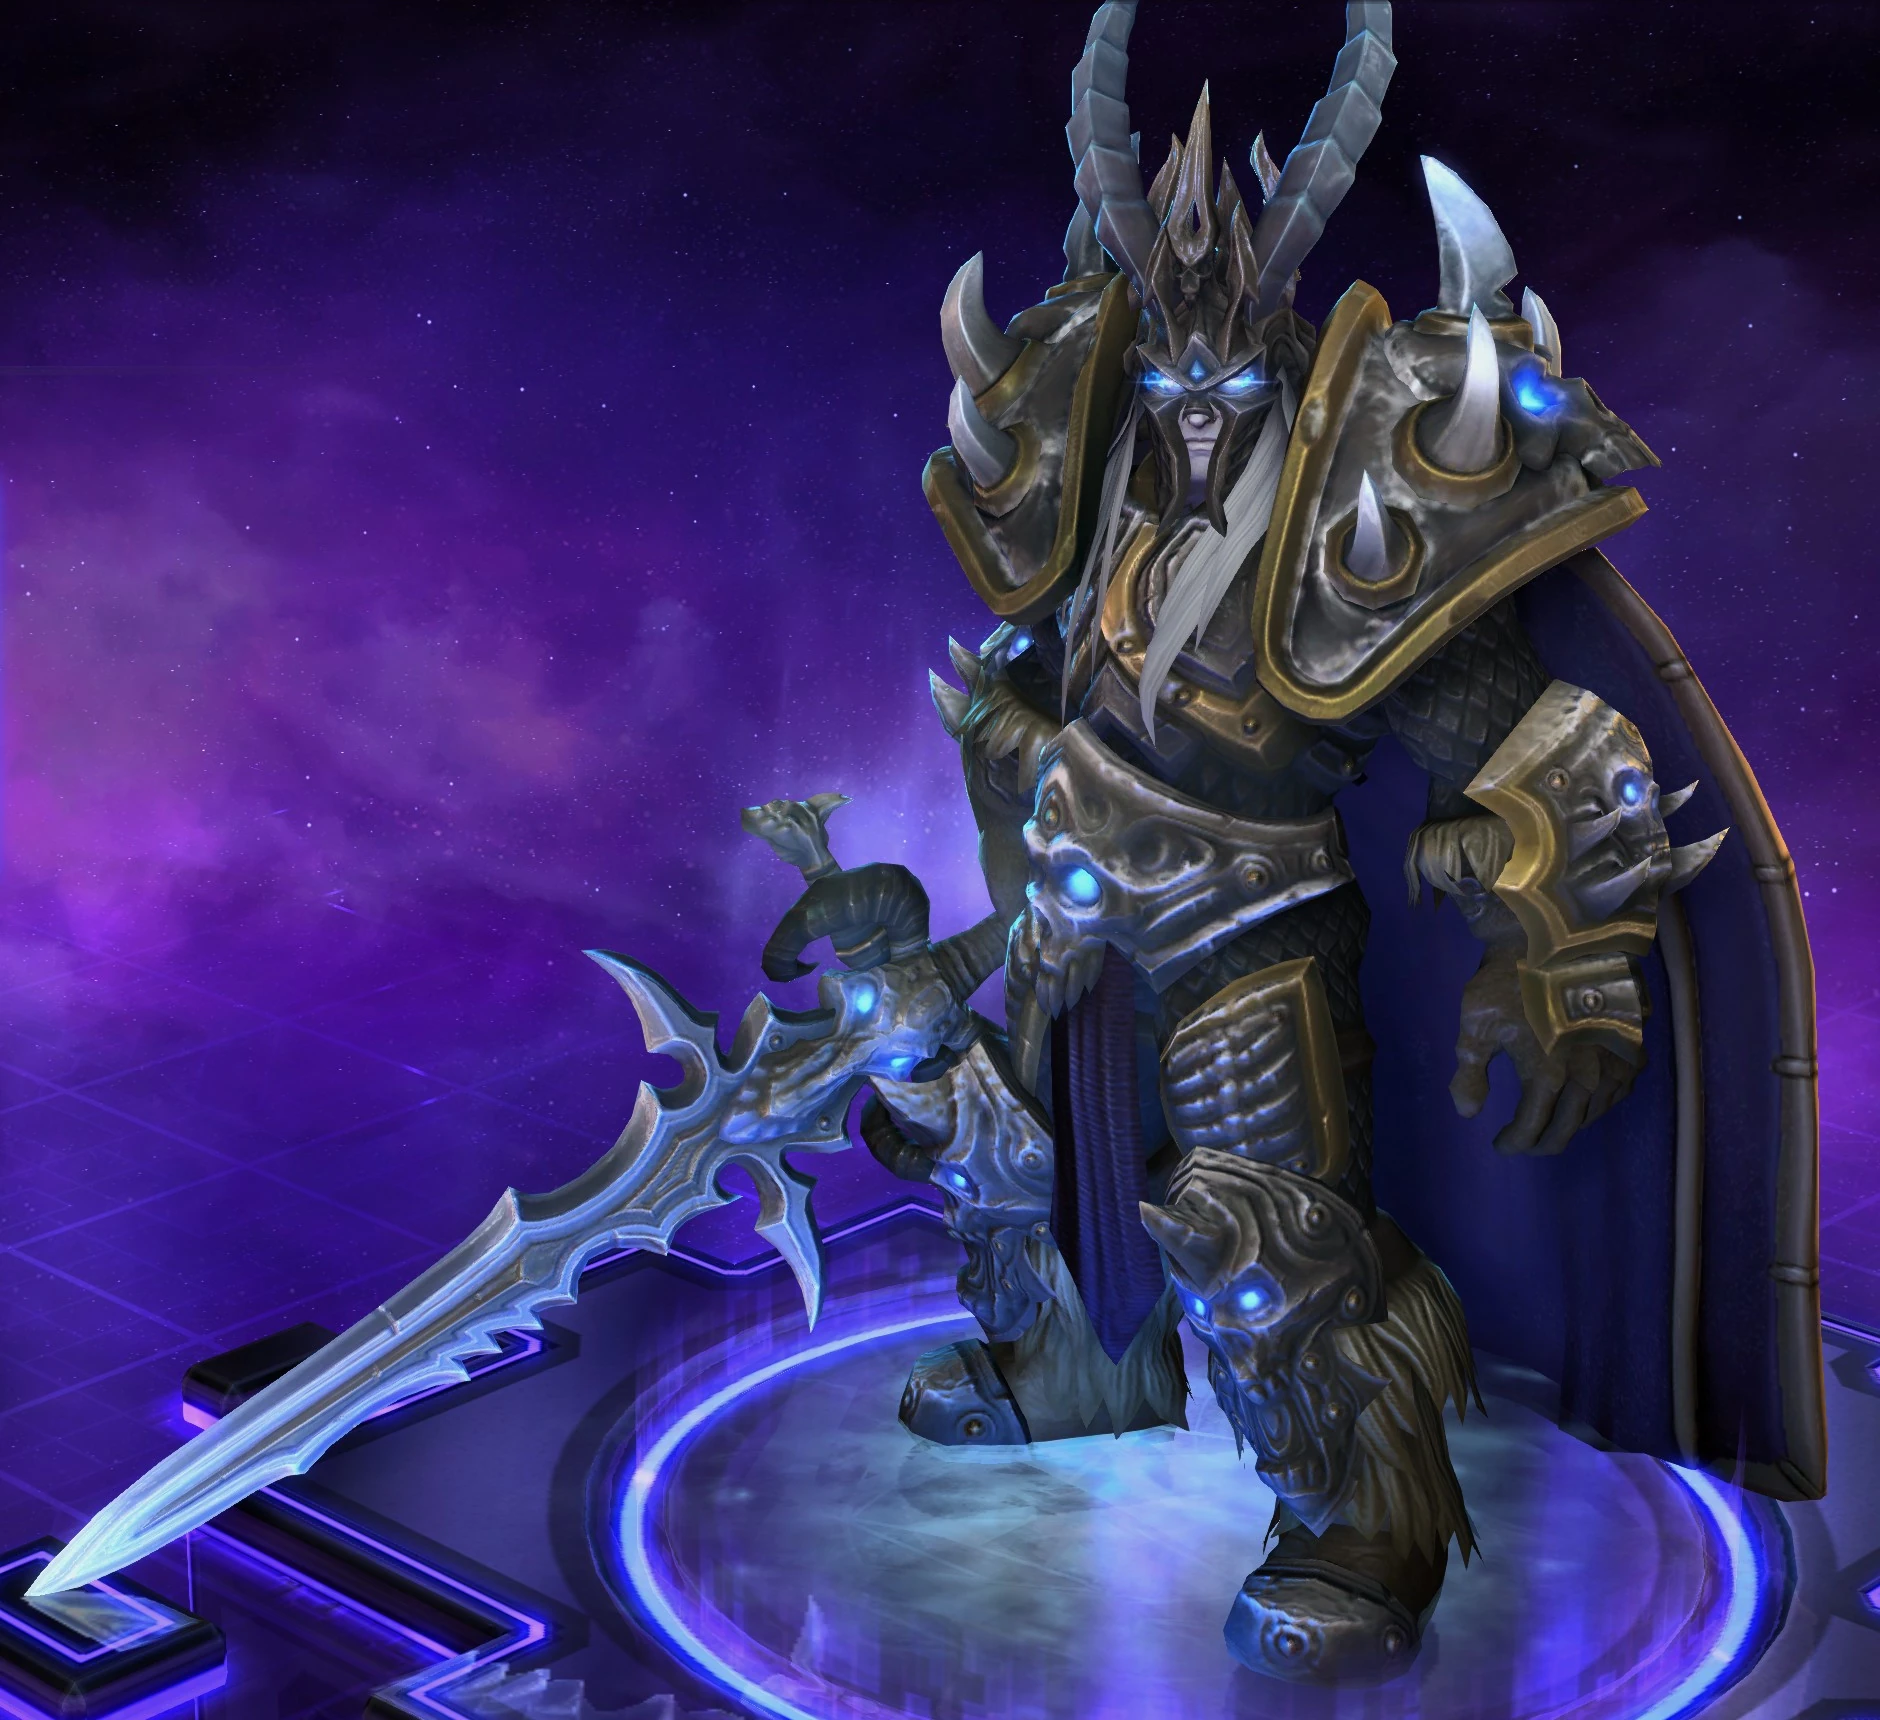
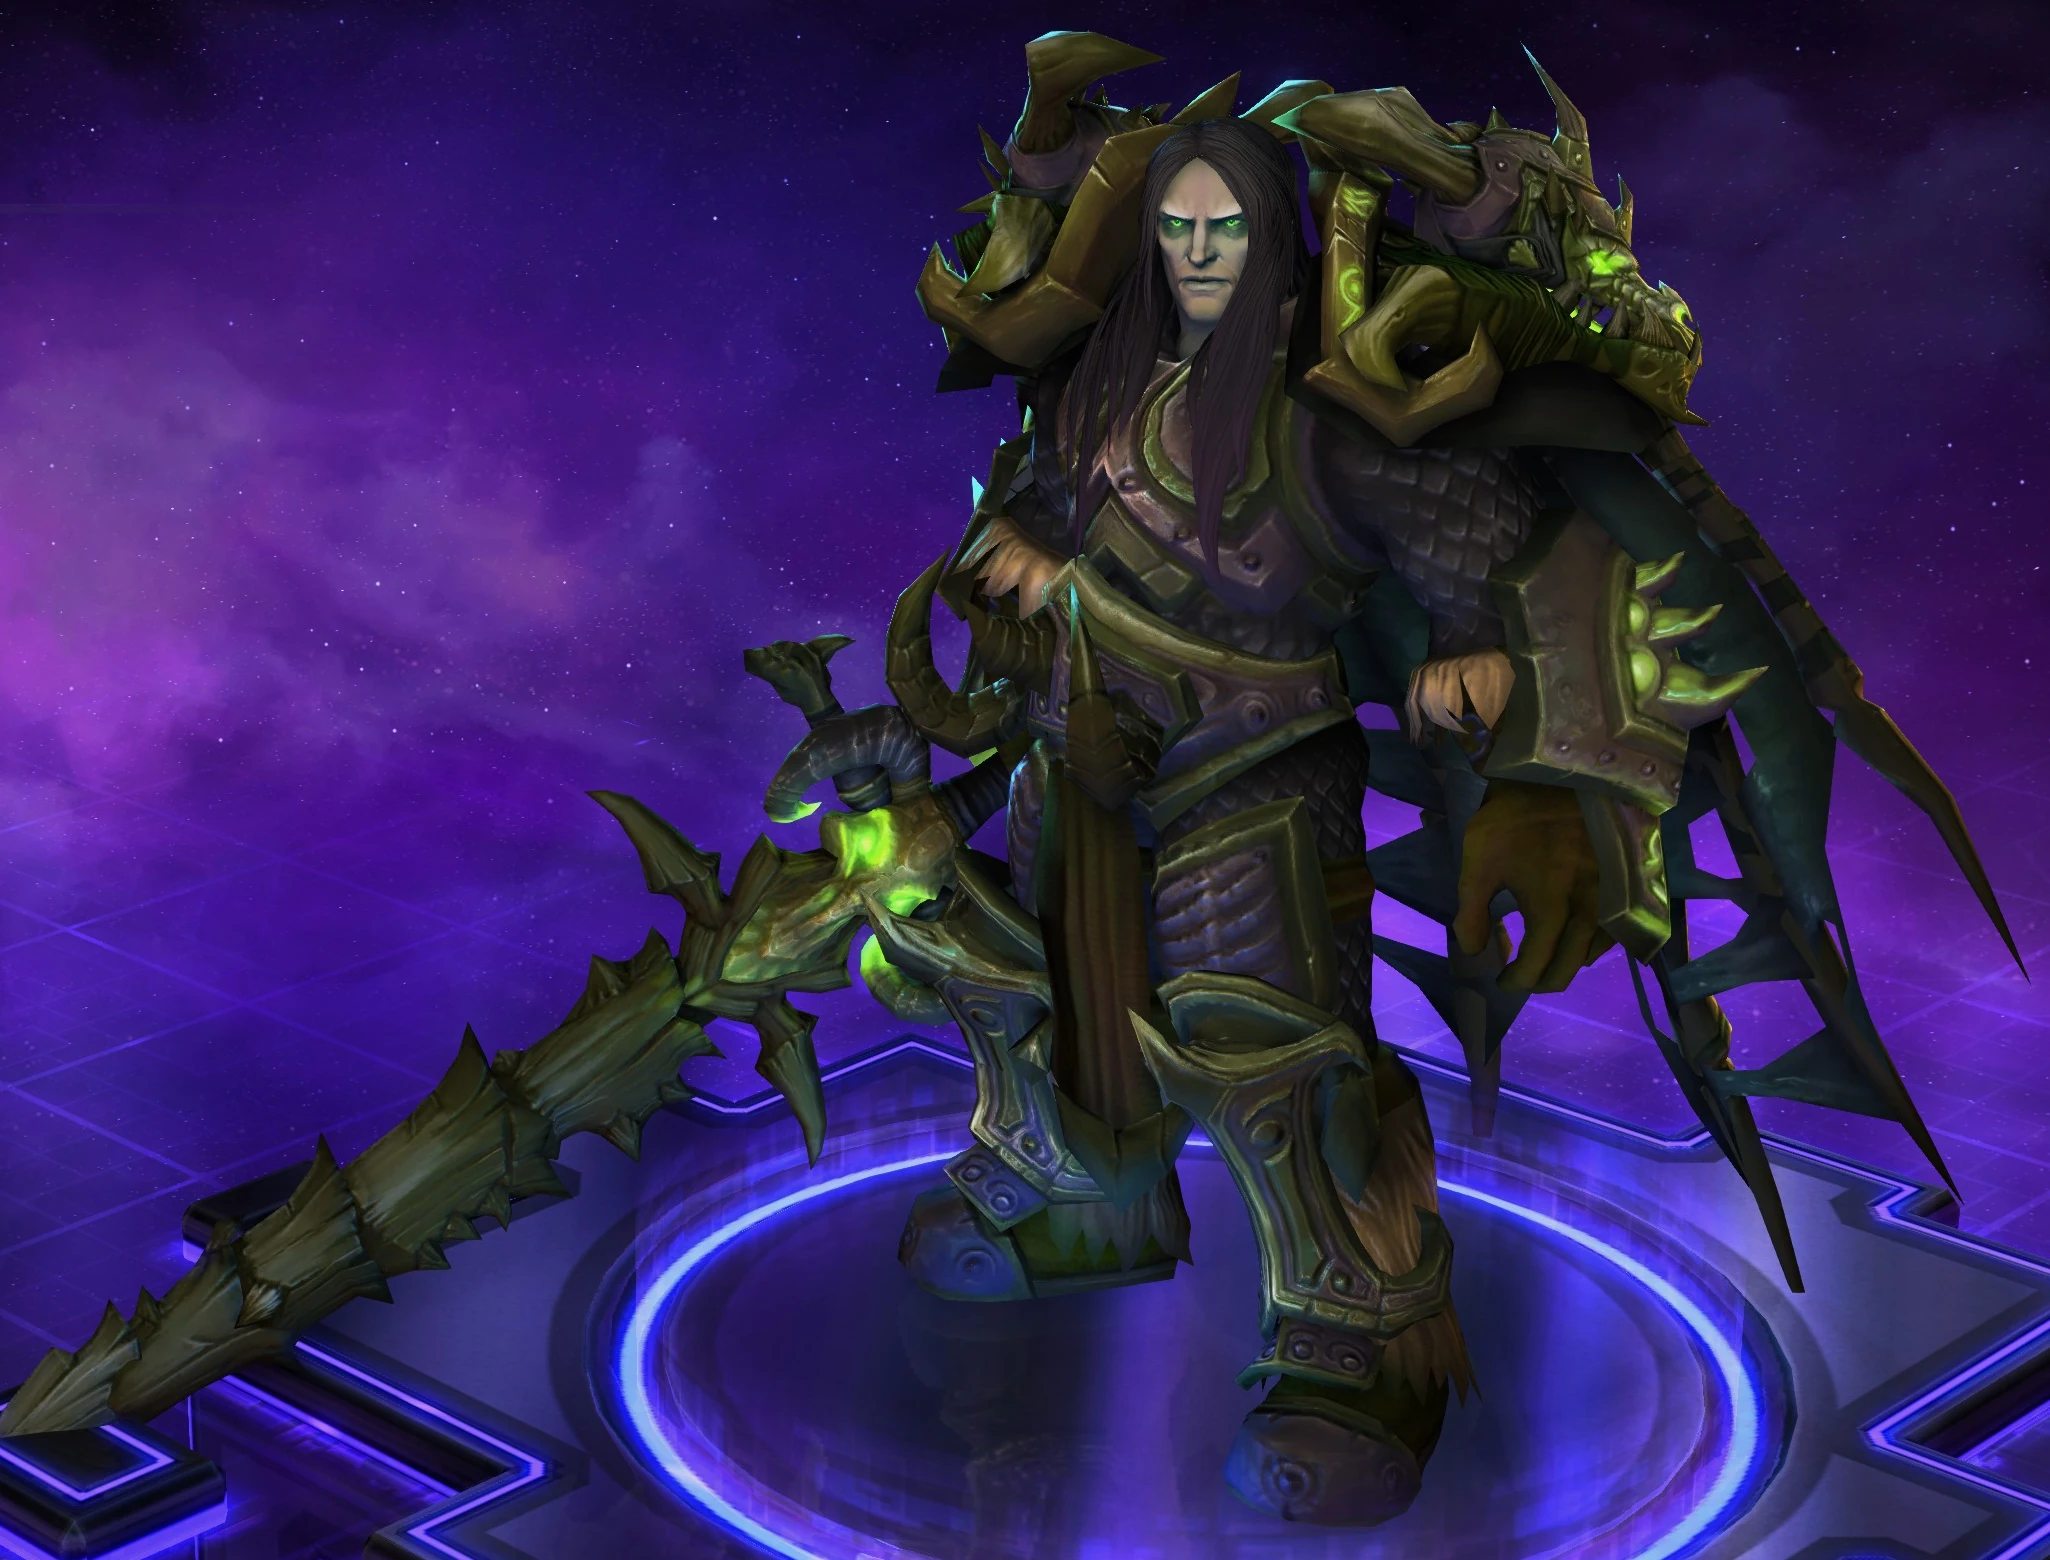
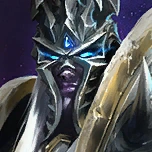
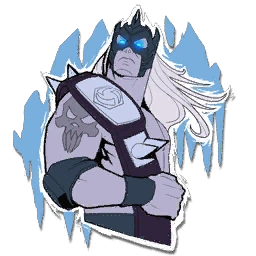
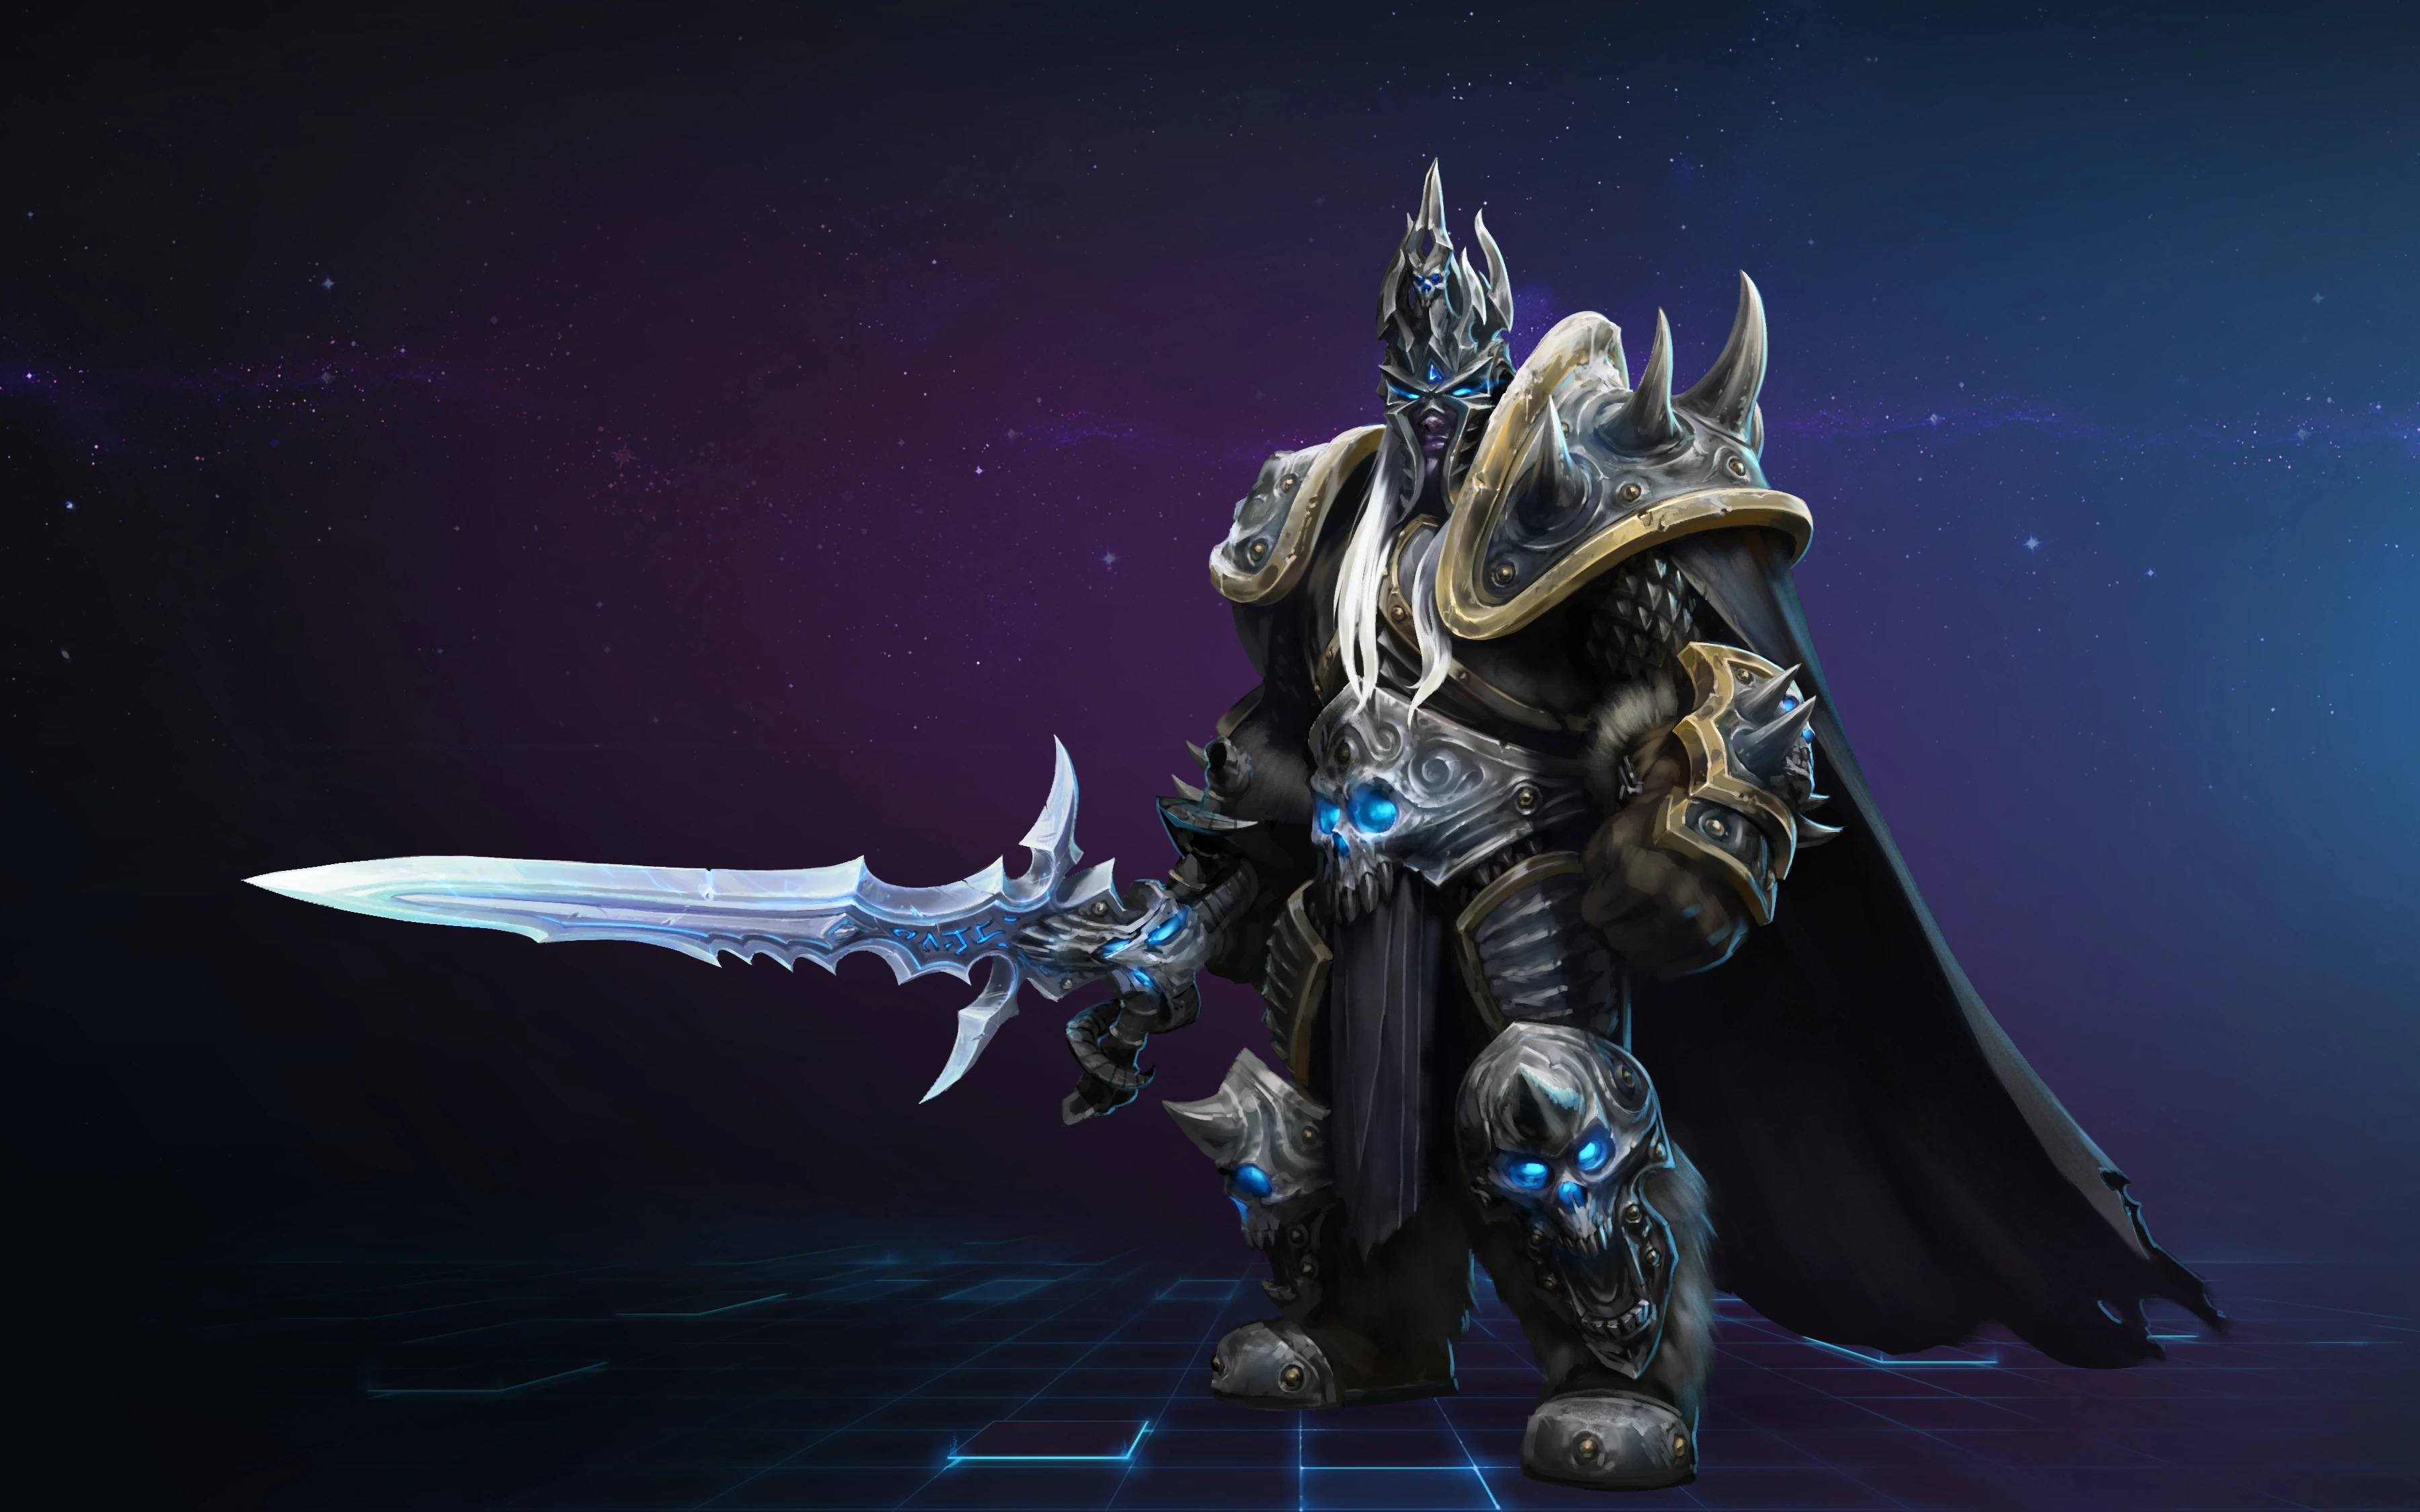
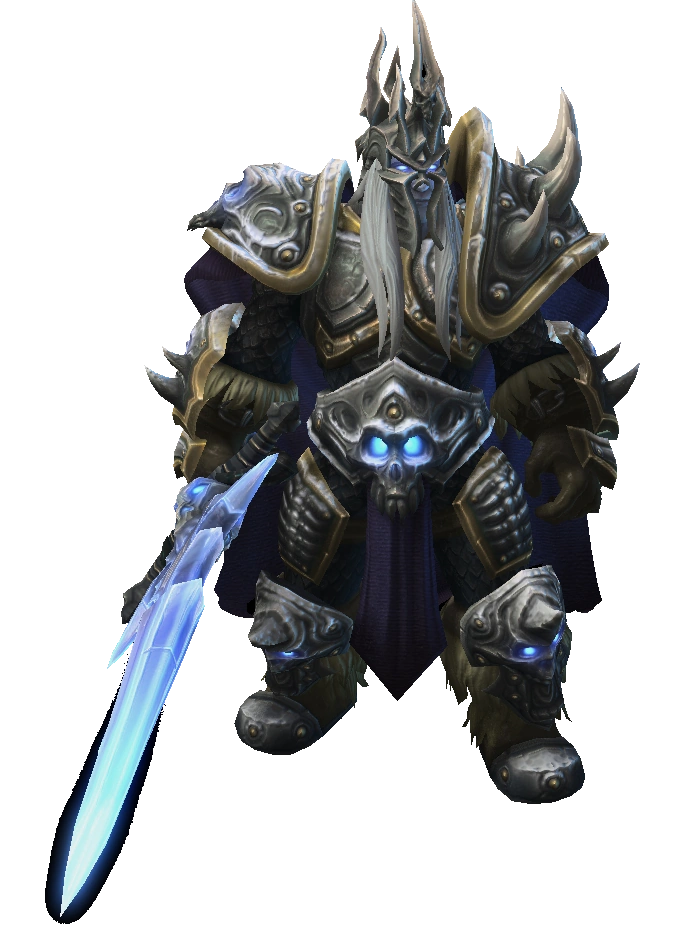
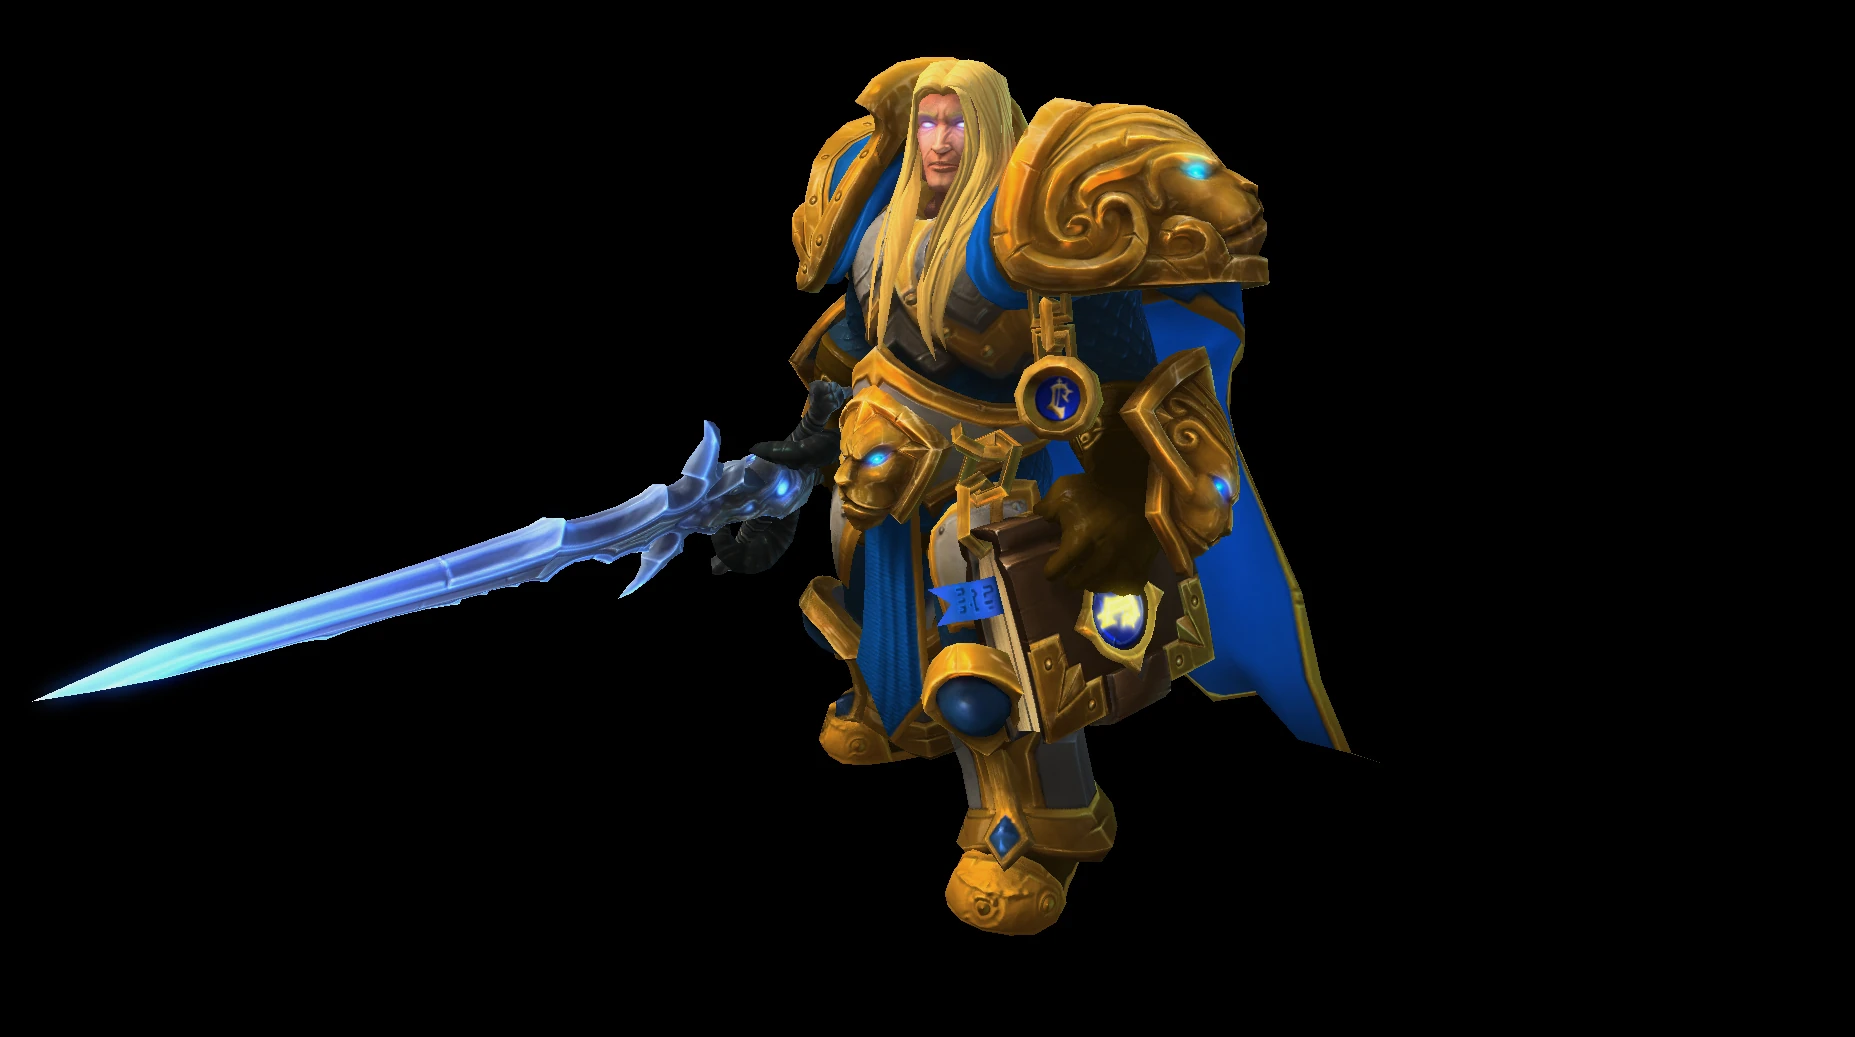
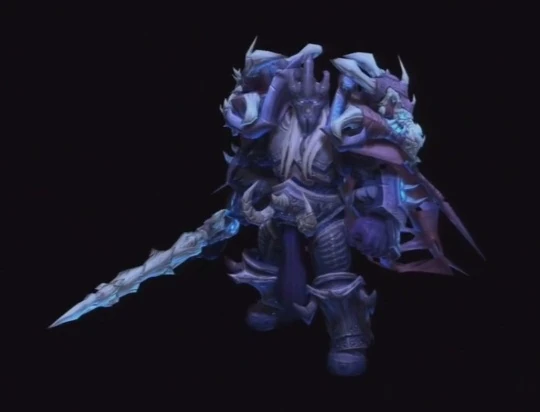
| Arthas | |
|---|---|
"Frostmourne hungers." | |
| Basic Info | |
| Title | The Lich King |
| Role | |
| Difficulty | Medium |
| Franchise | |
| Price | |
| Release Date | March 13, 2014 |
| Base Stats | |
| Attack Type | Melee |
| Health | 2860 |
| Health Regen | 5.957 |
| Resource | 500 Mana |
| Unit Radius | 0.8125 |
| Attack Speed | 1 |
| Attack Range | 2 |
| Attack Damage | 95 |
| Data Page | |
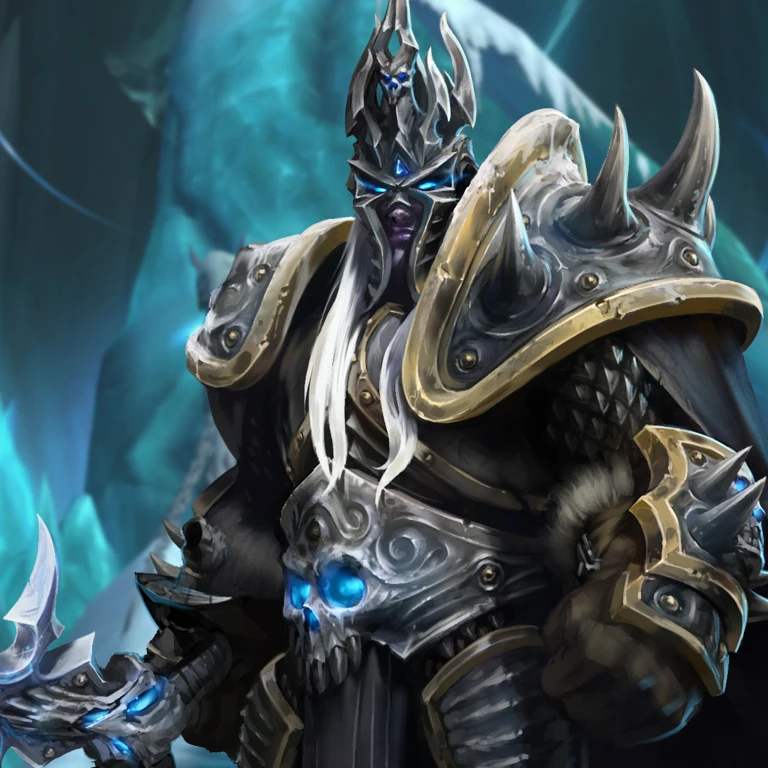
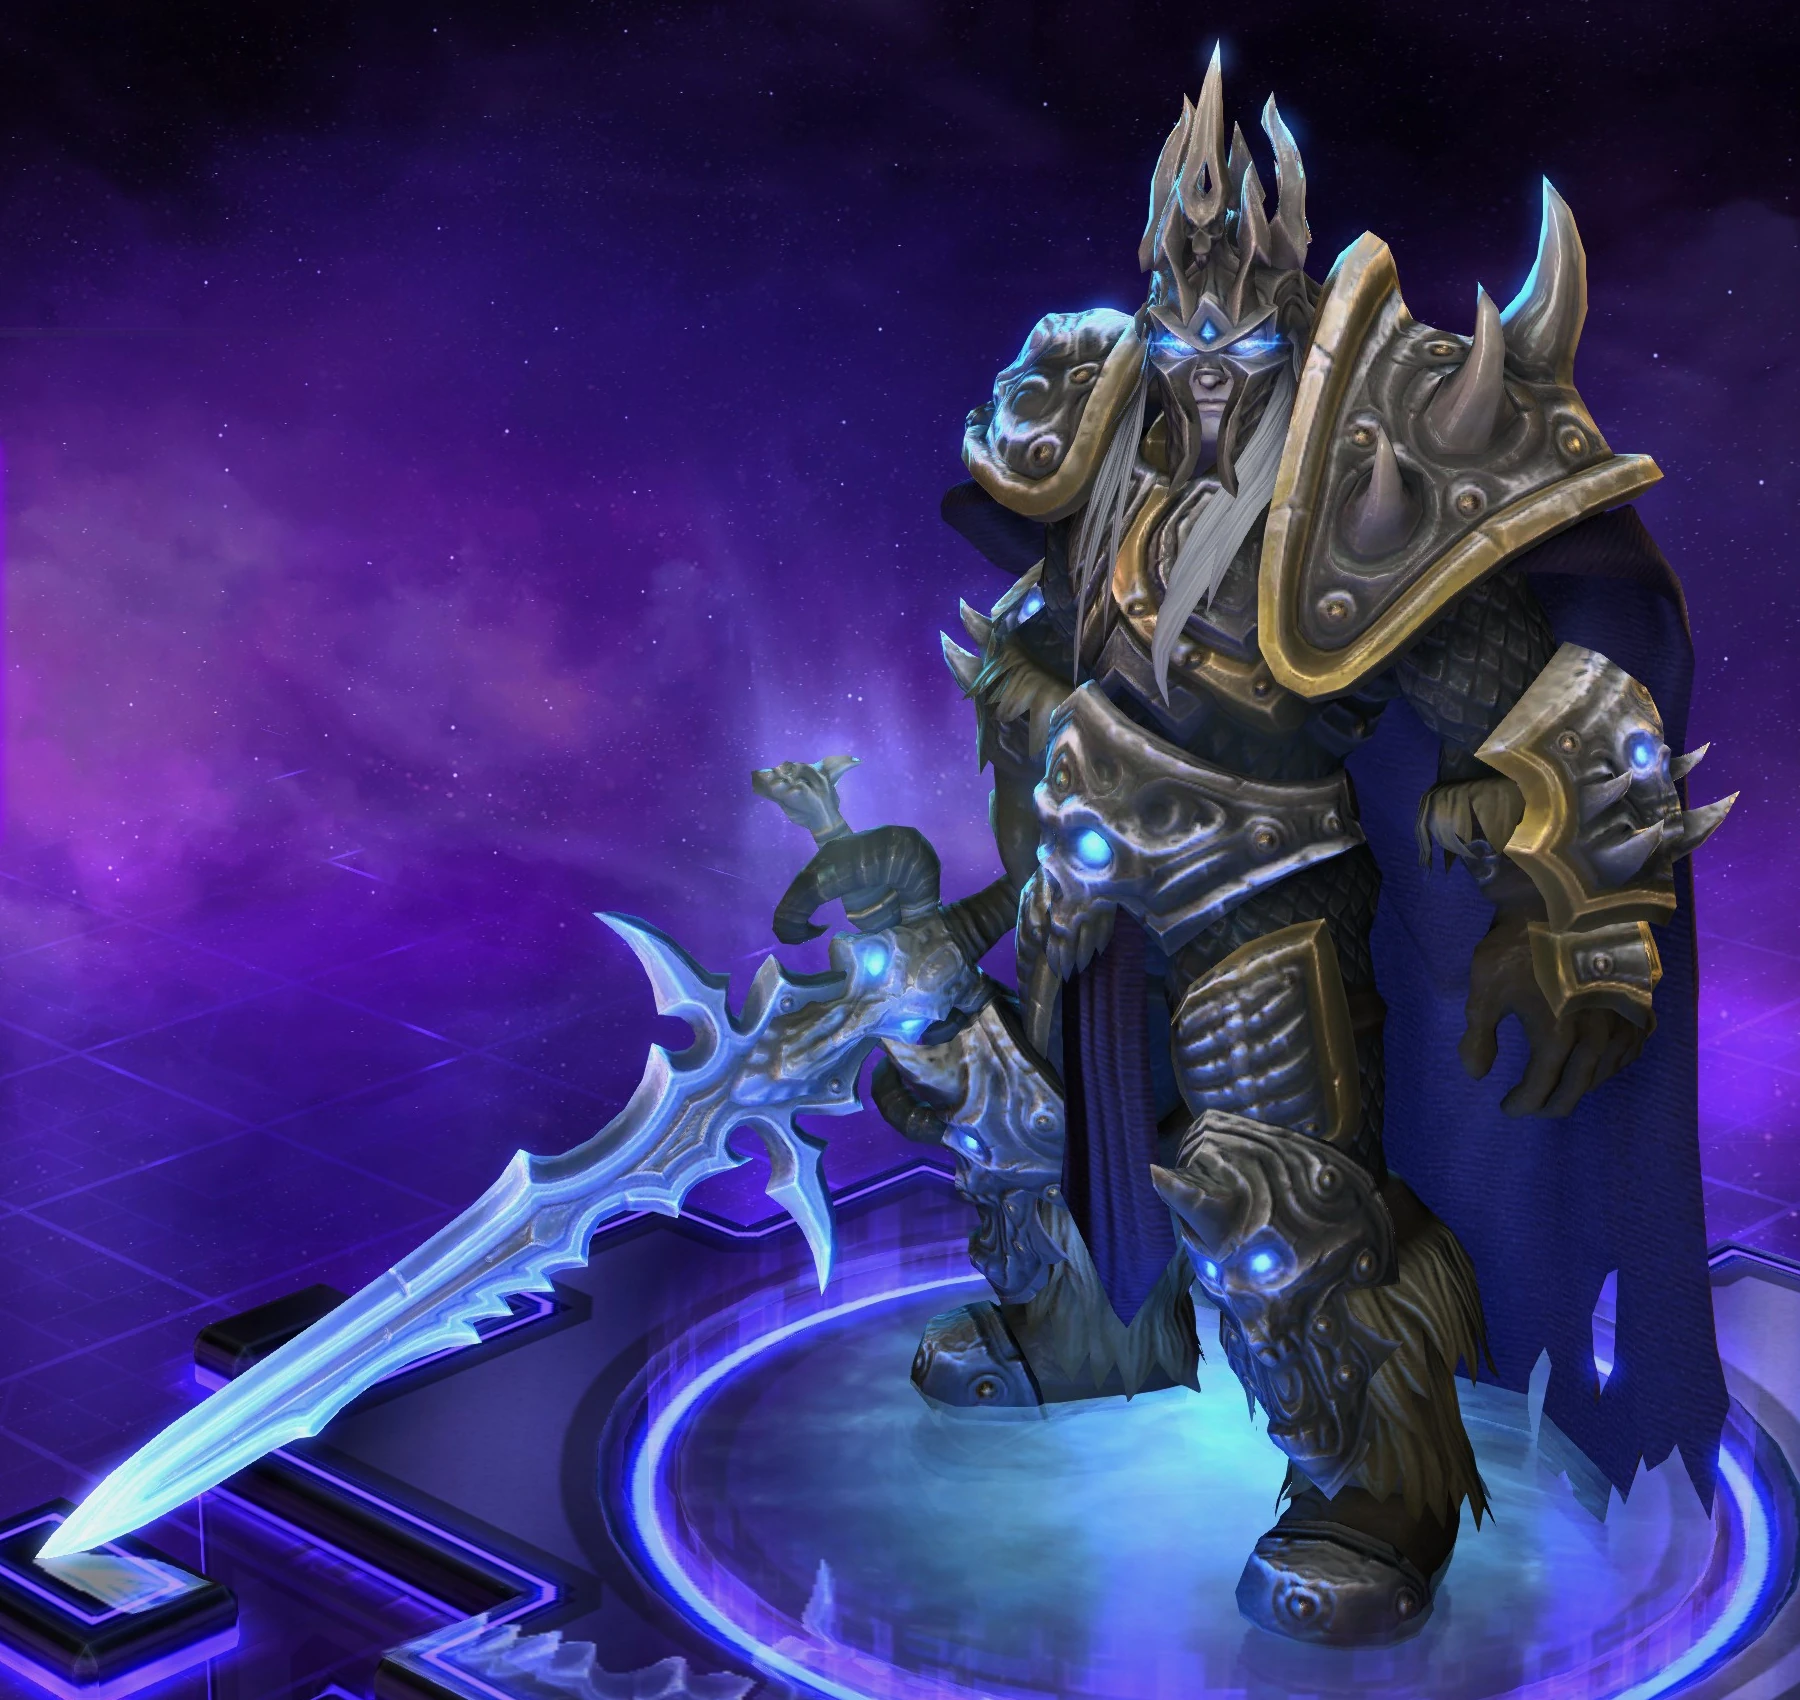
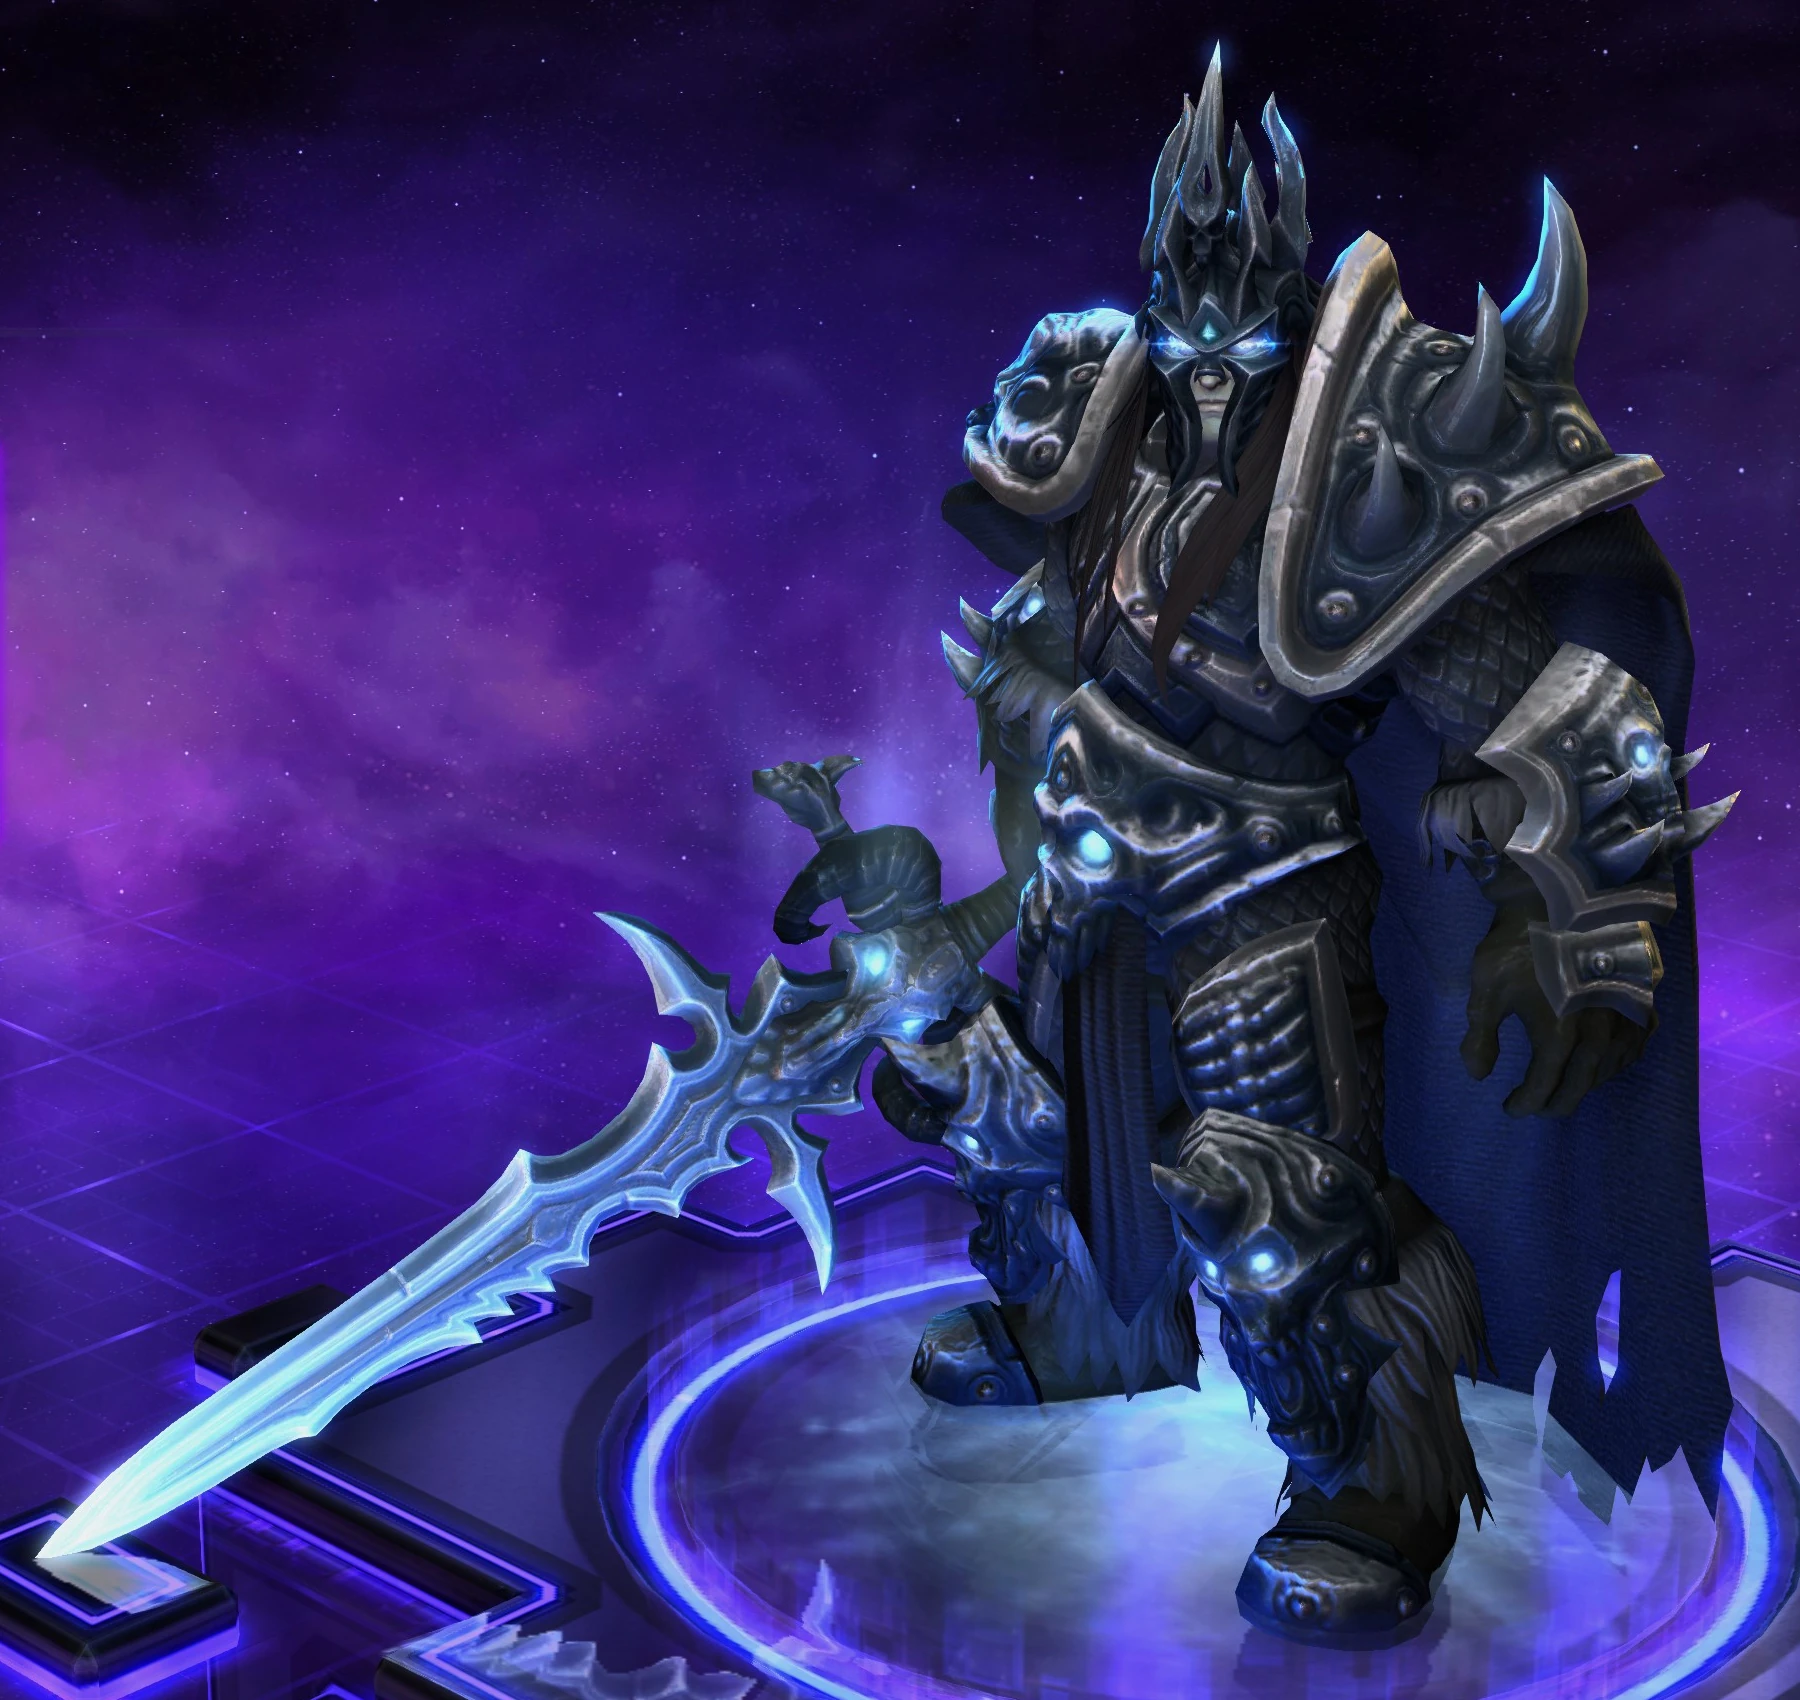
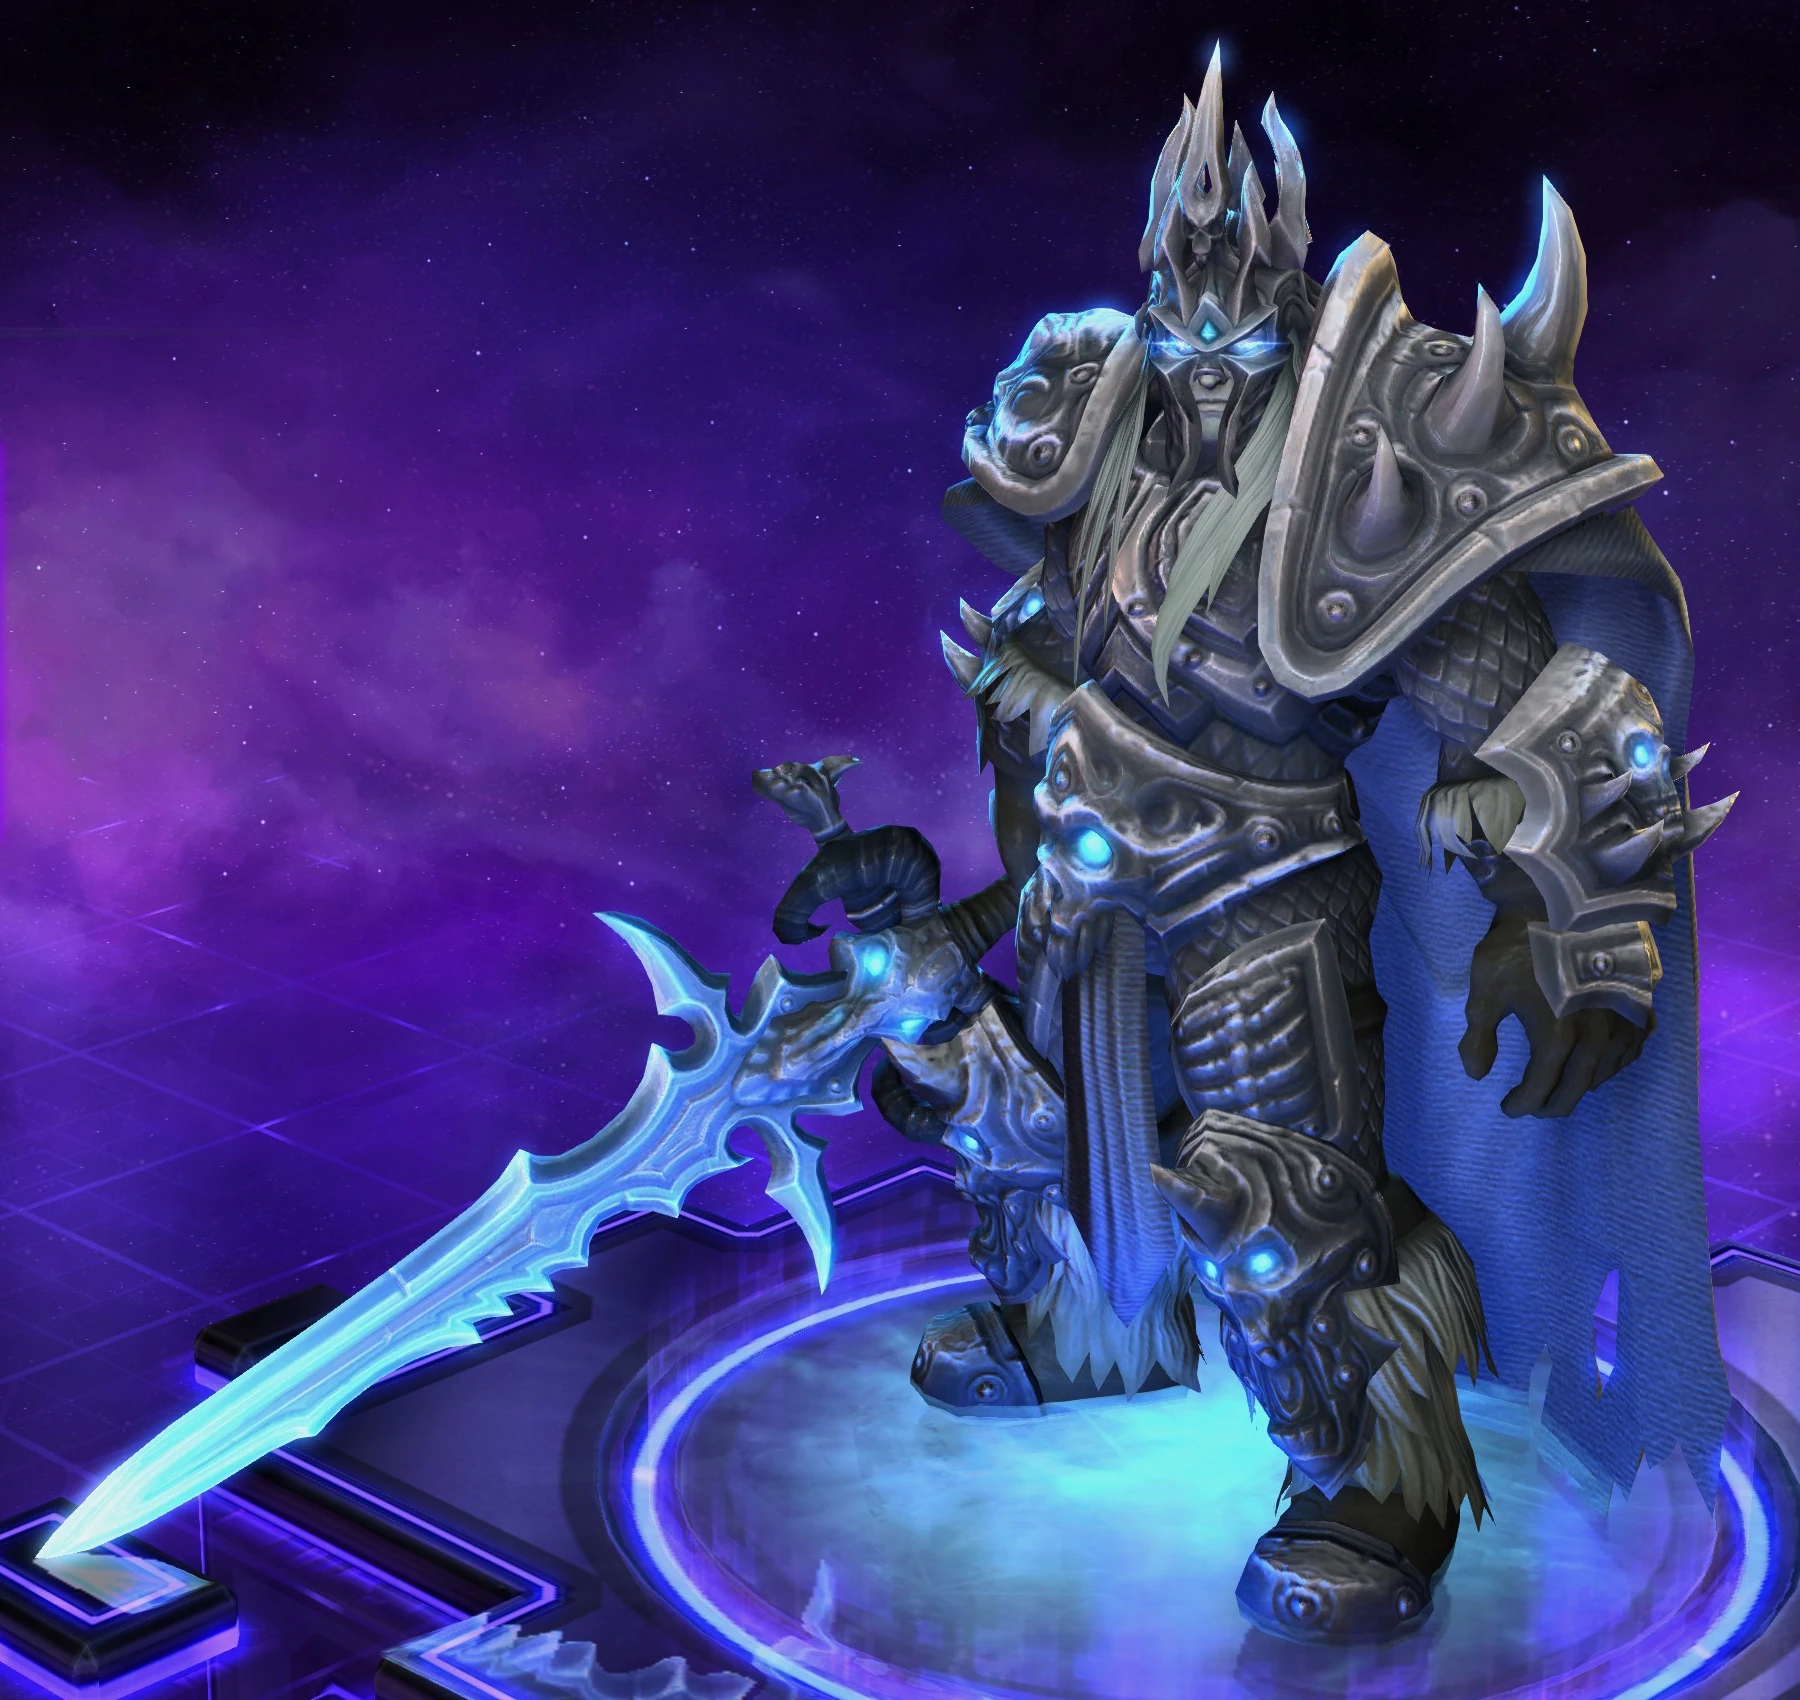
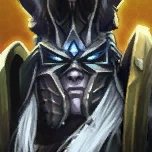
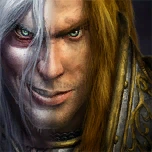
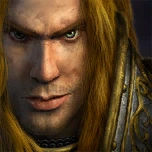
Arthas Menethil, the Lich King, is a melee Tank Hero from the Warcraft universe.[1] Once the crown prince of Lordaeron, and protégé of Uther the Lightbringer, Arthas was corrupted by the cursed blade Frostmourne in a bid to save his people. Now he rules over the damned as the Lich King and all shall know his wrath.
Arthas is a Tank who is proficient against melee Physical Attackers, Slowing them.
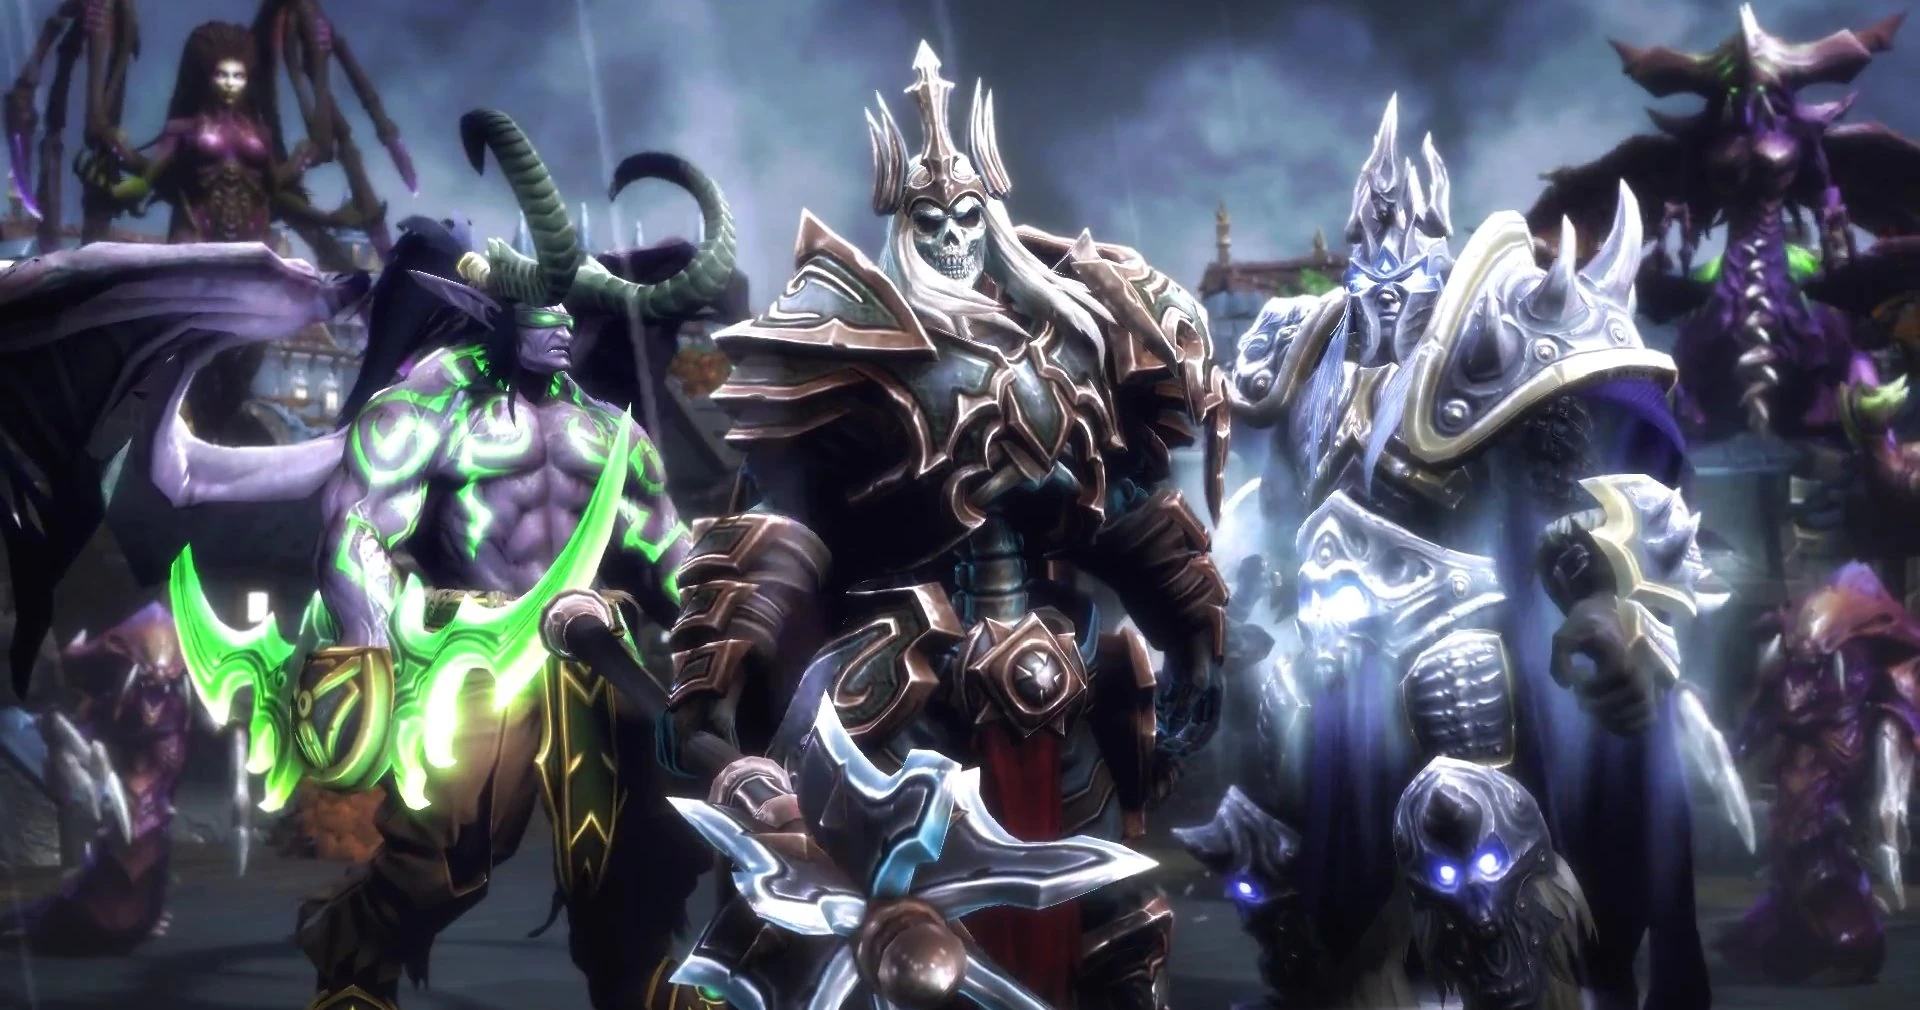
History[ | ]
![]()
Arthas Menethil, the crown prince of Lordaeron, was the son of King Terenas Menethil II, and Queen Lianne Menethil and younger brother of Princess Calia Menethil. He joined the Order of the Silver Hand led by Uther the Lightbringer, and was trained as a paladin. Arthas was a promising knight, though he eventually spiraled down a path of vengeance.
Arthas's downfall began at Stratholme, one of the first cities to be struck by the plague. Upon discovering that the grain stores in the city had been infected, Arthas ordered Uther and a Kirin Tor mage named Jaina Proudmoore to help him purge the city in order to prevent the plague from spreading further. Uther and Jaina refused to follow his demands, however, and Arthas went on to purge the city without them. In Stratholme, Arthas encountered and fought a dreadlord by the name of Mal'Ganis. Before Mal'Ganis fled, he told Arthas to meet him in the arctic land of Northrend.
Arthas gathered an army and set sail for Northrend. Upon his arrival, he encountered an old friend by the name of Muradin Bronzebeard. After Muradin told Arthas of an ancient and powerful runeblade and mourneblade called Frostmourne, which had the potential to slay Mal'Ganis, the two friends set out to look for the weapon. Upon finding Frostmourne, however, Muradin realized it was cursed and said they should leave it be. Arthas, willing to pay any price to save his people, did not heed Muradin's warning. He claimed the blade and seemingly killed his old friend in the process.
With Frostmourne in hand, Arthas set out to find Mal'Ganis. He fought through hordes of undead before reaching the dreadlord. Mal'Ganis revealed to Arthas that the whispers he was hearing from Frostmourne were actually the voice of the Lich King, and asked him what the Lich King's next instructions were. Arthas replied that the voice was telling him to enact his vengeance. Striking the astonished dreadlord down, Arthas abandoned his men and began wandering through the frozen wastes, where he lost what remained of his sanity. When Arthas returned to Lordaeron, he killed his father in cold blood and conquered the kingdom in the name of the Scourge.
Some time later, following the destruction he had wrought on the continent, the Lich King ordered Arthas to return to Northrend. Illidan Stormrage, who had been instructed by the Burning Legion to destroy the Lich King, raced Arthas to the immobile Lich King's seat of power in Icecrown. Ultimately, the two fought and Arthas emerged victorious. Arthas shattered the Frozen Throne and placed the helm of the Lich King upon his head, allowing the two to become one single being.
Gameplay[ | ]
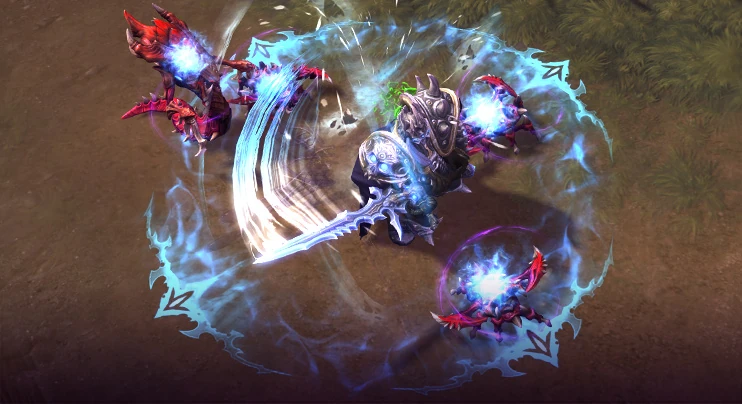
![]() Arthas is an aggressive Tank who can be played both as a Bruiser and as a Tank. Arthas excels at slowing and rooting several opponents at the same time, which allows him to either chase down retreating enemies or to peel for threatened allies. The ability to reduce the Attack Speed of nearby opponents with
Arthas is an aggressive Tank who can be played both as a Bruiser and as a Tank. Arthas excels at slowing and rooting several opponents at the same time, which allows him to either chase down retreating enemies or to peel for threatened allies. The ability to reduce the Attack Speed of nearby opponents with ![]() Frozen Tempest, makes him an excellent choice against Melee Assassins who are dependent on Basic Attacks. Another major strength Arthas inherits is his prominent ability dealing powerful burst damage with the help of trait,
Frozen Tempest, makes him an excellent choice against Melee Assassins who are dependent on Basic Attacks. Another major strength Arthas inherits is his prominent ability dealing powerful burst damage with the help of trait, ![]() Frostmourne Hungers and his versatile ability,
Frostmourne Hungers and his versatile ability, ![]() Death Coil. The third edge Arthas has over most Bruisers or Tanks, is his ability to both reduce the duration of standard crowd control effects, such as stun, silence, root and slow with his level 7 talent;
Death Coil. The third edge Arthas has over most Bruisers or Tanks, is his ability to both reduce the duration of standard crowd control effects, such as stun, silence, root and slow with his level 7 talent; ![]() Icebound Fortitude. The fourth and final benefit Arthas is his unconditional survivability through his Heroic ability;
Icebound Fortitude. The fourth and final benefit Arthas is his unconditional survivability through his Heroic ability; ![]() Army of the Dead, as he can use the added ability
Army of the Dead, as he can use the added ability ![]() Sacrifice while it's active to kill his summoned Ghouls in order to replenish his own health. Arthas is under many circumstances very strong in teamfights as his powerful crowd control abilities makes is much easier for Healers and Assassins to play correspondingly by following up their own crowd control or damage output, mainly through the works of reliance on skillshots. Arthas is a very solid frontliner, who can absorb lots of sustained damage in fight and zone heroes that like to dive his backline.
Sacrifice while it's active to kill his summoned Ghouls in order to replenish his own health. Arthas is under many circumstances very strong in teamfights as his powerful crowd control abilities makes is much easier for Healers and Assassins to play correspondingly by following up their own crowd control or damage output, mainly through the works of reliance on skillshots. Arthas is a very solid frontliner, who can absorb lots of sustained damage in fight and zone heroes that like to dive his backline.
Strengths[ | ]
- Powerful crowd control abilities and zoning potential
- Strong self-sustain
- Resilient against Basic Attacks
- High damage output compared to other Tanks
- Decent laner
- Outstanding duelist against most Melee Assassins and Bruisers
Arthas' Weaknesses[ | ]
- No gap-closers
- Mana dependent
- Struggles against mages who deal a large amount of burst damage
- Reliant on his survivability to contribute in teamfights
Abilities[ | ]
- See Data Page for a table of scaled values at key levels.
Talents[ | ]
❢ Quest: Root enemy Heroes with Howling Blast.
❢ Reward: After Rooting 5 Heroes, Howling Blast's cooldown is reduced by 2 seconds.
❢ Reward: After Rooting 10 Heroes, Howling Blast's range is increased by 20%.
❢ Reward: After Rooting 20 Heroes, Howling Blast also Roots enemies in its path.
- Actually gains a stack per Hero hit even if they are not Rooted (due to Unstoppable).
- Howling Blast's projectile speed is increased if it is cast beyond 8 range.
❢ Quest: Use Frostmourne Hungers on an enemy Hero.
❢ Reward: Increases the Mana it restores by 4, to a maximum of 40, and its damage by 4.
Every 5 seconds, gain 75 Physical Armor against the next enemy Hero Basic Attack, reducing the damage taken by 75%. Stores up to 3 charges.
- Does not stack with itself or other positive Physical Armor effects. Other defensive damage modifiers may stack.
Increase the range of Death Coil by 30%, reduce its cooldown by 3 seconds, and if Death Coil is used on an enemy Hero its Mana cost is refunded.
Frozen Tempest Mana cost reduced by 2 per second.
❢ Quest: Damage enemy Heroes with Frozen Tempest.
❢ Reward: After damaging enemy Heroes 150 times with Frozen Tempest, the Movement and Attack Speed Slows of Frozen Tempest last an extra 1.5 seconds against enemy Heroes.
- Every Hero hit counts toward quest progress.
Gain 3% Attack Speed for 1.5 seconds every time a Hero is damaged by Frozen Tempest, to a maximum of 60%.
- Attack speed stacks additively with itself and other effects that can affect Arthas's Attack Speed.
Gain the healing effect of Death Coil even when used on enemies. If Death Coil is used on Arthas, it heals for an additional 50%.
- Healing on enemy cast is applied when the missile returns to Arthas.
- Bonus healing stacks additively with other healing dealt modifiers that can affect Death Coil's healing.
Every 3rd Basic Attack heals Arthas for 5% of his max Health.
Cooldown: 35 seconds
Active: Activate to gain 25 Armor, reducing damage taken by 25%, and reduce the duration of Stuns, Slows, and Roots against Arthas by 75% for 3 seconds.
- Does not stack with other positive Armor effects. Other defensive damage modifiers may stack.
Summons Ghouls that last 15 seconds and attack for 20 damage. Sacrifice Ghouls to heal for 267 Health.
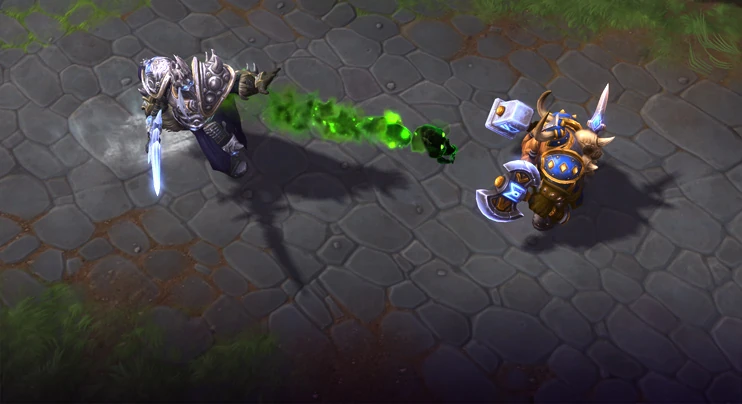
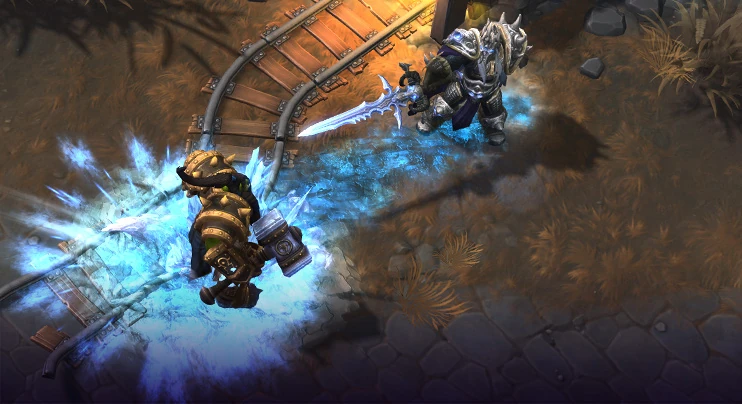
Deals 230 damage and Slows enemies by 60% for 4 seconds. Also disables Minions, Mercenaries, Monsters and Structures for 20 seconds.
Enemy Heroes hit by Howling Blast have their Armor reduced by 15 for 4 seconds.
- Does not stack with other negative Armor effects. Other defensive damage modifiers may stack.
Each second an enemy is damaged by Frozen Tempest, it deals 12.5% bonus damage, up to a 50% bonus.
- Damage bonus is tracked independently for every affected unit.
- Damage bonus stacks additively with itself and multiplicatively with other offensive damage modifiers that can affect Frozen Tempest's damage.
Reduces Frostmourne Hungers's cooldown by 2 seconds. Frostmourne Hungers also Slows the enemy by 50% for 1.5 seconds.
Death Coil deals more damage and heals more the lower Arthas's current Health is, to a maximum of 100% bonus damage and healing.
- Bonus damage and healing percentage equates to the percentage of Health Arthas is missing.
- Bonus damage stacks mutiplicatively with other offensive damage modifiers that can affect Death Coil's damage.
- Bonus healing stacks additively with other healing dealt modifiers that can affect Death Coil's healing.
Enemy Heroes that remain within Frozen Tempest for 3 seconds are Rooted for 1.25 seconds. This effect can only happen once every 10 seconds.
Increases the amount of Basic Attacks empowered by Frostmourne Hungers to 2.
3 additional Ghouls are created. Ghouls deal 50% more damage, heal for an additional 50% and last 5 seconds longer.
- Damage bonus stacks additively with other offensive damage modifiers that can affect Ghouls' Basic Attack damage.
- Healing bonus increases the base healing of Sacrifice to 400.5, causing the given percentage to stack multiplicatively with healing dealt modifiers that can affect Sacrifice's healing.
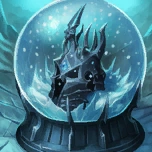
Sindragosa flies twice as far. Enemy Heroes are Rooted for 2.5 seconds, and then Slowed by 60% for 4 seconds.
Increases Movement Speed by 10%. Frozen Tempest's maximum Movement Speed Slow and Attack Speed Slow are increased from 40% to 60%.
- Also increases the Slow's amount per tick from 5% to 7.5%.
Cooldown: 60 seconds
Active: Activate to make Arthas Immune to Spell Damage for 4 seconds and heal Arthas for 25% of the damage prevented.
- Anti-Magic Shell absorbs all incoming Spell Damage, similar to Protected status.
- The amount of damage absorbed, and thus also healing done, is calculated after damage modifiers, such as Armor.
- Healing does not benefit from Arthas's Spell Power or other healing dealt modifiers.
- Note that Percent damage in all its forms is a type of Spell Damage, therefore Arthas fully benefits from this Talent when applied to it.
Builds and guides[ | ]
Arthas Community Build Guides @ HeroesFire
Arthas Community Build Guides @ Heroes Hearth
| Thegreat610's Arthas Guide (2021-09-29) | ||
|---|---|---|
| Builds and Roles | ||
| Offlane-Standard
|
This build is played much more passively then the offlane builds that will be covered, as it is more dependent on casting | |
| Offlane-Hybrid
|
The Q + D build gives Arthas other conditions to win in teamfights, as it lets him play more in-and-out, rather than committing. The build also gives him the most amount of burst damage of his own. It is seemingly weaker against Tanks and Bruisers, as because of the lack of
| |
| Offlane-Bruiser
|
The bruiser build makes Arthas aggressive engage-type of playstyle much stronger in terms of his improved damage output and survivability against sustained damage. In terms of offlane match-ups, this is his strongest build, as it can let him win trades against every single melee-based hero in the game, as before level 10. This build is mostly map dependent where holding your lane, such as Braxis Holdout, can prove to be valuable, another reason is if the enemy has frontliners that is dependent on their backline, as he can punish frontliners even further, so on a map where heavy frontline comps is priority such as Infernal Shrines, this build can become favored, but still very situational. Because this build is played to empower his capability to counter melee frontliners, it becomes good if the enemy features heroes such as | |
| Main Tank-Standard
|
Main Tank Arthas is usually his secondary role, because of his lacking kit compared to most other Tanks, two things are concerned here; having Gap-closing capabilities and a stun, he lacks both of those things. Arthas is still really 'tanky', though struggles against spell-/burst damage and percentage damage in-general. Main Tank Arthas provides reliable crowd control as long as he can keep
| |
| Main Tank-Flex
[T1111111,Arthas] |
This build is a bit more reserved, playing for longer fights, trying to get poke damage in, sustaining, and providing crowd control for assassins. Can be strong if the enemy has heroes that you want to avoid, typically ranged assassins, such as | |
| Main Tank-Flex [2]
|
Main Tank Basic Attack hybrid, that could be be played as the semi-offlane and if your team has enough crowd control on their own. Providing with potentially the most burst damage, it can be strong if the enemy has melee assassins heroes in the 3/4-man, such as | |
| Abilities and Strategy | ||
1. Tips & Tricks
| ||
2. Death Coil
While playing as Solo Laner, it is usually better to cast this Ability on yourself in order to restore lost Health, especially if you do not want to waste the Healing Fountain. You can use this ability offensively against heroes with low health percentages because the burst damage can be enough to contribute to a kill. | ||
3. Howling Blast
While the target area is big enough to hit Heroes who are clumped together, the slow-moving projectile makes this Ability hard to hit. As a consequence, a good Arthas should usually look for a flank rather than a frontal engage. | ||
4. Frozen Tempest
The constant Slow is useful for chasing and—more importantly—for peeling away melee Heroes while the Attack Speed reduction is good against Heroes that heavily focus on Basic Attacks to deal damage. As a consequence, this Ability is particularly effective against Heroes with both those characteristics: melee Heroes who focus on Basic Attacks (such as Mana management is important because you cannot use Abilities without it. While this Ability offers value in all scenarios, if Arthas uses it imprudently, he will find himself low on Mana very quickly. Always use it when damaging enemy Heroes or when clearing Mercenary Camps, or when clearing Minions. Being an area of effect Ability, | ||
5. Army of the Dead
| ||
6. Summon Sindragosa
The first thing an Arthas player has to take into account is its cast time of 0.6 seconds (not mentioned in the tooltip), which requires you to think ahead before actually casting the Ability in order to increase your chance to hit enemy Heroes and/or to avoid being interrupted by them. You do not even need to be scared about nearby enemy Structures because they will be disabled for 20 seconds, a powerful effect to further increase the advantage after winning a single-lane Objective (such as the Immortal on Battlefield of Eternity or Zerg Wave on Braxis Holdout) because disabled Structures cannot deal any damage and disabled Healing Fountains cannot be used. | ||
7. Frostmourne Hungers
When the chances to have a team fight within 10 seconds is low, activate it and attack a random enemy in a safe position (usually a Minion) just to get some Mana. During a team fight, use it on the focused enemy Hero. Remember that activating it will reset your Basic Attacks cooldown, so the best way to use this Ability is to immediately activate it after a Basic Attack, a trick that will result in you landing 3 Basic Attacks in the time window of 2 Basic Attacks. Always use it off-cooldown when focusing on one thing, like pushing or clearing Mercenary Camps. | ||
8. Army of the Dead - Sacrifice
| ||
| Counters and match-ups | ||
| 1. Bad against... | ||
| ||
| ||
| ||
| ||
| ||
| ||
| ||
| ||
| Others |
| |
| 2. Good against... | ||
| ||
| ||
| ||
| Others | ||
| 3. Works well with... | ||
| Others | ||


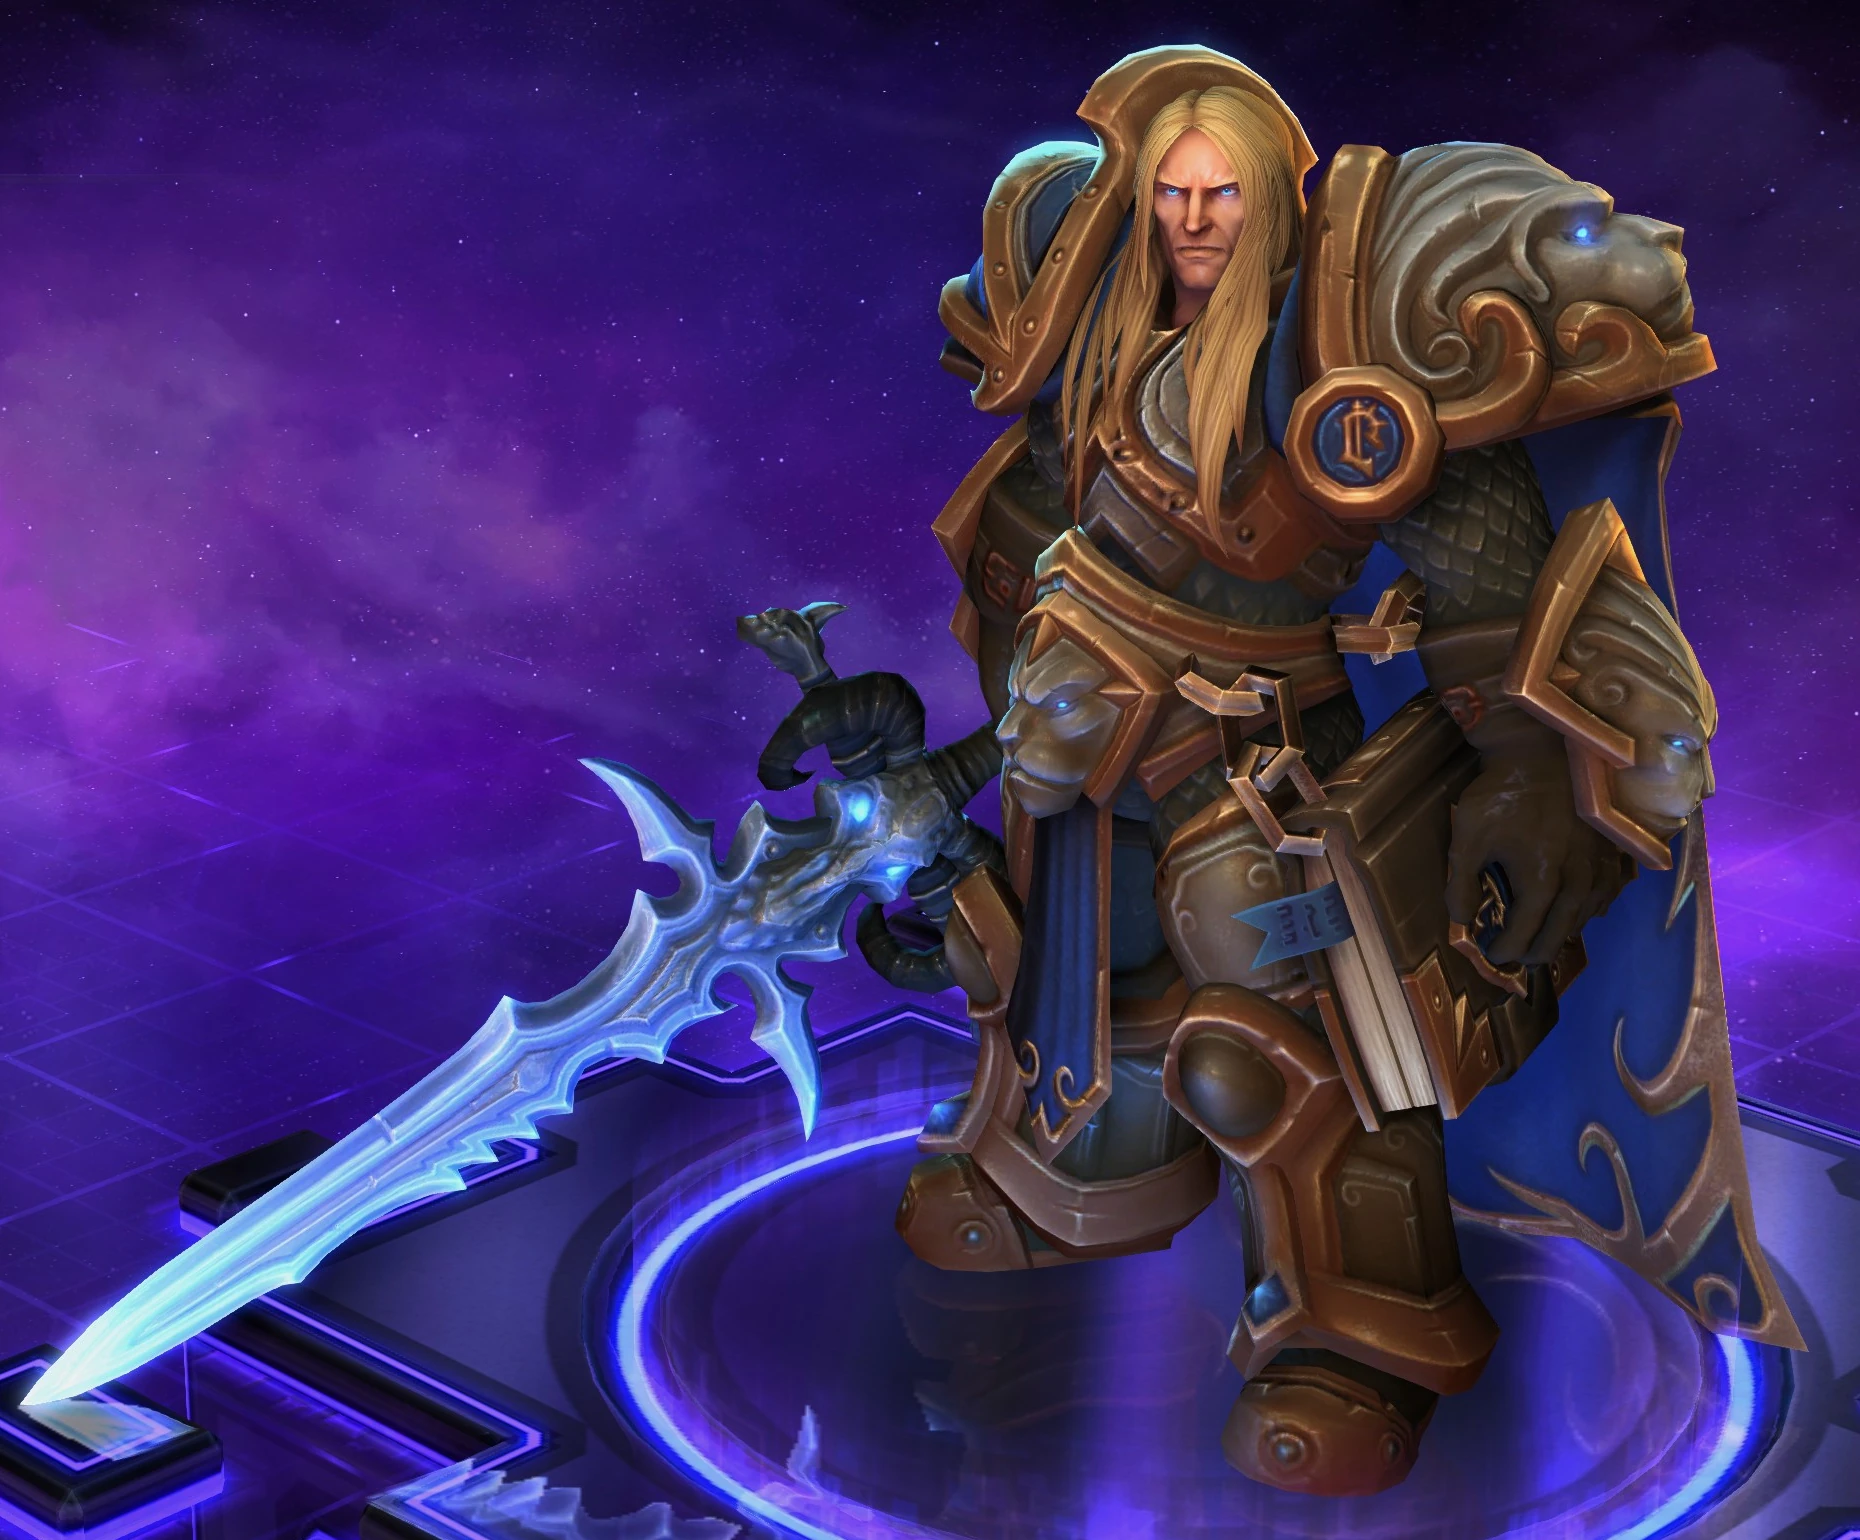
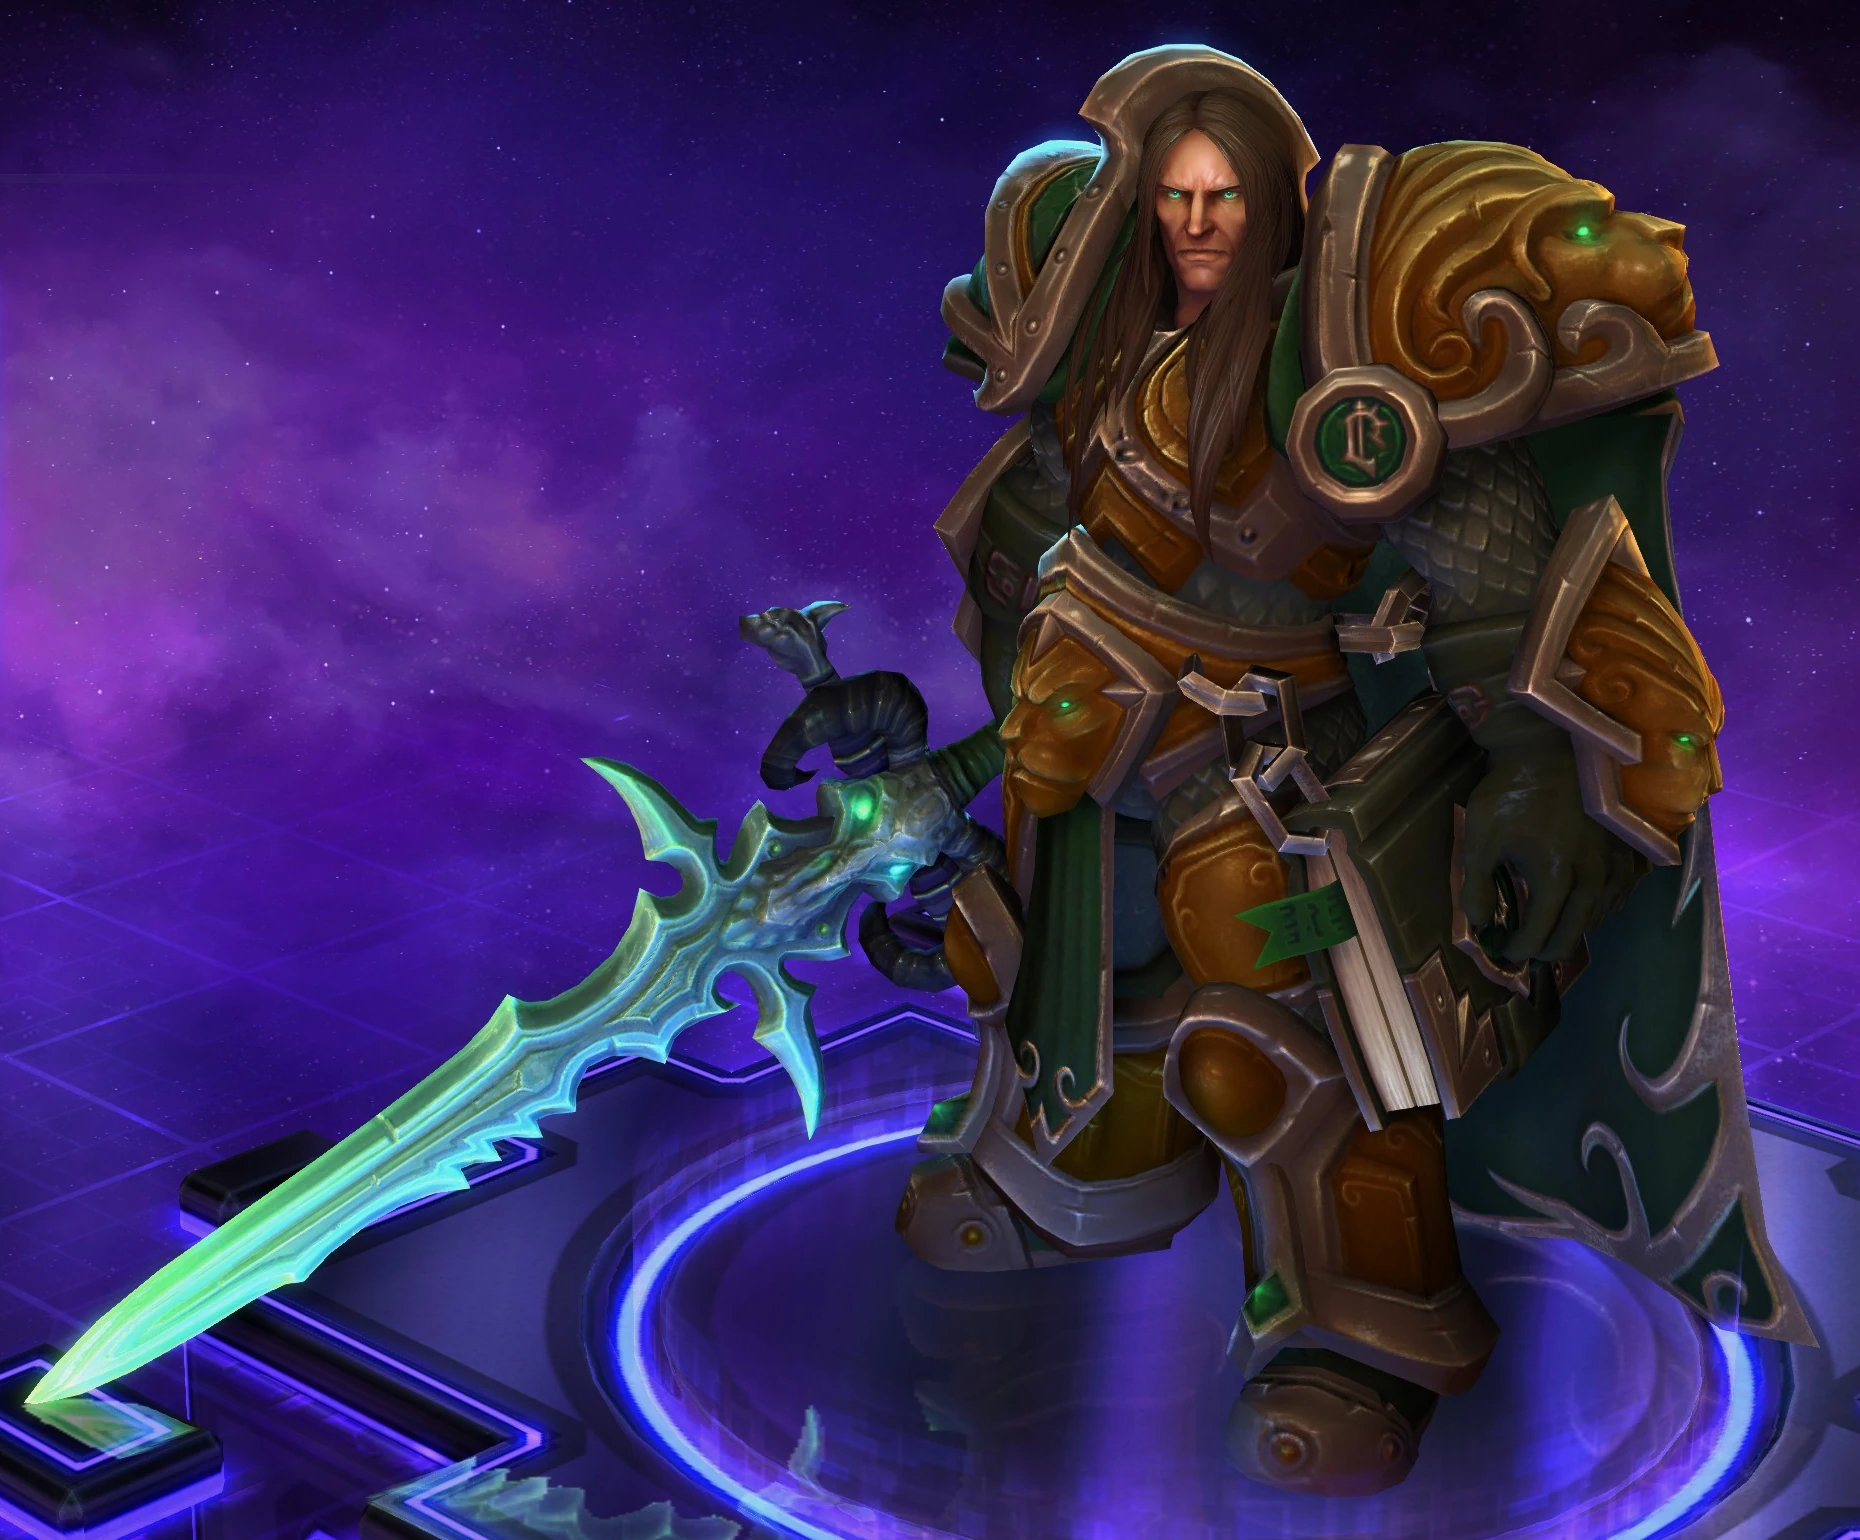
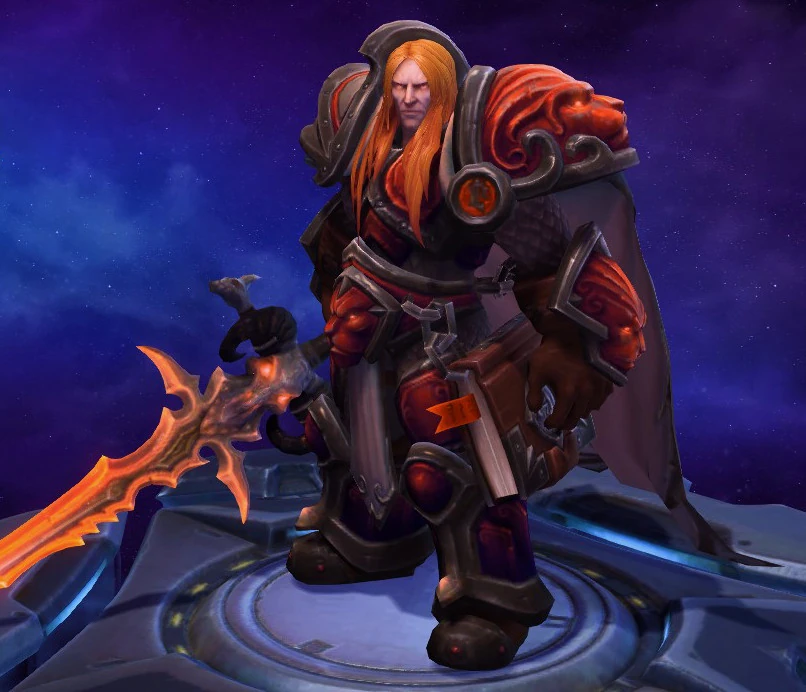
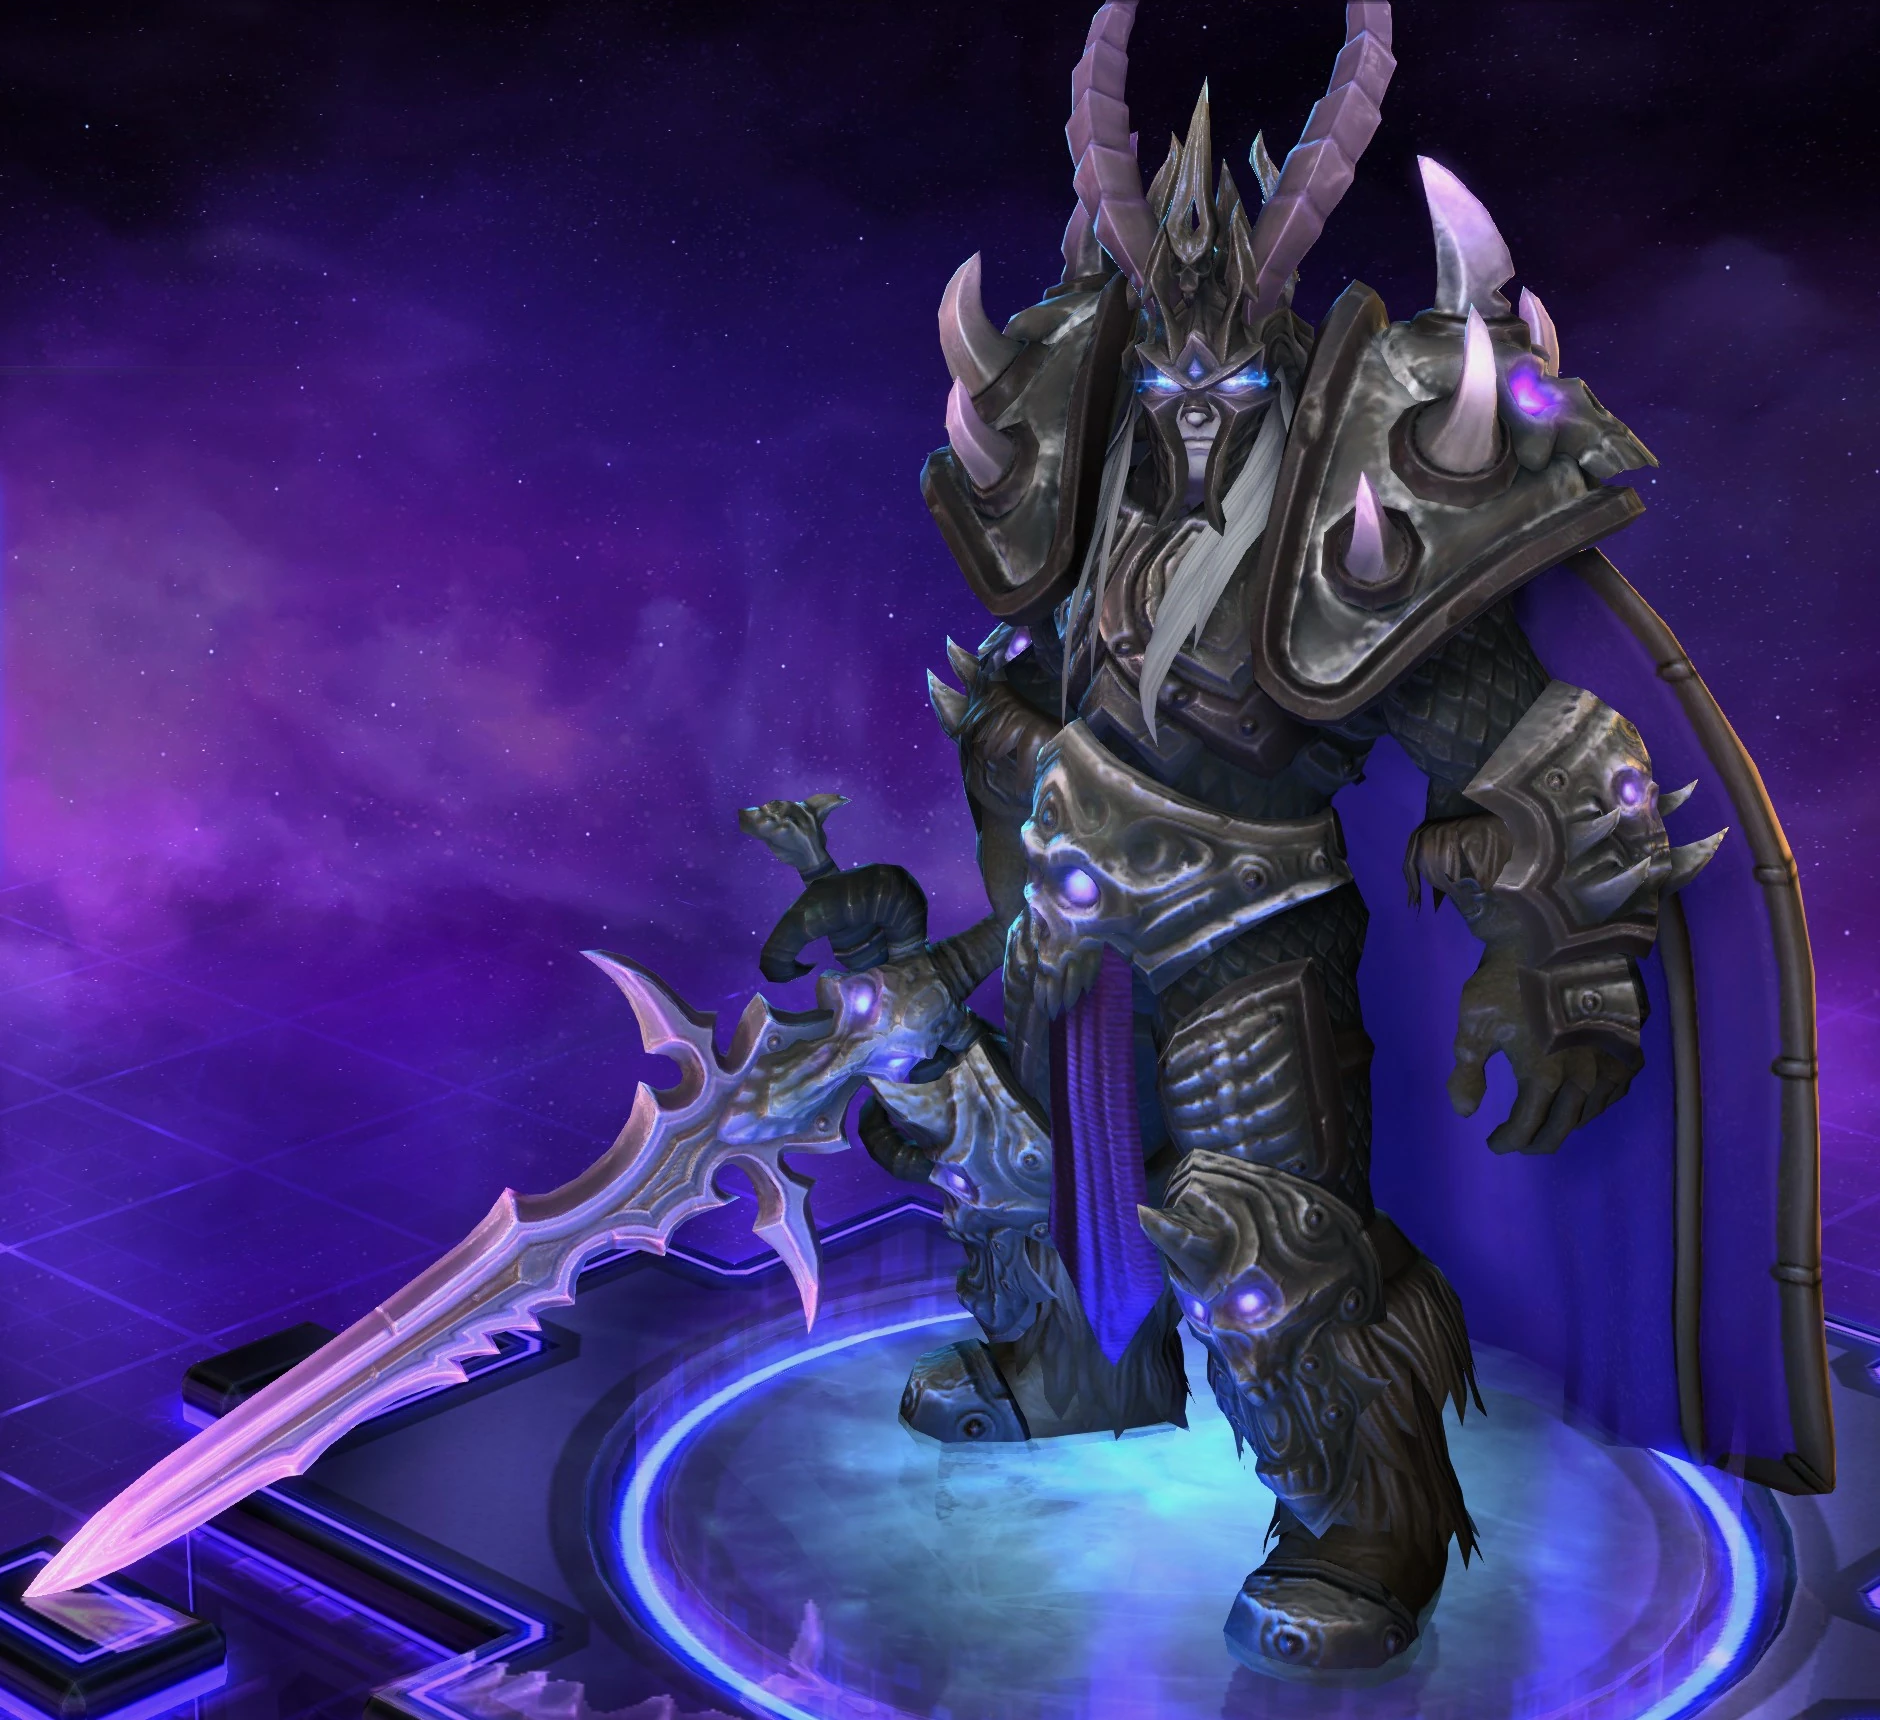
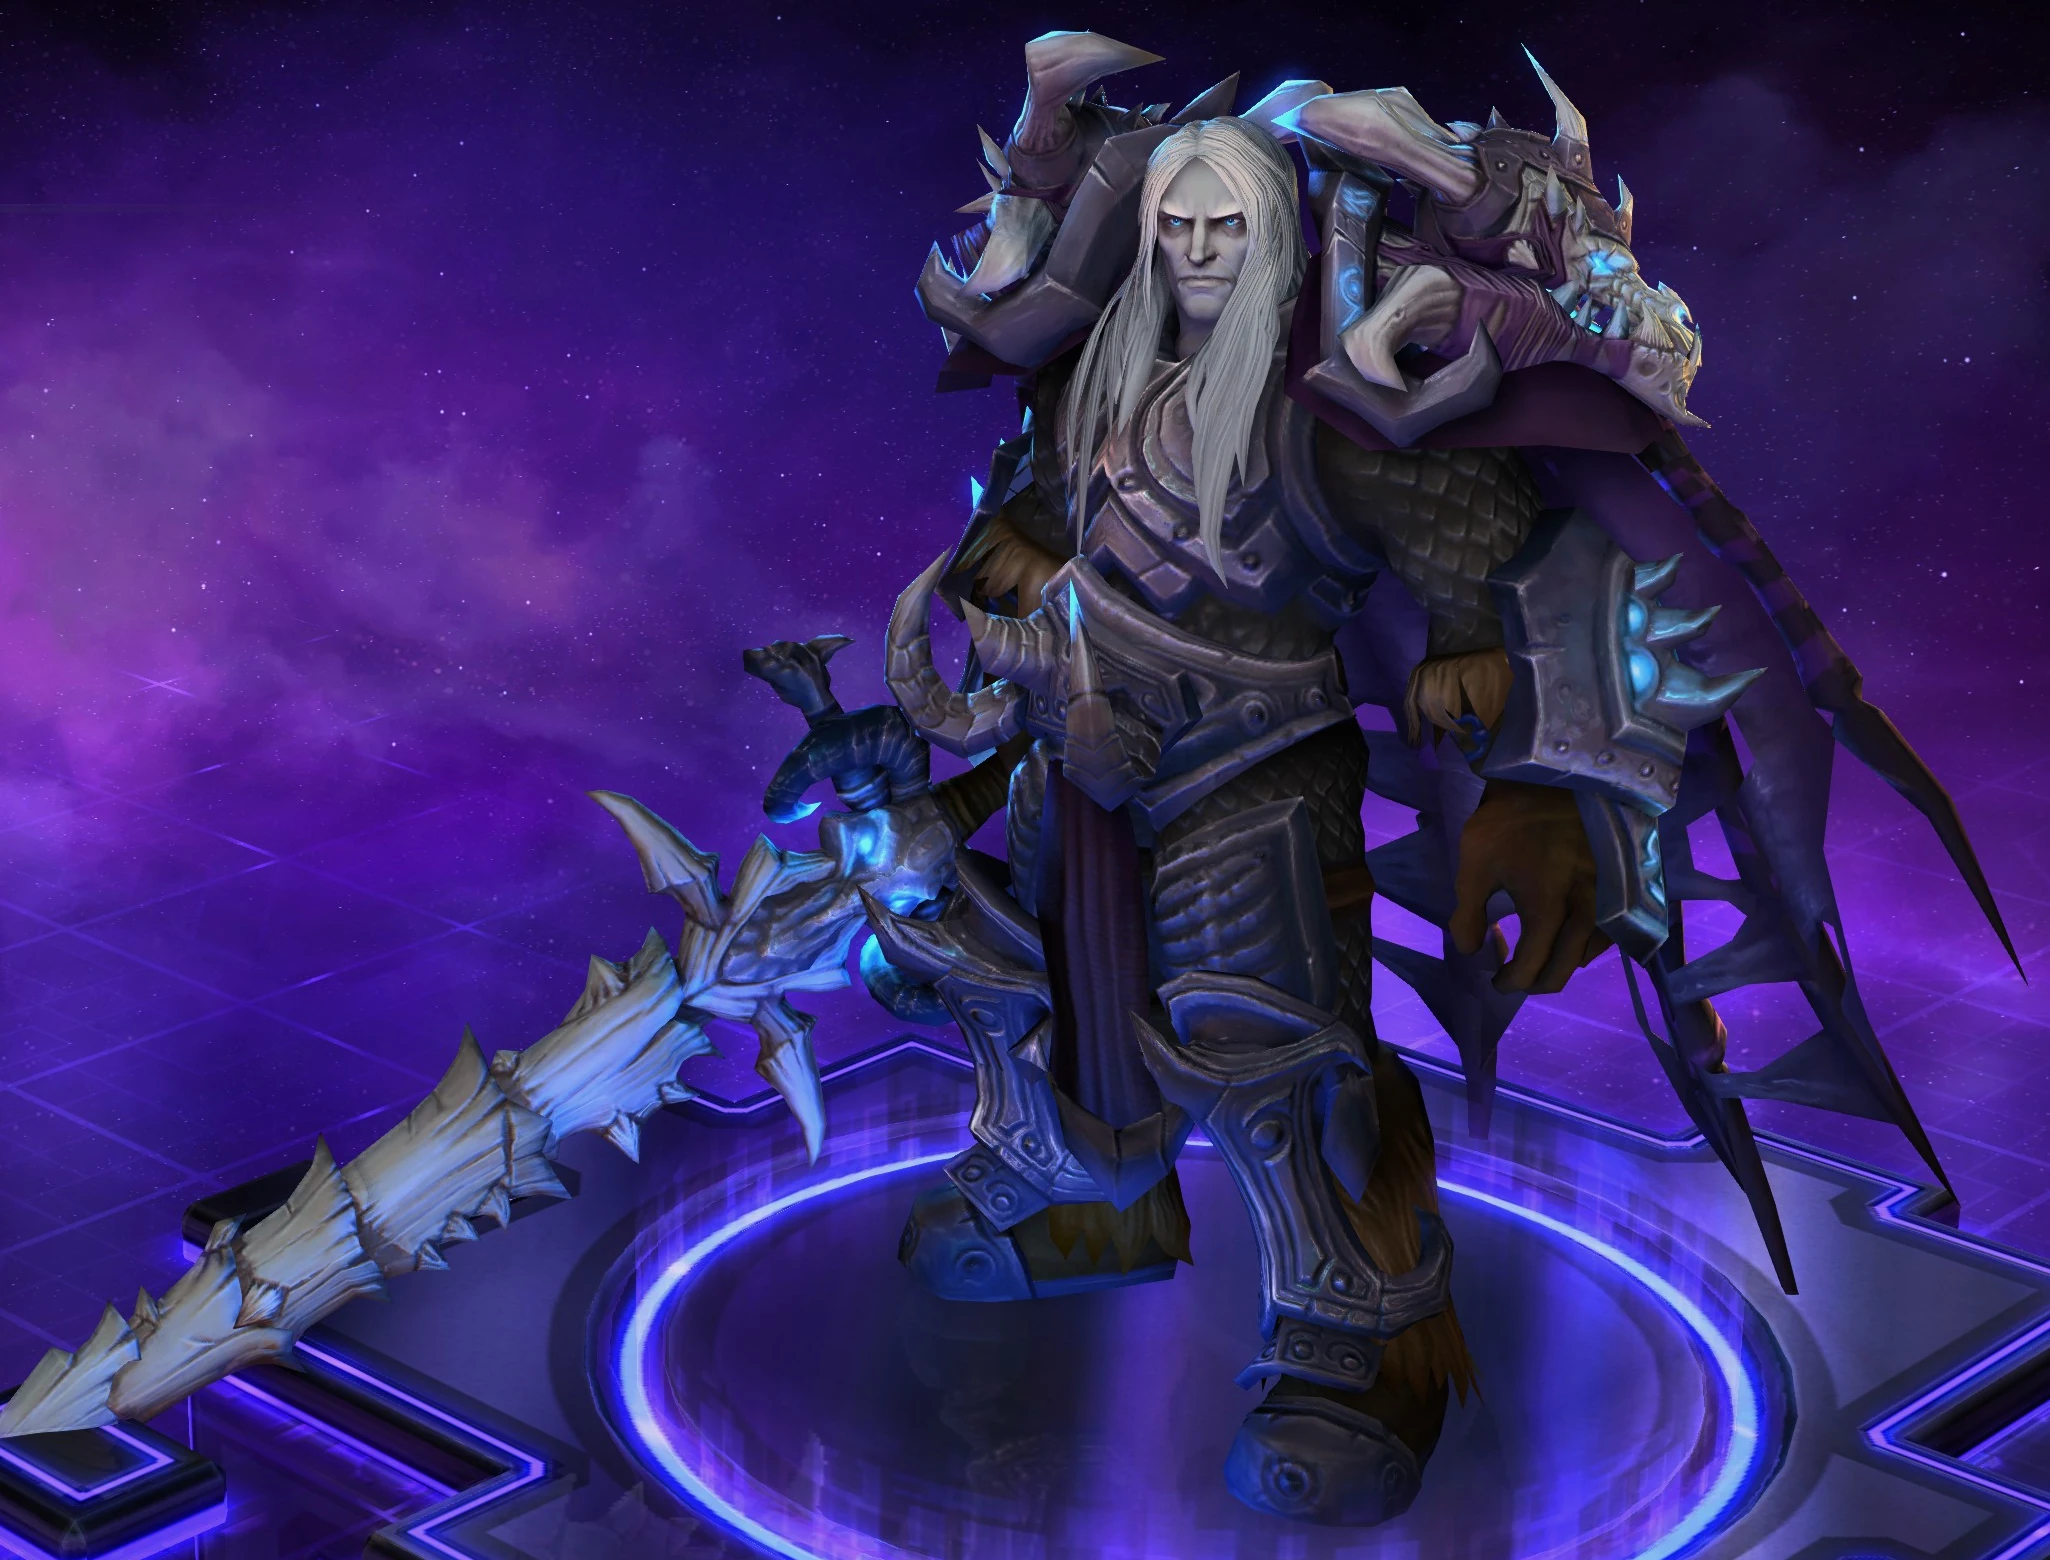
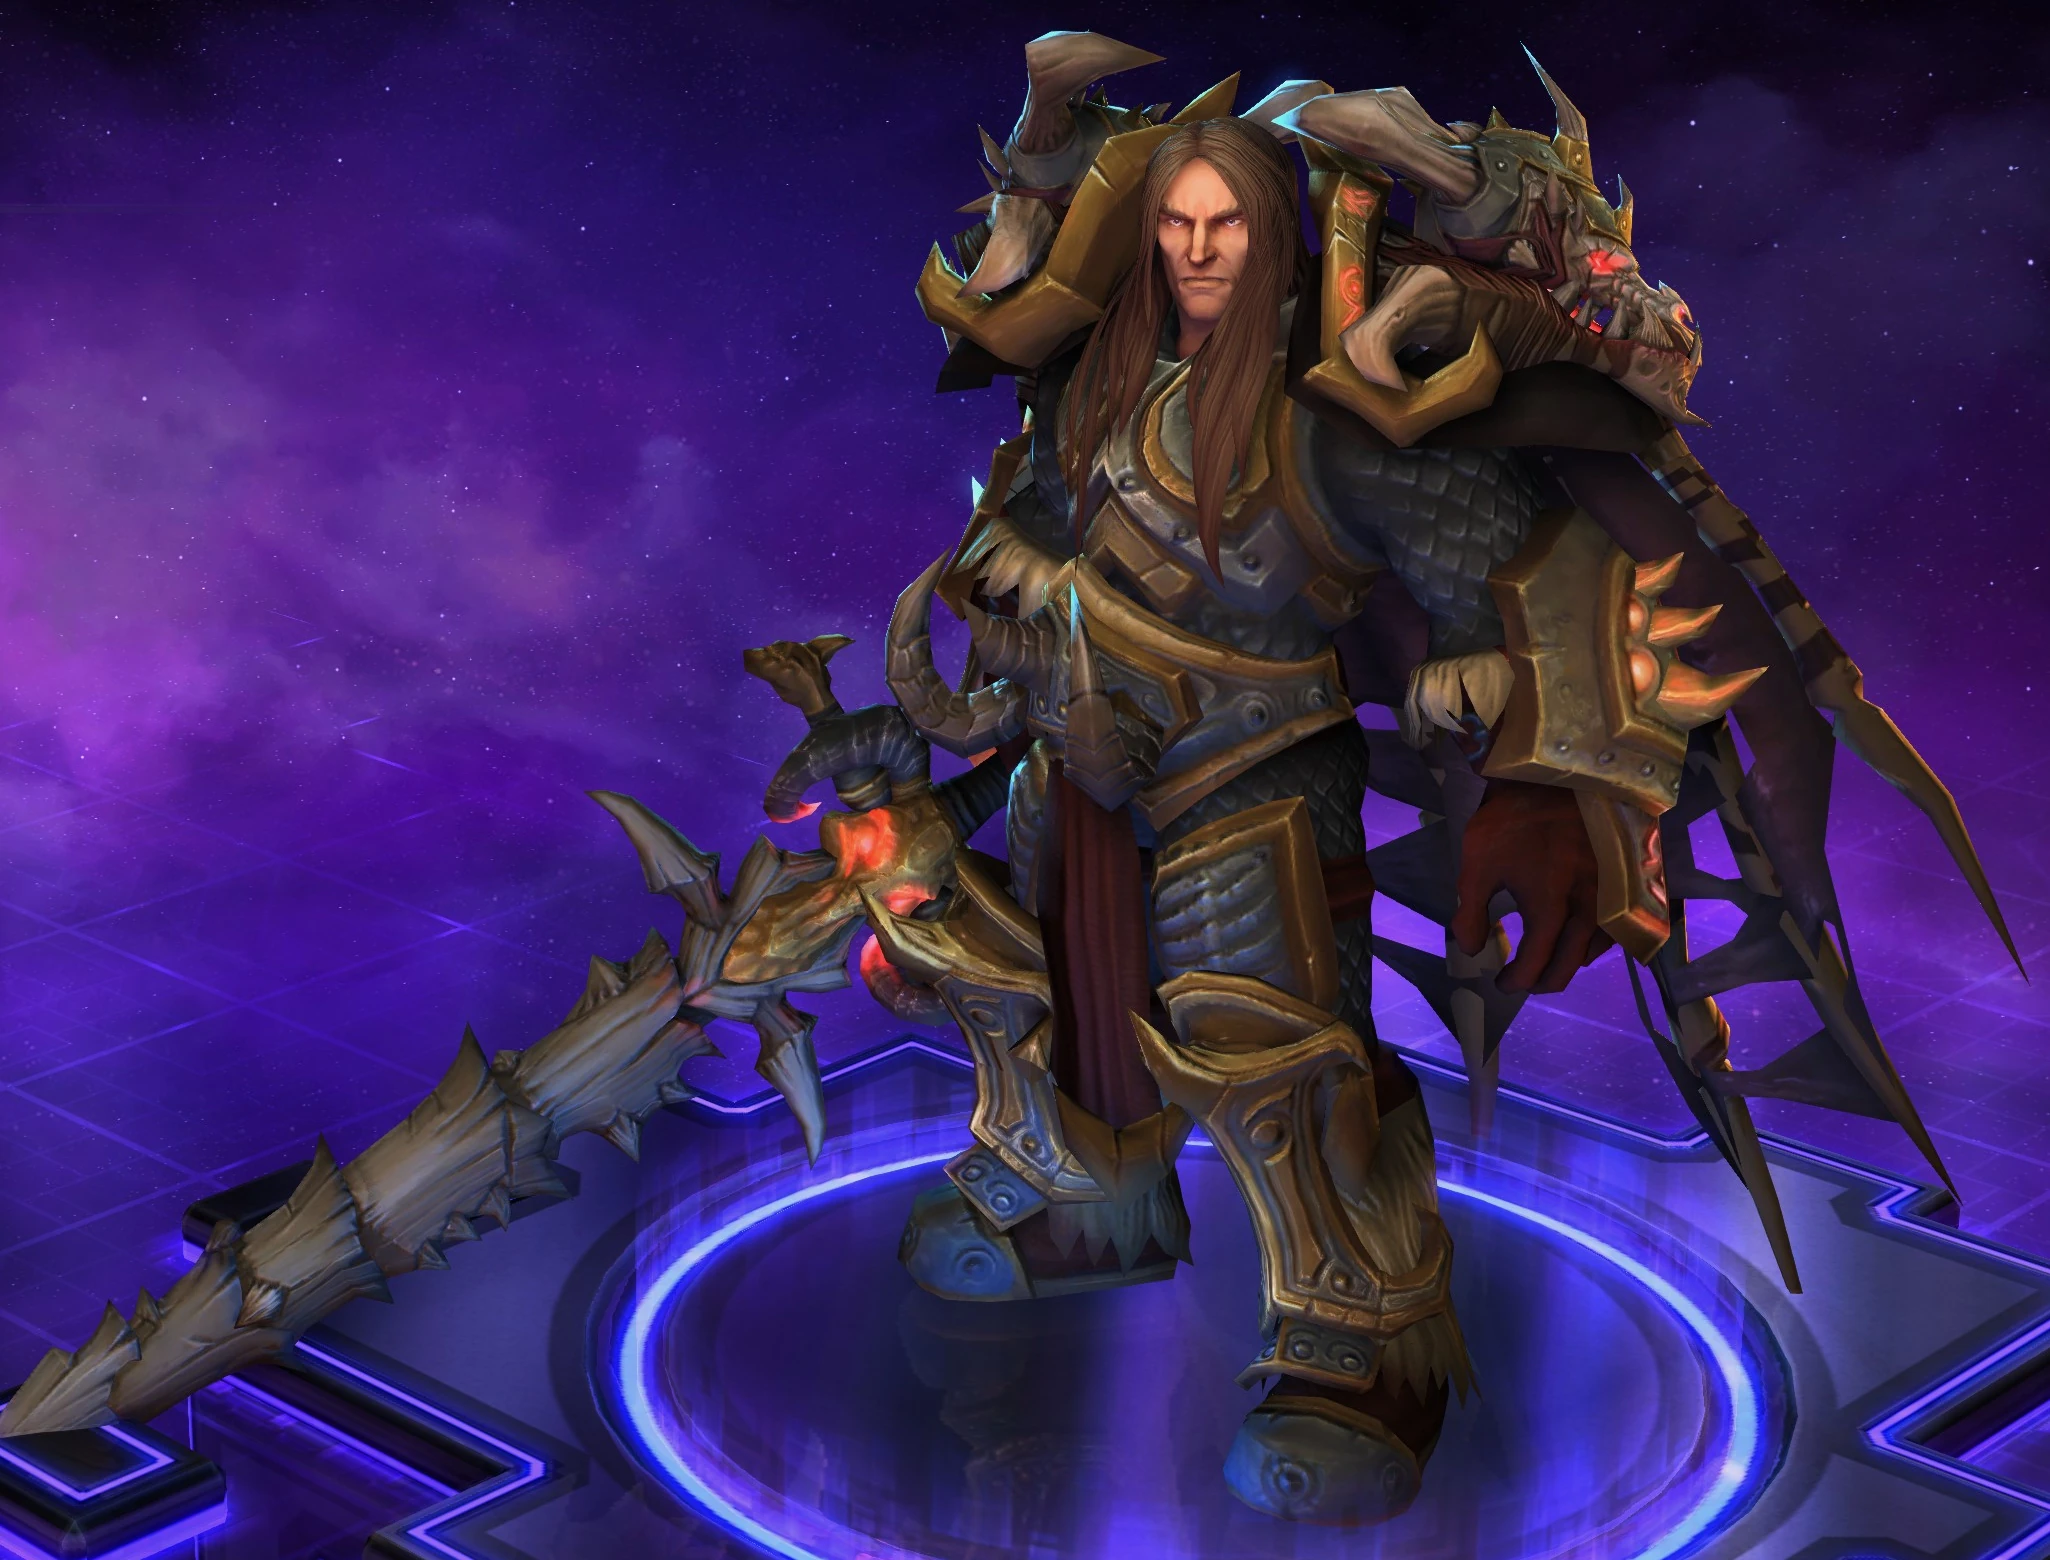
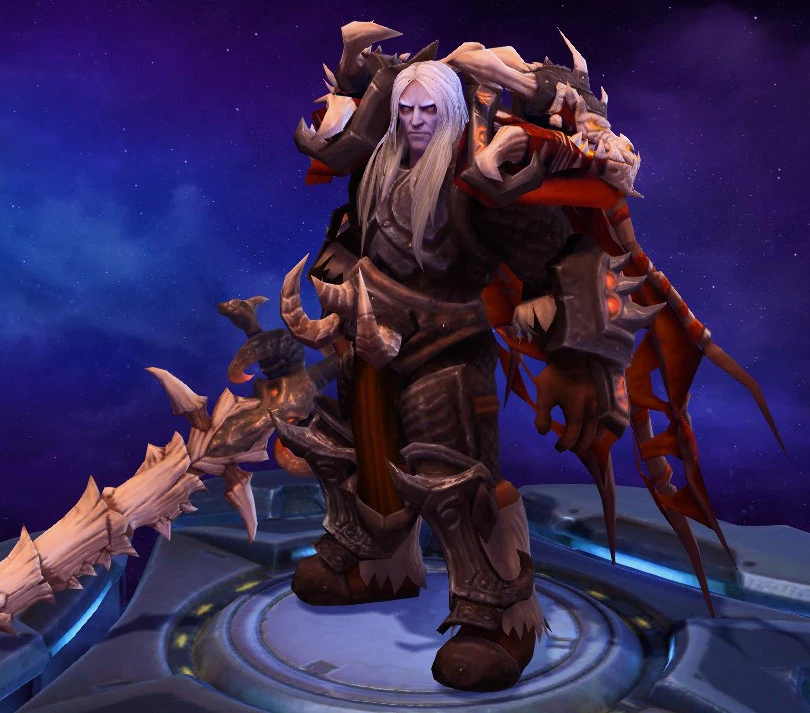
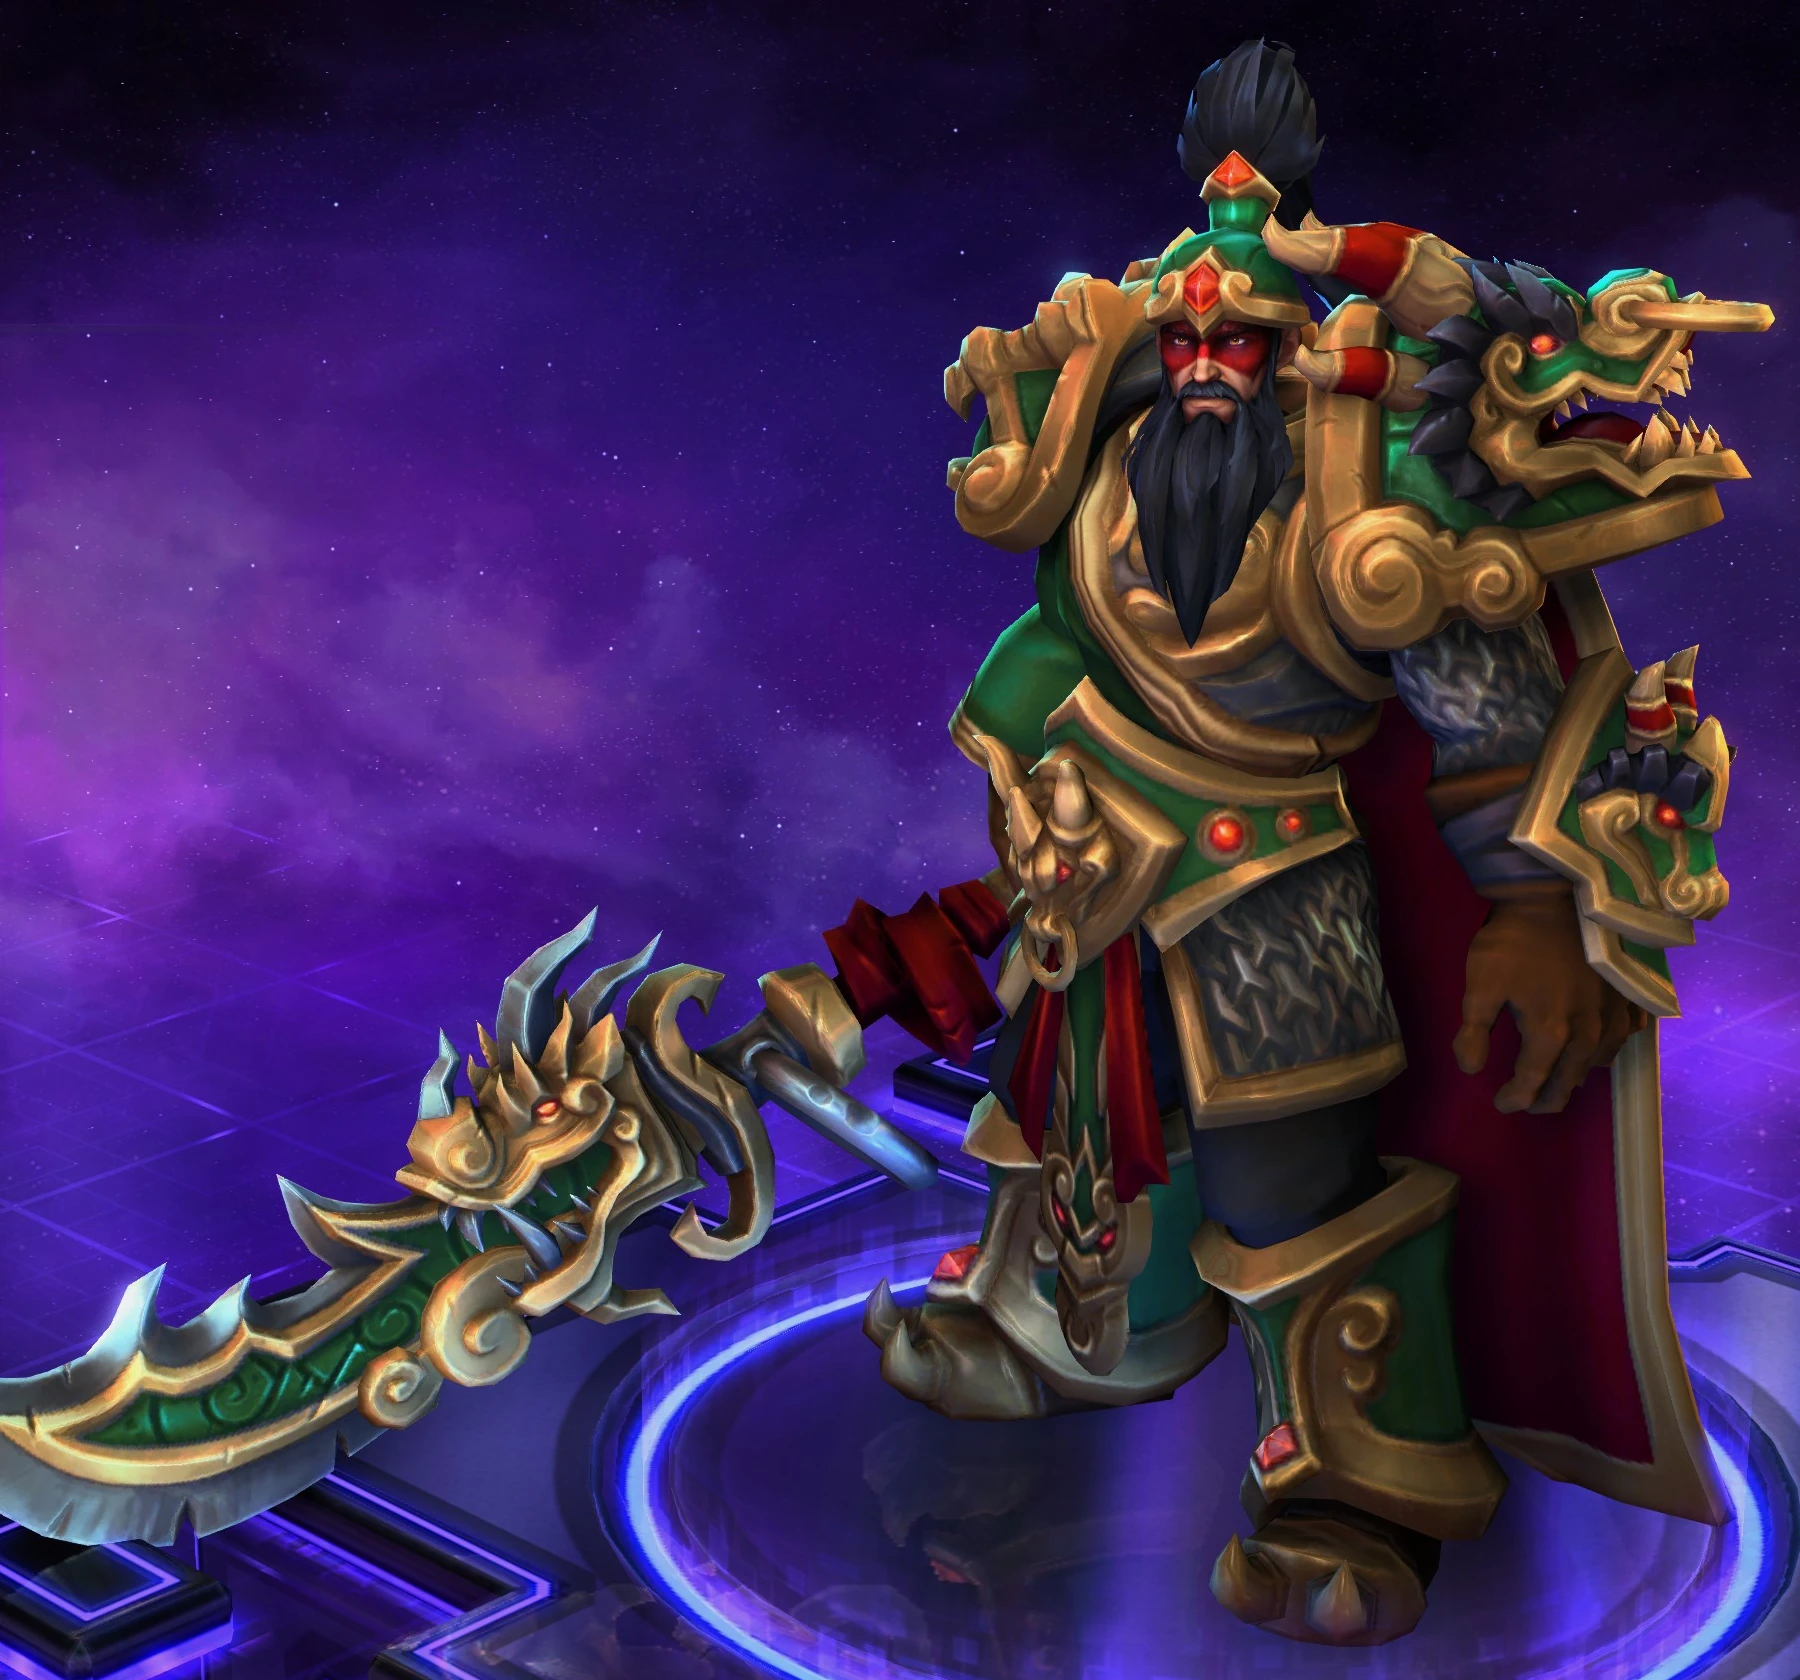
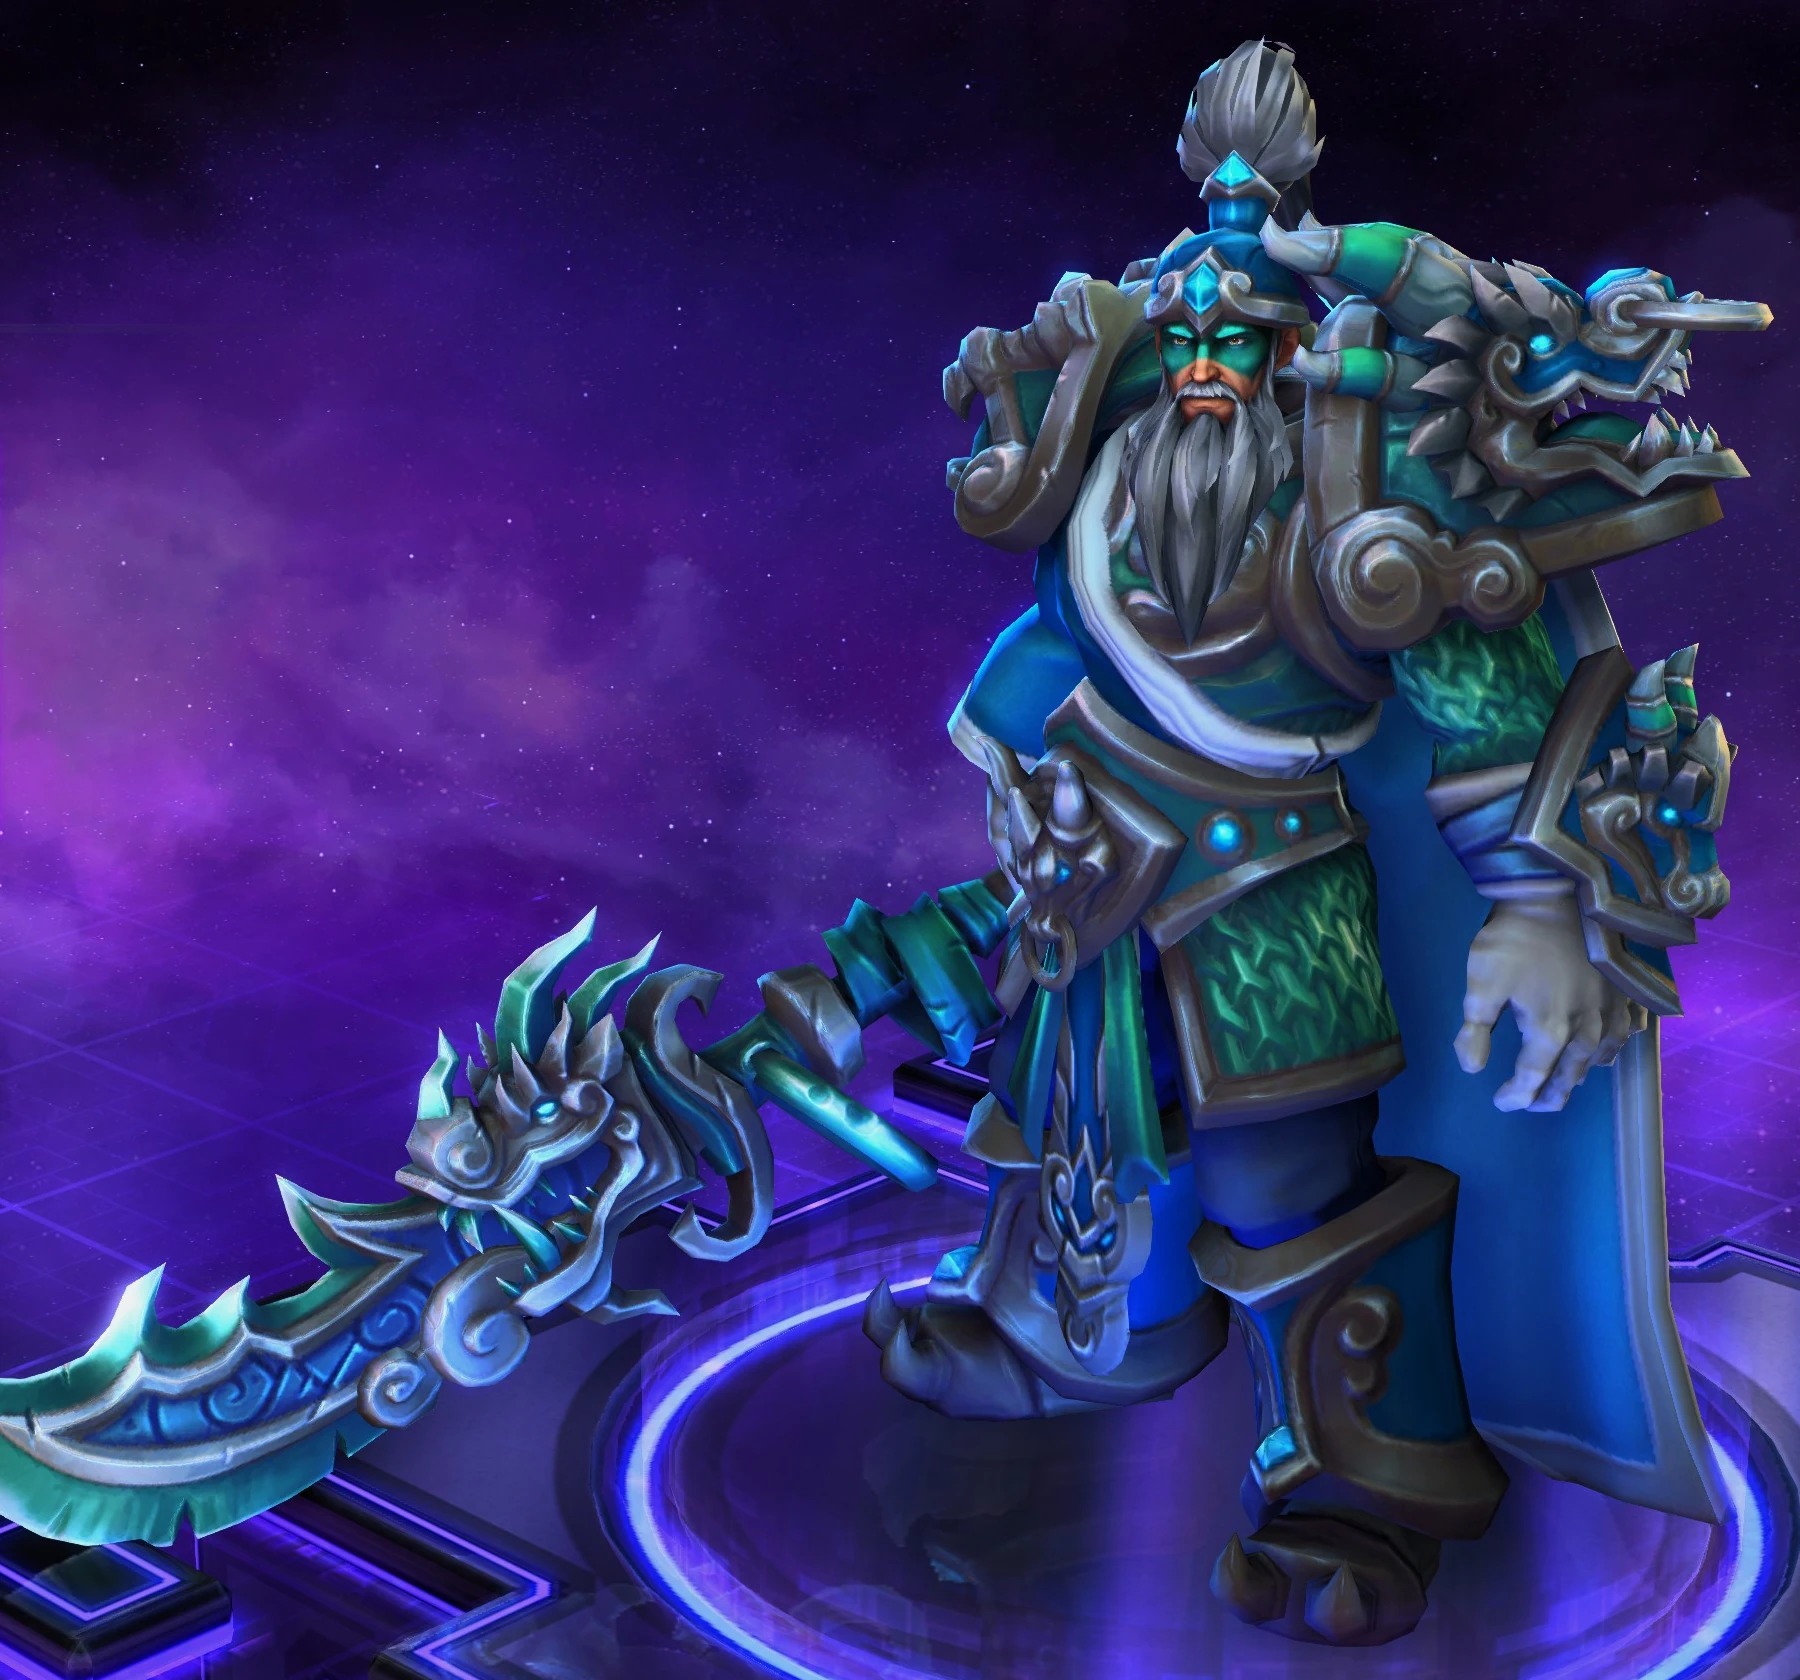
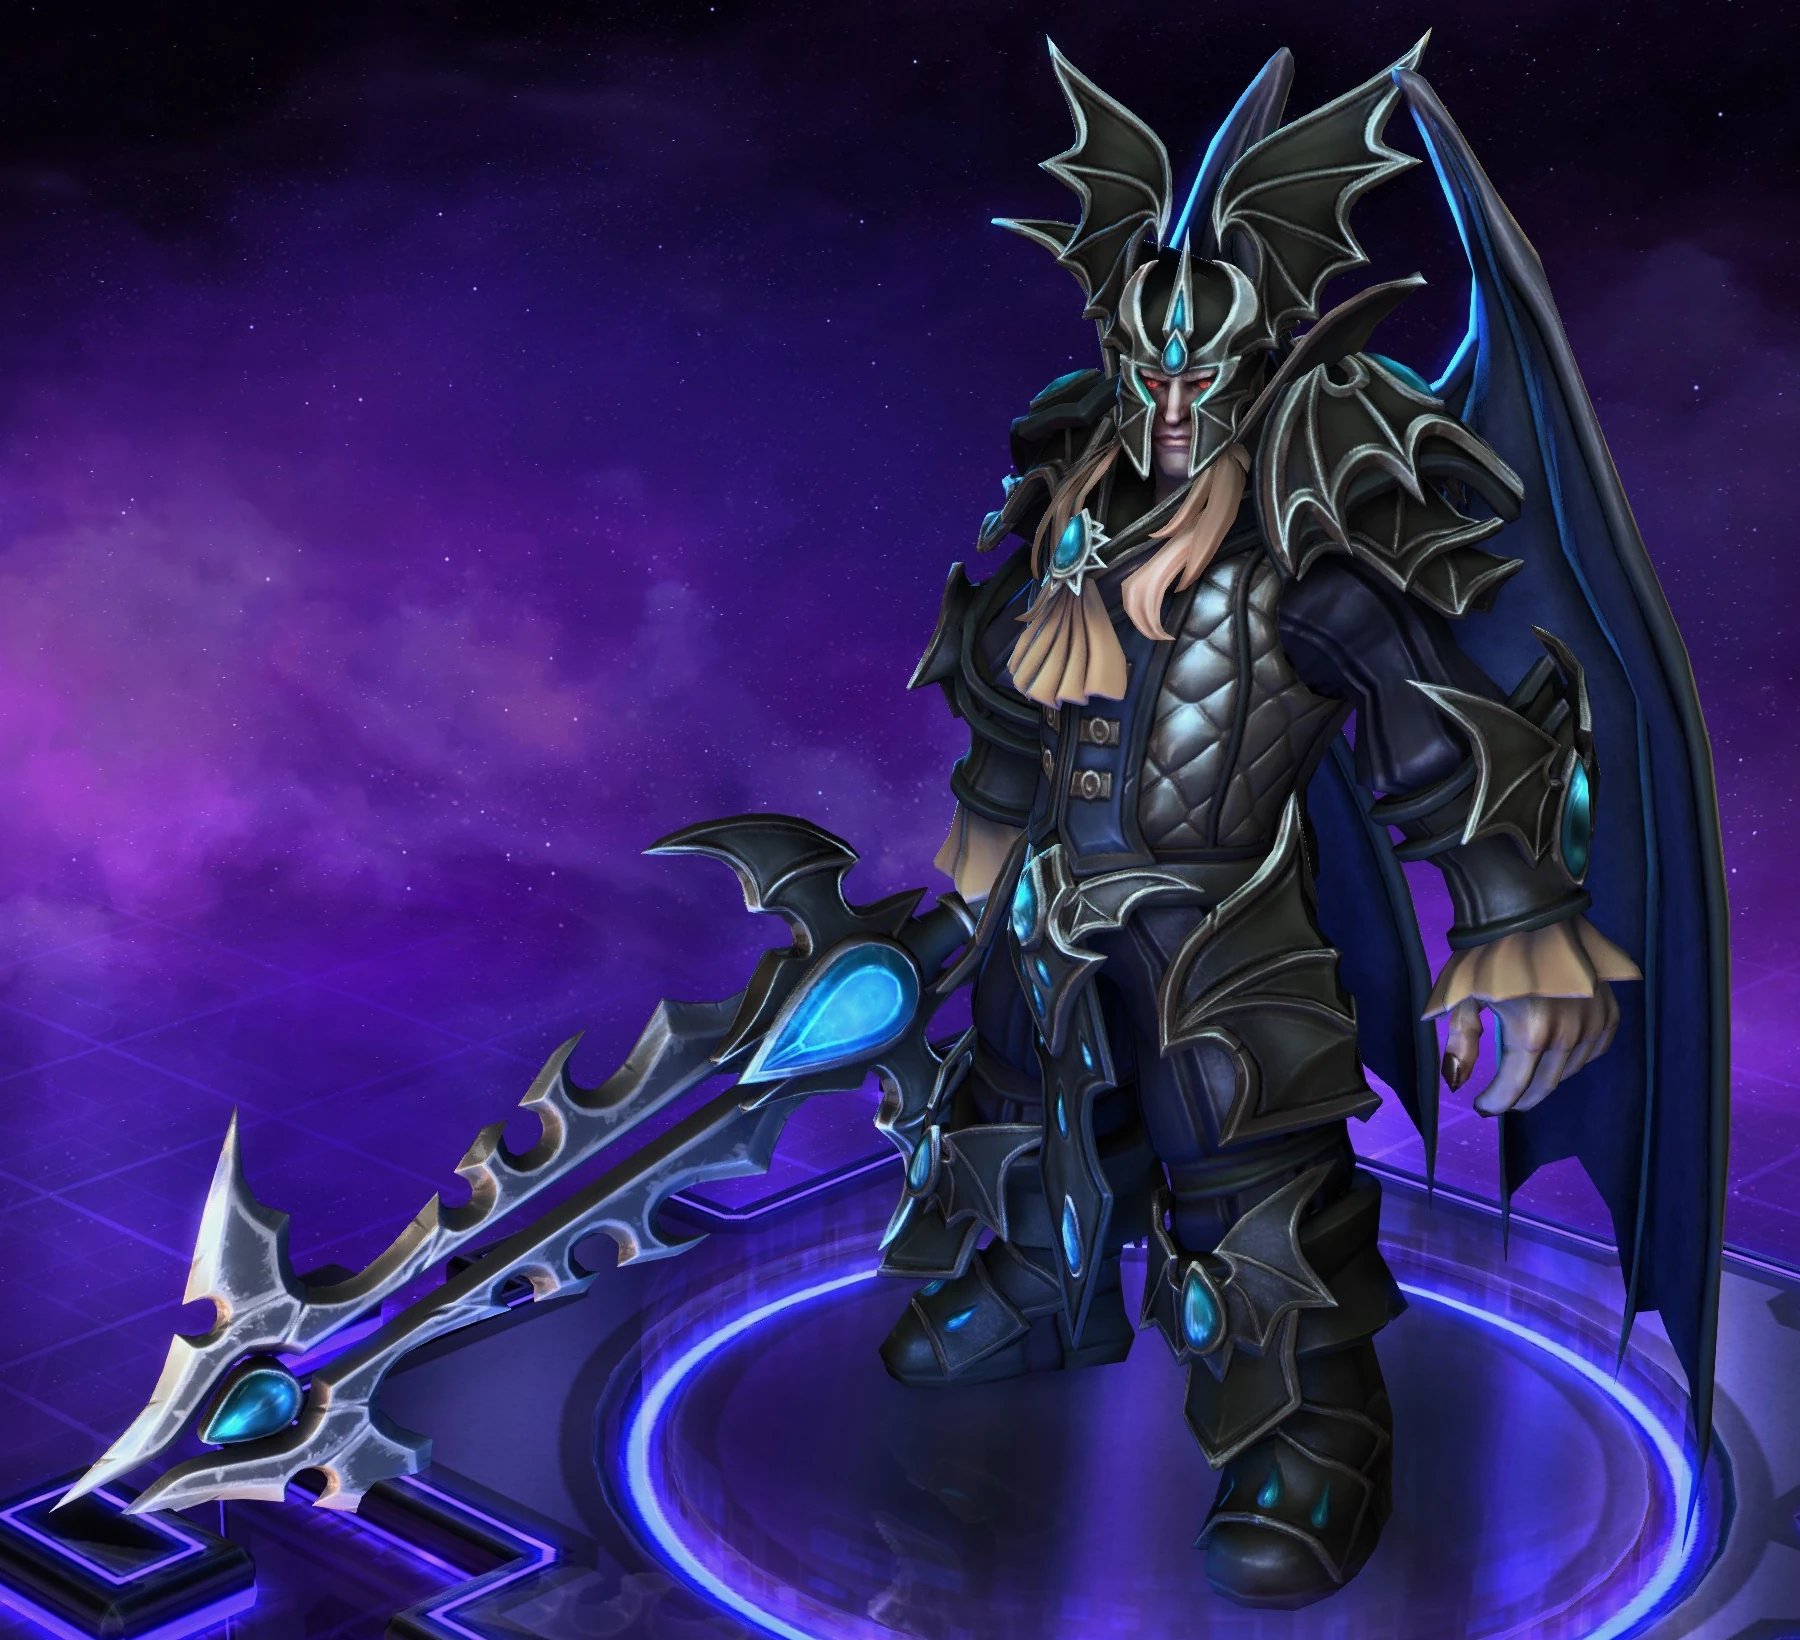
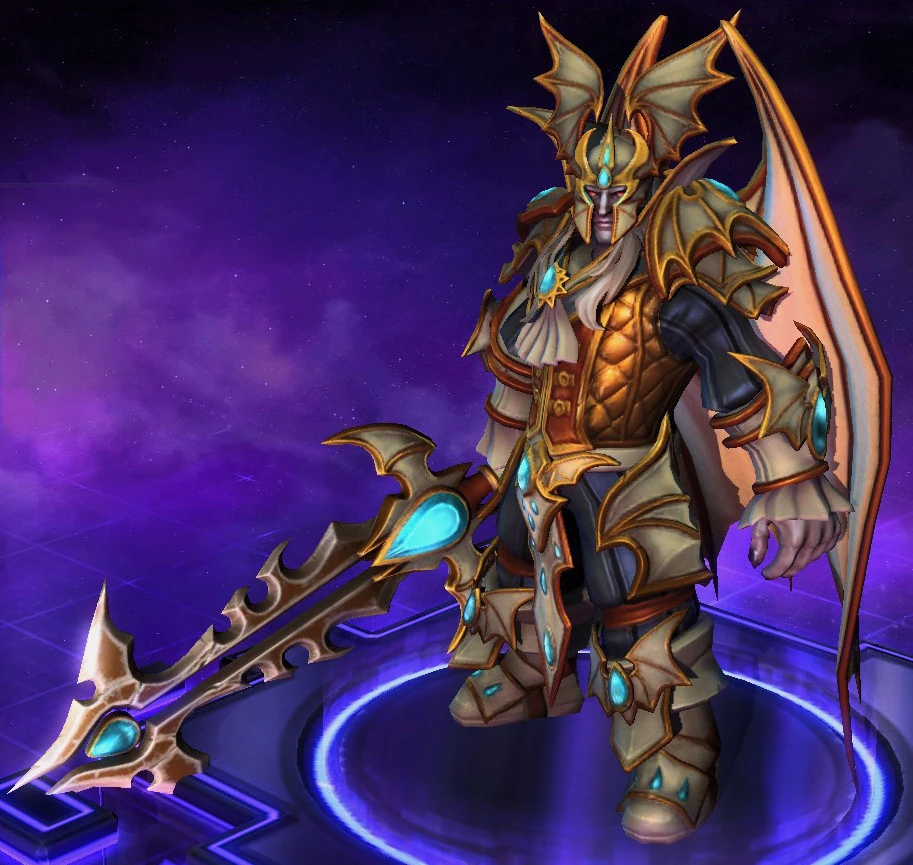
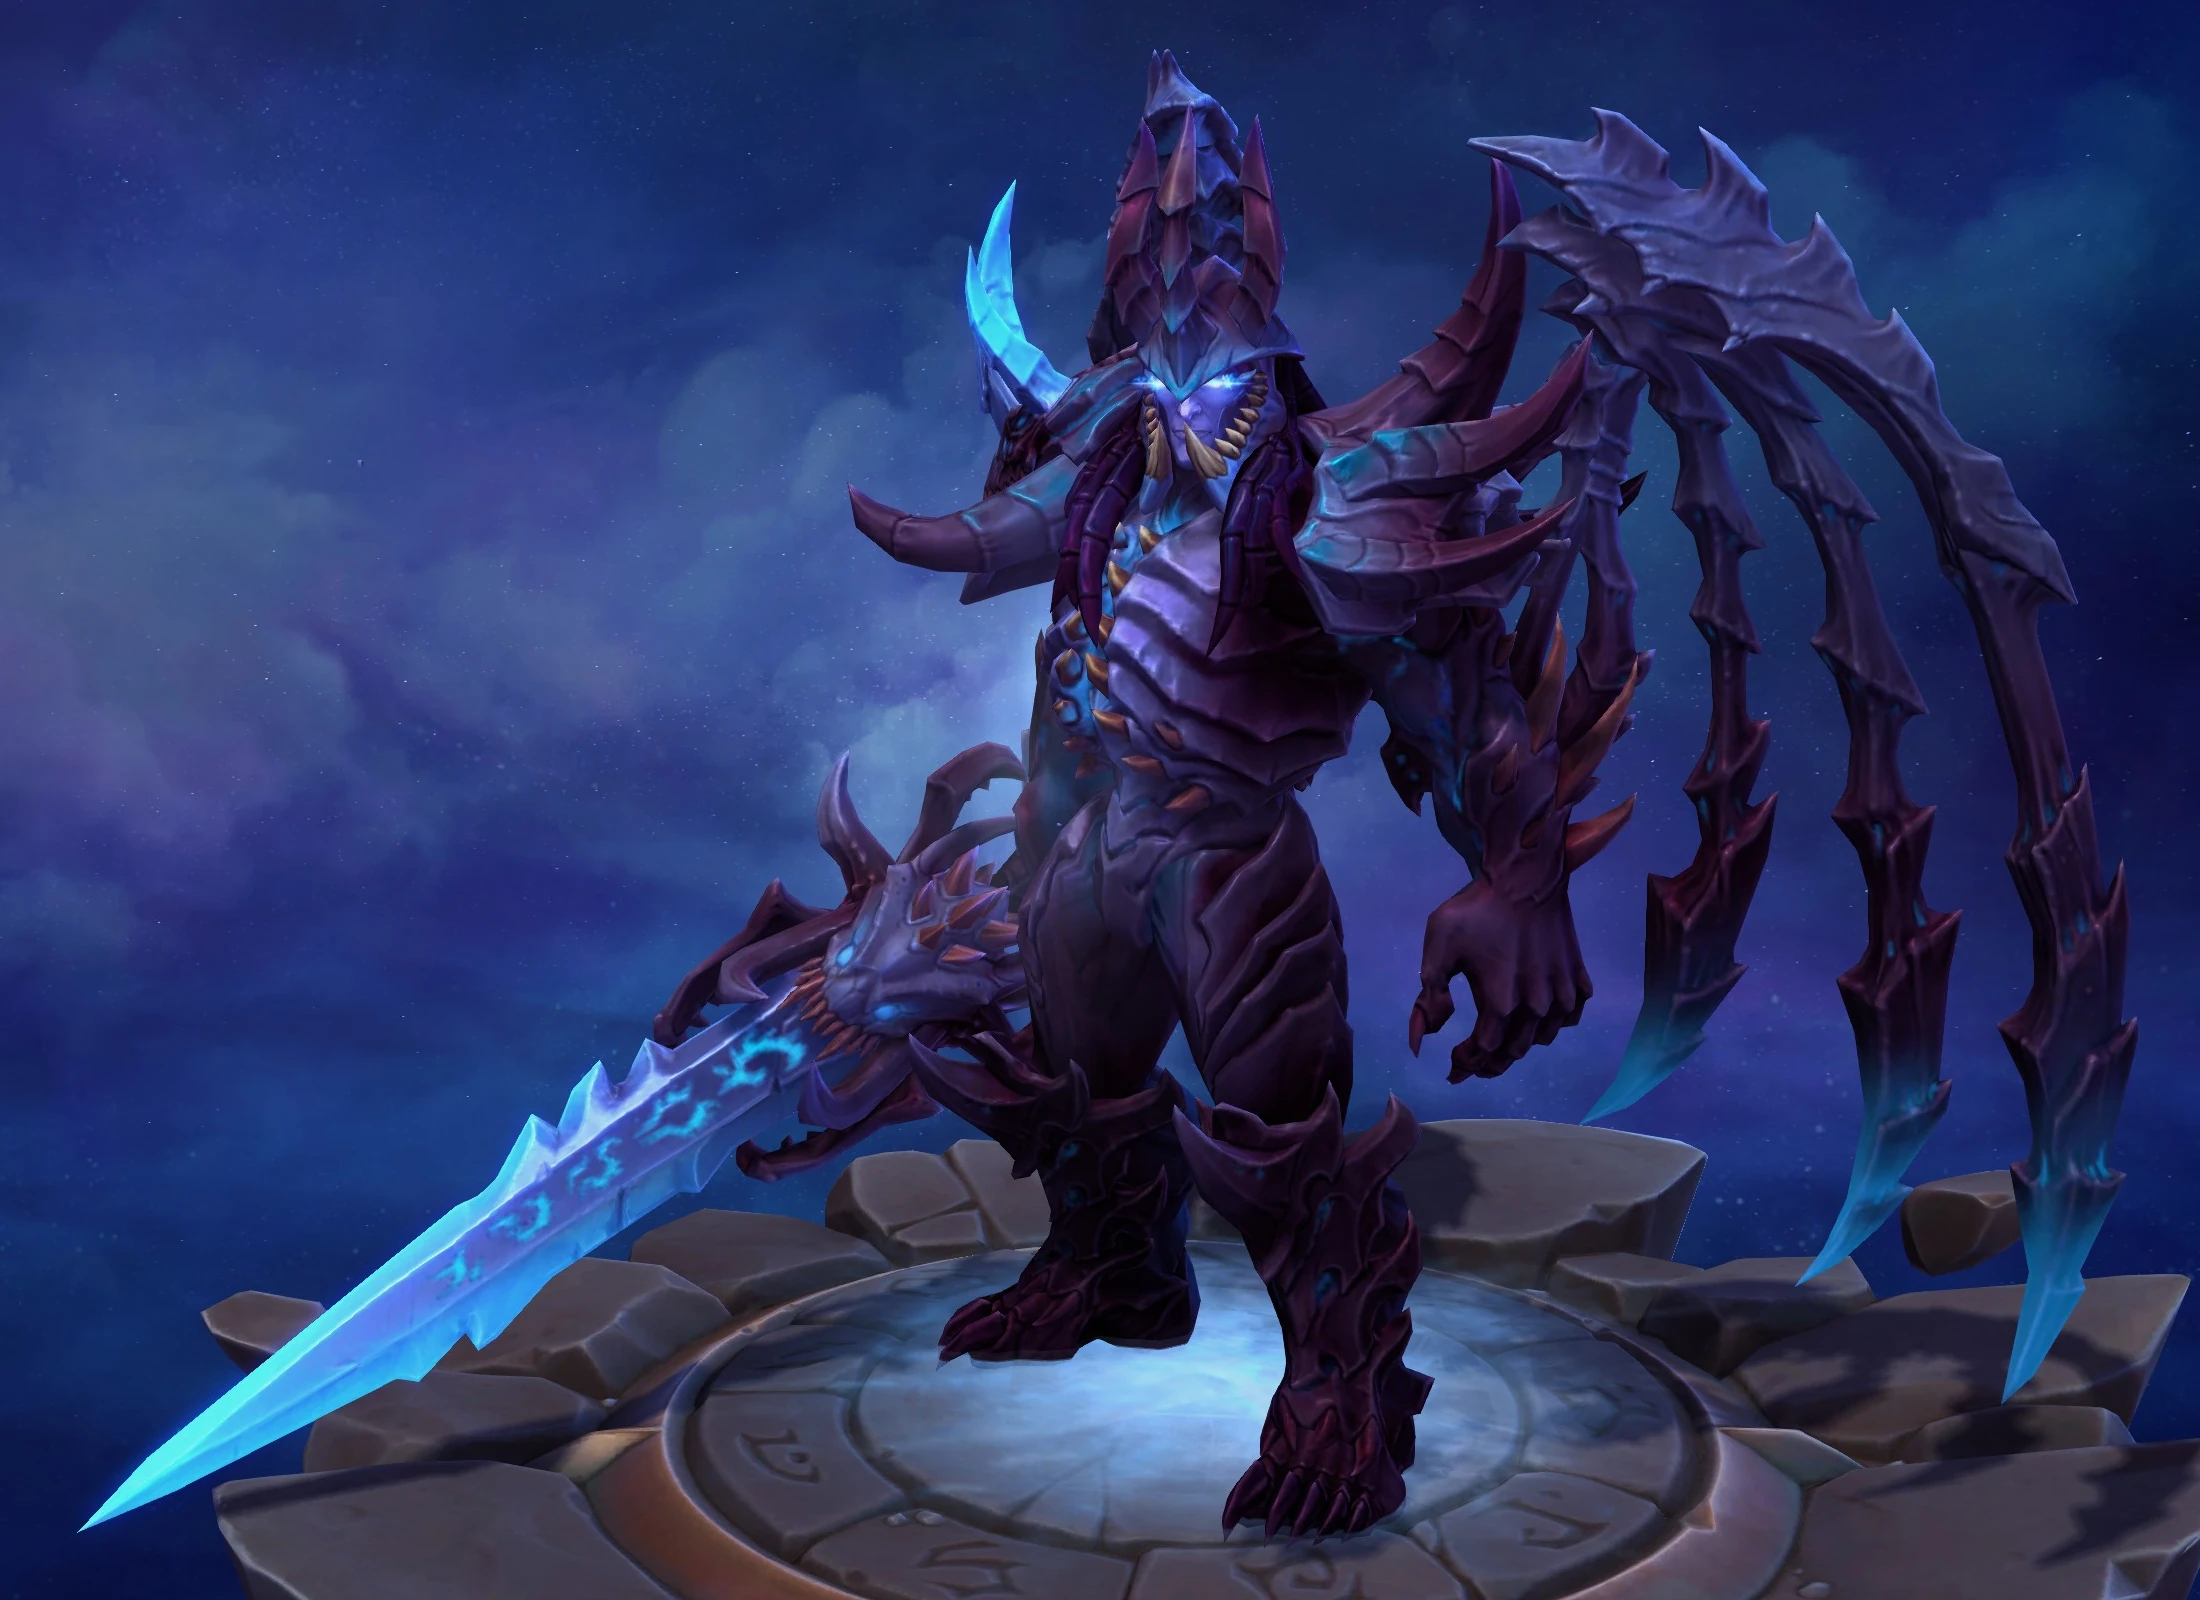
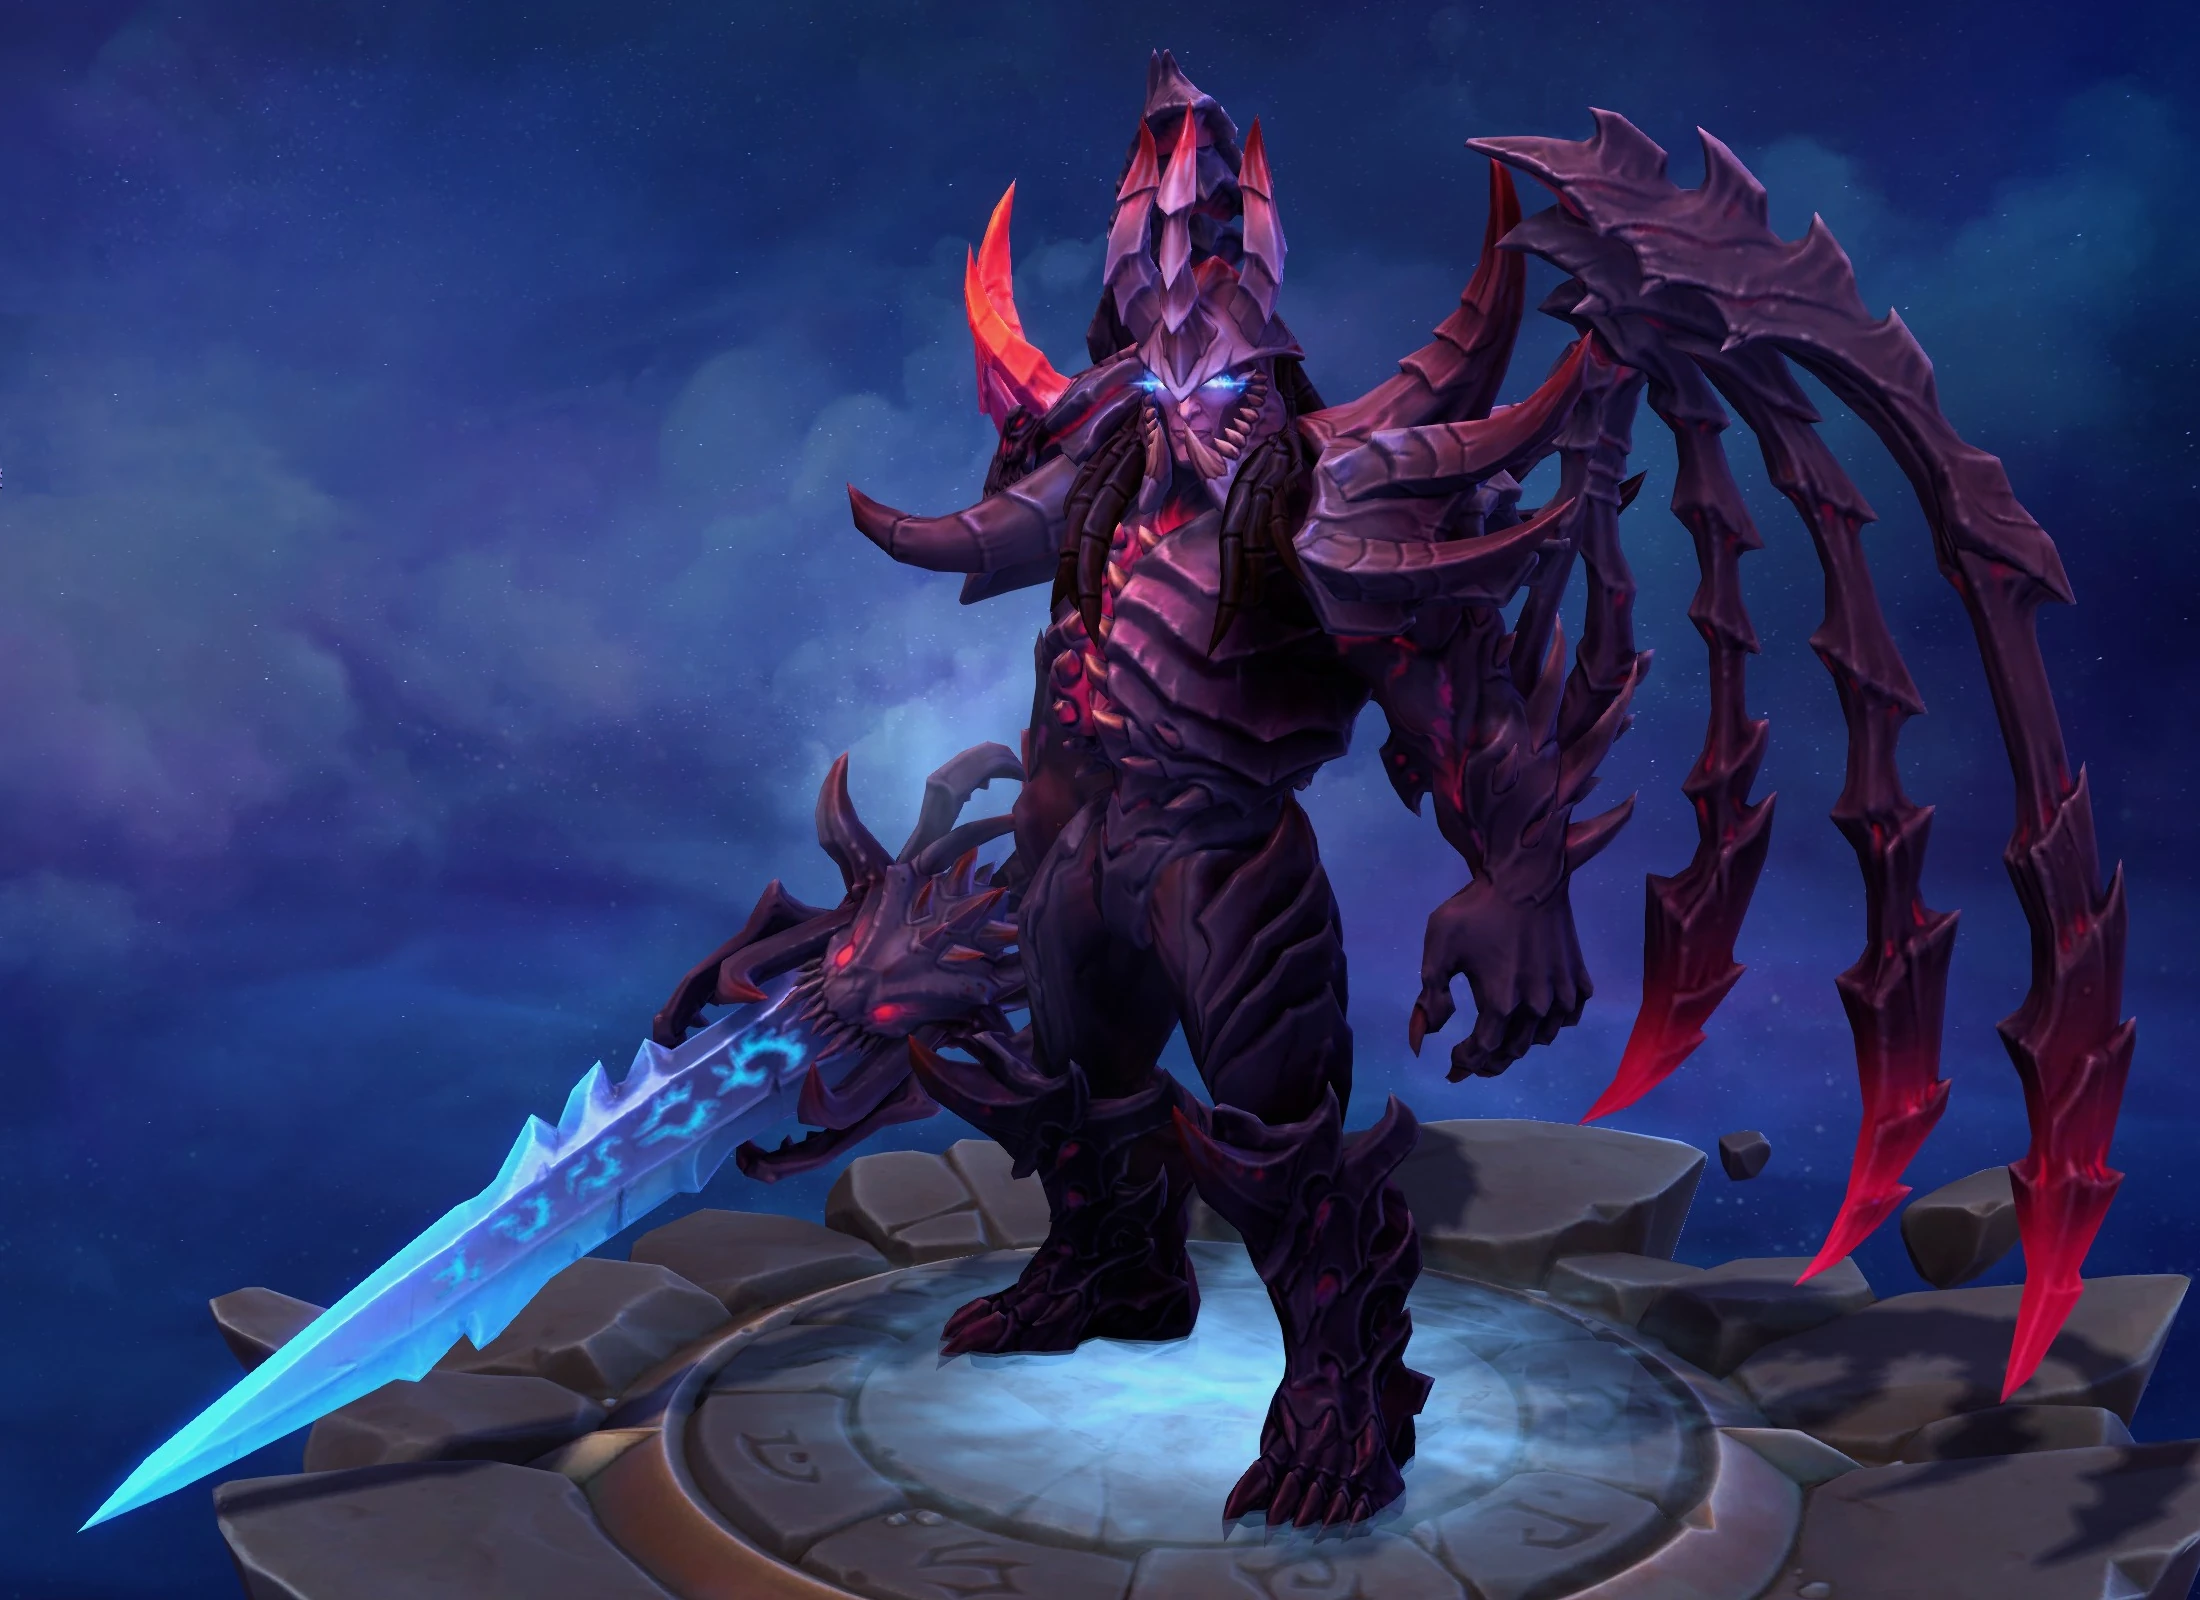
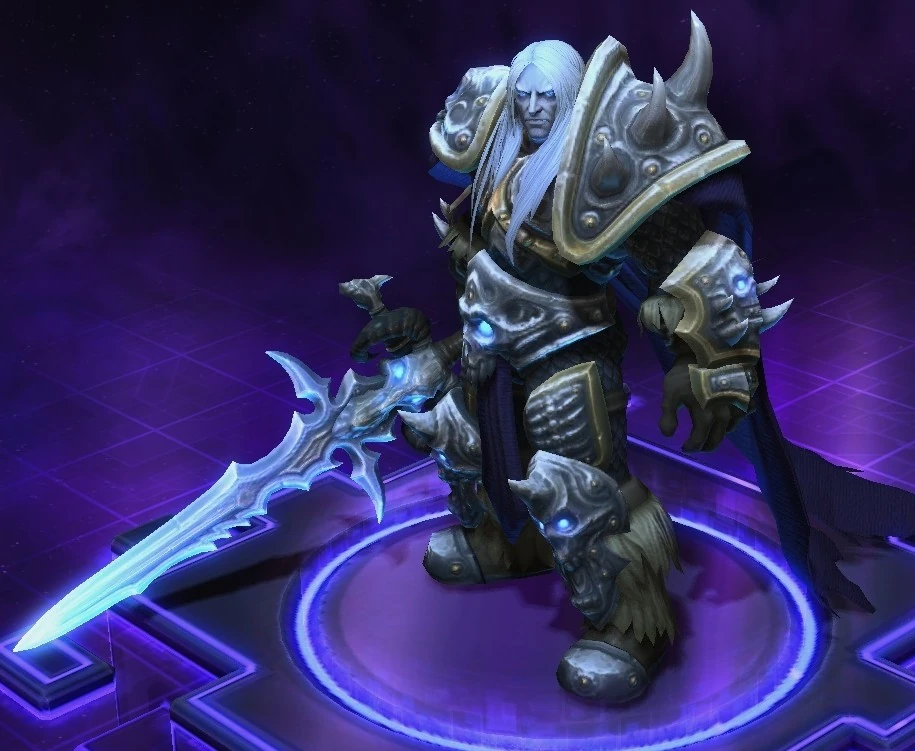
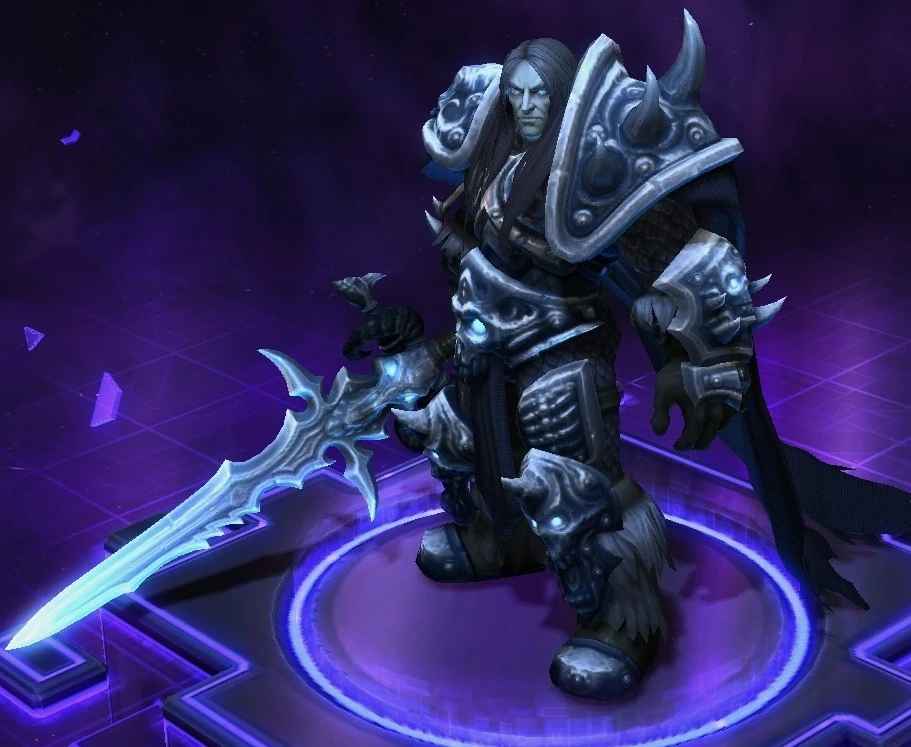
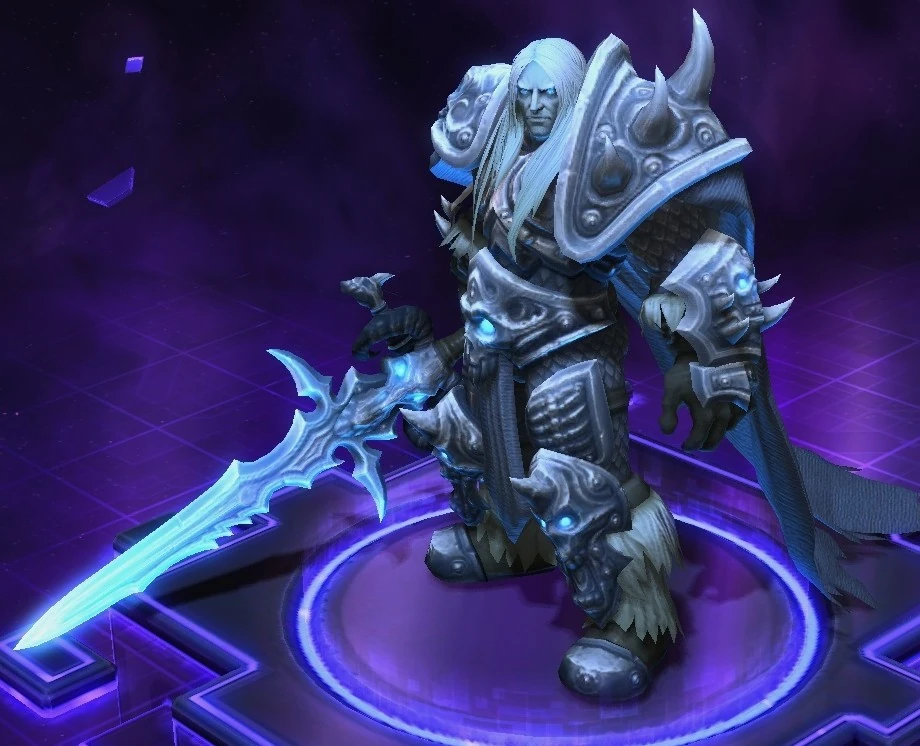
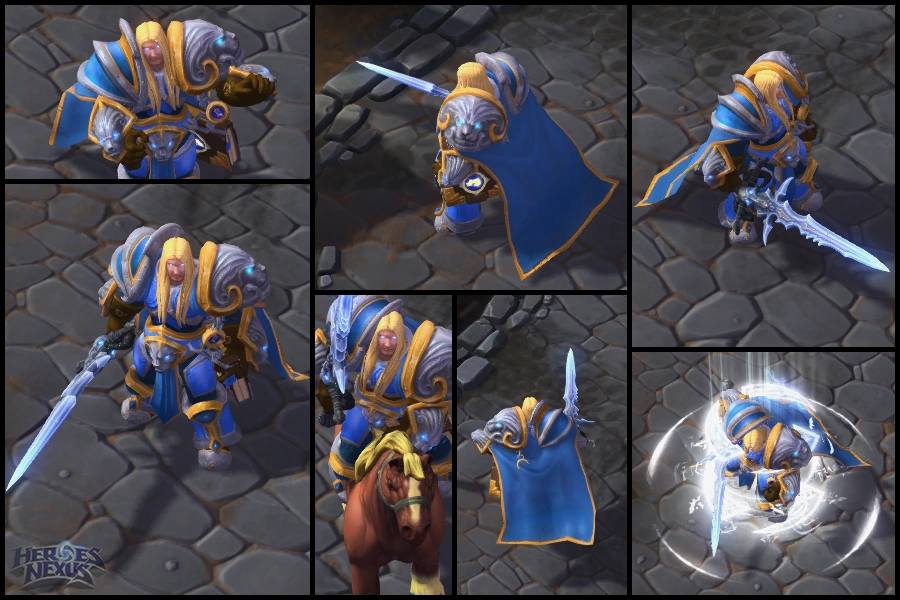
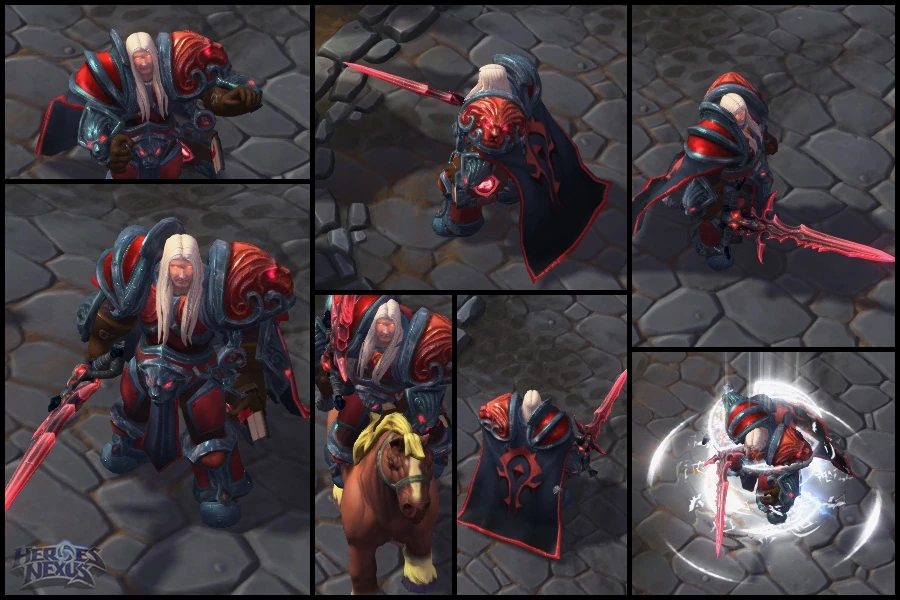
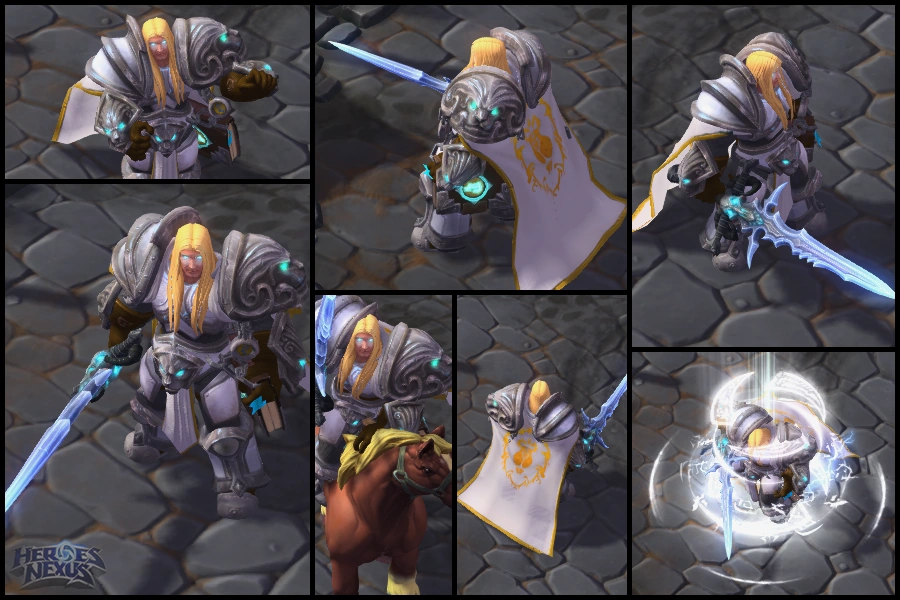
Skins[ | ]
| Arthas Skins | |||||||||||||||||||||||||||||||||||||||||||||||||||||||||||||||||||||||||||||||||||||||||||||||||||||||||||||||||||||||||||||||||||||||||||||||||||||||||||||||||||||||||||||||||||||||||||||||||||||||
|---|---|---|---|---|---|---|---|---|---|---|---|---|---|---|---|---|---|---|---|---|---|---|---|---|---|---|---|---|---|---|---|---|---|---|---|---|---|---|---|---|---|---|---|---|---|---|---|---|---|---|---|---|---|---|---|---|---|---|---|---|---|---|---|---|---|---|---|---|---|---|---|---|---|---|---|---|---|---|---|---|---|---|---|---|---|---|---|---|---|---|---|---|---|---|---|---|---|---|---|---|---|---|---|---|---|---|---|---|---|---|---|---|---|---|---|---|---|---|---|---|---|---|---|---|---|---|---|---|---|---|---|---|---|---|---|---|---|---|---|---|---|---|---|---|---|---|---|---|---|---|---|---|---|---|---|---|---|---|---|---|---|---|---|---|---|---|---|---|---|---|---|---|---|---|---|---|---|---|---|---|---|---|---|---|---|---|---|---|---|---|---|---|---|---|---|---|---|---|---|
| Backstory: Once the crown prince of Lordaeron, and protégé of Uther the Lightbringer, Arthas was corrupted by the cursed blade Frostmourne in a bid to save his people. Now he rules over the damned as the Lich King and all shall know his wrath. | |||||||||||||||||||||||||||||||||||||||||||||||||||||||||||||||||||||||||||||||||||||||||||||||||||||||||||||||||||||||||||||||||||||||||||||||||||||||||||||||||||||||||||||||||||||||||||||||||||||||
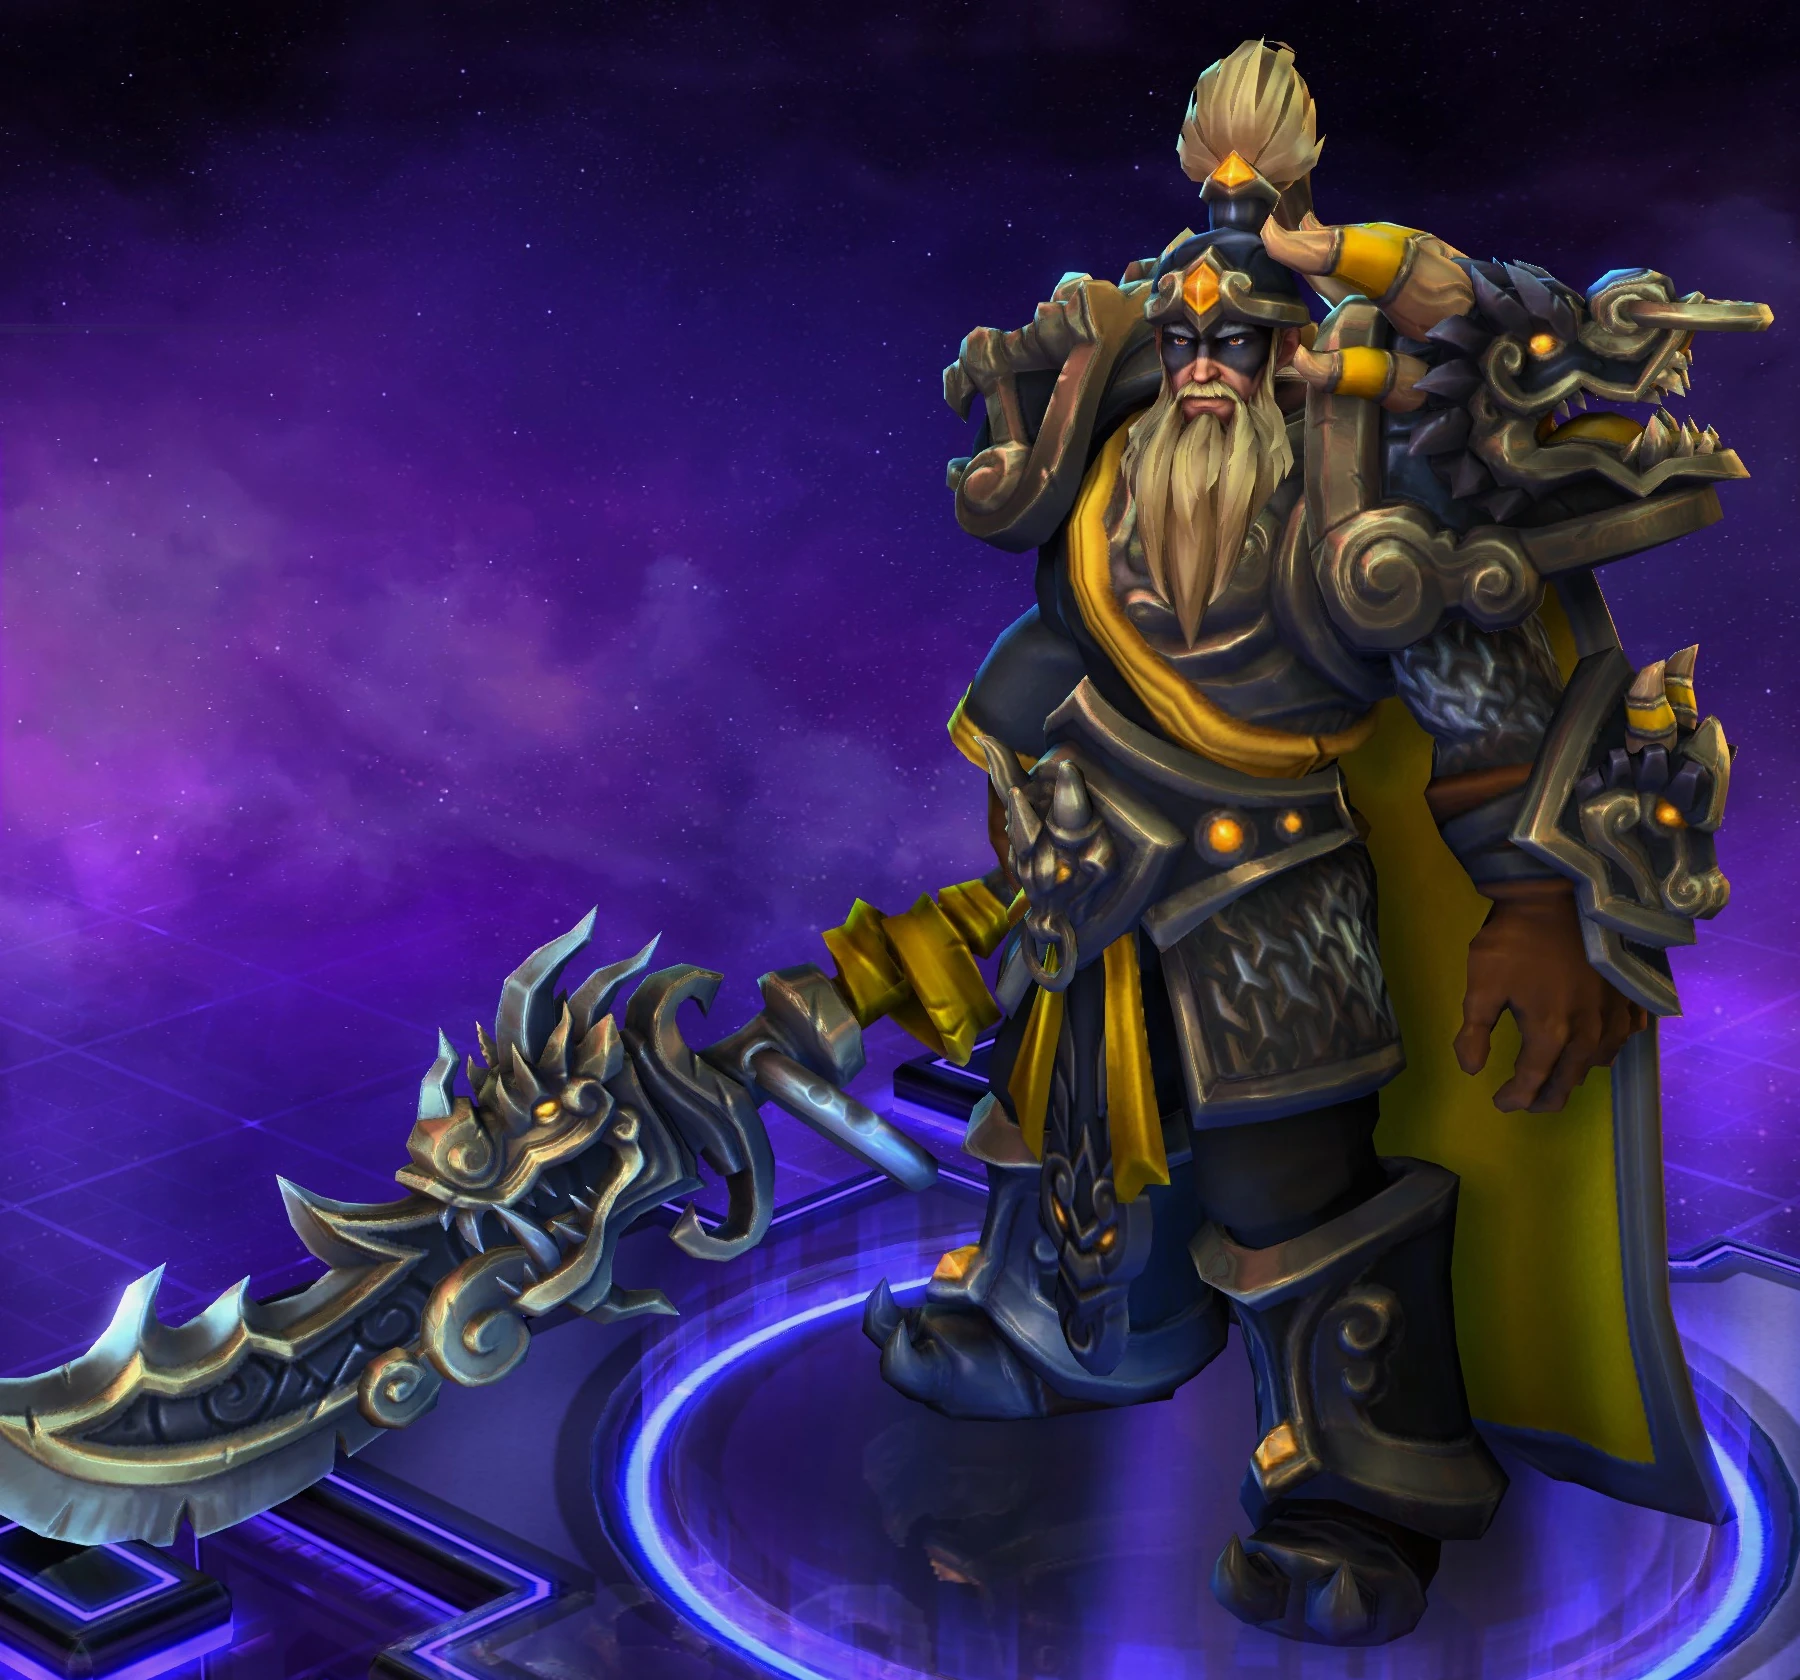
 The Lich King |
 Free Saronite |
 Free Tundra |
 Tarnished | ||||||||||||||||||||||||||||||||||||||||||||||||||||||||||||||||||||||||||||||||||||||||||||||||||||||||||||||||||||||||||||||||||||||||||||||||||||||||||||||||||||||||||||||||||||||||||||||||||||
| Backstory: As his hands gripped the hilt of the cursed blade Frostmourne, a dimensional gateway erupted from the icy pedestal, dragging the young prince Arthas into the Nexus. | |||||||||||||||||||||||||||||||||||||||||||||||||||||||||||||||||||||||||||||||||||||||||||||||||||||||||||||||||||||||||||||||||||||||||||||||||||||||||||||||||||||||||||||||||||||||||||||||||||||||
| Features: Replaced voice-over, themed abilities. | |||||||||||||||||||||||||||||||||||||||||||||||||||||||||||||||||||||||||||||||||||||||||||||||||||||||||||||||||||||||||||||||||||||||||||||||||||||||||||||||||||||||||||||||||||||||||||||||||||||||
| Notes: This skin theme is part of a shared theme of character's pre-change skins. | |||||||||||||||||||||||||||||||||||||||||||||||||||||||||||||||||||||||||||||||||||||||||||||||||||||||||||||||||||||||||||||||||||||||||||||||||||||||||||||||||||||||||||||||||||||||||||||||||||||||
 |
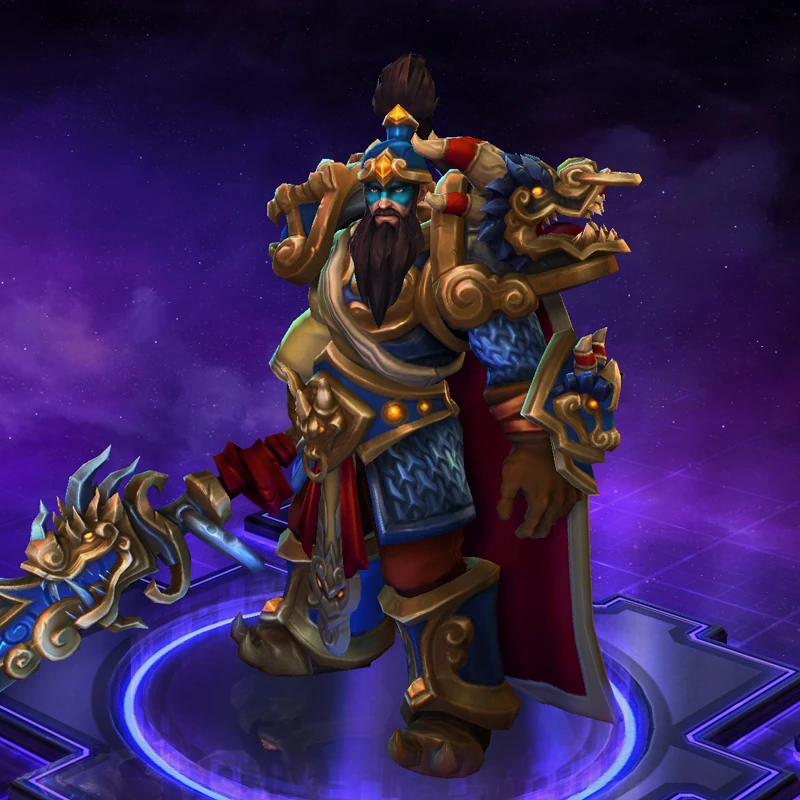
 Kul Tiras |
 Dalaran |
 Stromgarde | ||||||||||||||||||||||||||||||||||||||||||||||||||||||||||||||||||||||||||||||||||||||||||||||||||||||||||||||||||||||||||||||||||||||||||||||||||||||||||||||||||||||||||||||||||||||||||||||||||||
| Backstory: As Frostmourne devoured more and more souls, the Lich King's dominion over the damned grew ever stronger. It wasn't long before his armor began to manifest changes. | |||||||||||||||||||||||||||||||||||||||||||||||||||||||||||||||||||||||||||||||||||||||||||||||||||||||||||||||||||||||||||||||||||||||||||||||||||||||||||||||||||||||||||||||||||||||||||||||||||||||
 |
 Beryl |
 Sanguine | |||||||||||||||||||||||||||||||||||||||||||||||||||||||||||||||||||||||||||||||||||||||||||||||||||||||||||||||||||||||||||||||||||||||||||||||||||||||||||||||||||||||||||||||||||||||||||||||||||||
| Backstory: After the death of the Ashen Verdict's champions none could halt the Lich King's advance. As a reminder of his victory, he grafted the bones of his fallen servants onto his armor. | |||||||||||||||||||||||||||||||||||||||||||||||||||||||||||||||||||||||||||||||||||||||||||||||||||||||||||||||||||||||||||||||||||||||||||||||||||||||||||||||||||||||||||||||||||||||||||||||||||||||
| Notes: This skin theme is part of a shared theme of alternative history skins. | |||||||||||||||||||||||||||||||||||||||||||||||||||||||||||||||||||||||||||||||||||||||||||||||||||||||||||||||||||||||||||||||||||||||||||||||||||||||||||||||||||||||||||||||||||||||||||||||||||||||
 |
 Flesh |
 Unholy |
 Ruby | ||||||||||||||||||||||||||||||||||||||||||||||||||||||||||||||||||||||||||||||||||||||||||||||||||||||||||||||||||||||||||||||||||||||||||||||||||||||||||||||||||||||||||||||||||||||||||||||||||||
| Backstory: Revered for his bravery and martial skill, General Arthas has led his king's armies to countless victories. His loyalty knows no bounds, and nothing can make him break his oath of service. | |||||||||||||||||||||||||||||||||||||||||||||||||||||||||||||||||||||||||||||||||||||||||||||||||||||||||||||||||||||||||||||||||||||||||||||||||||||||||||||||||||||||||||||||||||||||||||||||||||||||
| Features: Themed abilities. | |||||||||||||||||||||||||||||||||||||||||||||||||||||||||||||||||||||||||||||||||||||||||||||||||||||||||||||||||||||||||||||||||||||||||||||||||||||||||||||||||||||||||||||||||||||||||||||||||||||||
 |
 Frozen |
 Shadow |
 Royal | ||||||||||||||||||||||||||||||||||||||||||||||||||||||||||||||||||||||||||||||||||||||||||||||||||||||||||||||||||||||||||||||||||||||||||||||||||||||||||||||||||||||||||||||||||||||||||||||||||||
| Arthas Event Skins | |||||||||||||||||||||||||||||||||||||||||||||||||||||||||||||||||||||||||||||||||||||||||||||||||||||||||||||||||||||||||||||||||||||||||||||||||||||||||||||||||||||||||||||||||||||||||||||||||||||||
|---|---|---|---|---|---|---|---|---|---|---|---|---|---|---|---|---|---|---|---|---|---|---|---|---|---|---|---|---|---|---|---|---|---|---|---|---|---|---|---|---|---|---|---|---|---|---|---|---|---|---|---|---|---|---|---|---|---|---|---|---|---|---|---|---|---|---|---|---|---|---|---|---|---|---|---|---|---|---|---|---|---|---|---|---|---|---|---|---|---|---|---|---|---|---|---|---|---|---|---|---|---|---|---|---|---|---|---|---|---|---|---|---|---|---|---|---|---|---|---|---|---|---|---|---|---|---|---|---|---|---|---|---|---|---|---|---|---|---|---|---|---|---|---|---|---|---|---|---|---|---|---|---|---|---|---|---|---|---|---|---|---|---|---|---|---|---|---|---|---|---|---|---|---|---|---|---|---|---|---|---|---|---|---|---|---|---|---|---|---|---|---|---|---|---|---|---|---|---|---|
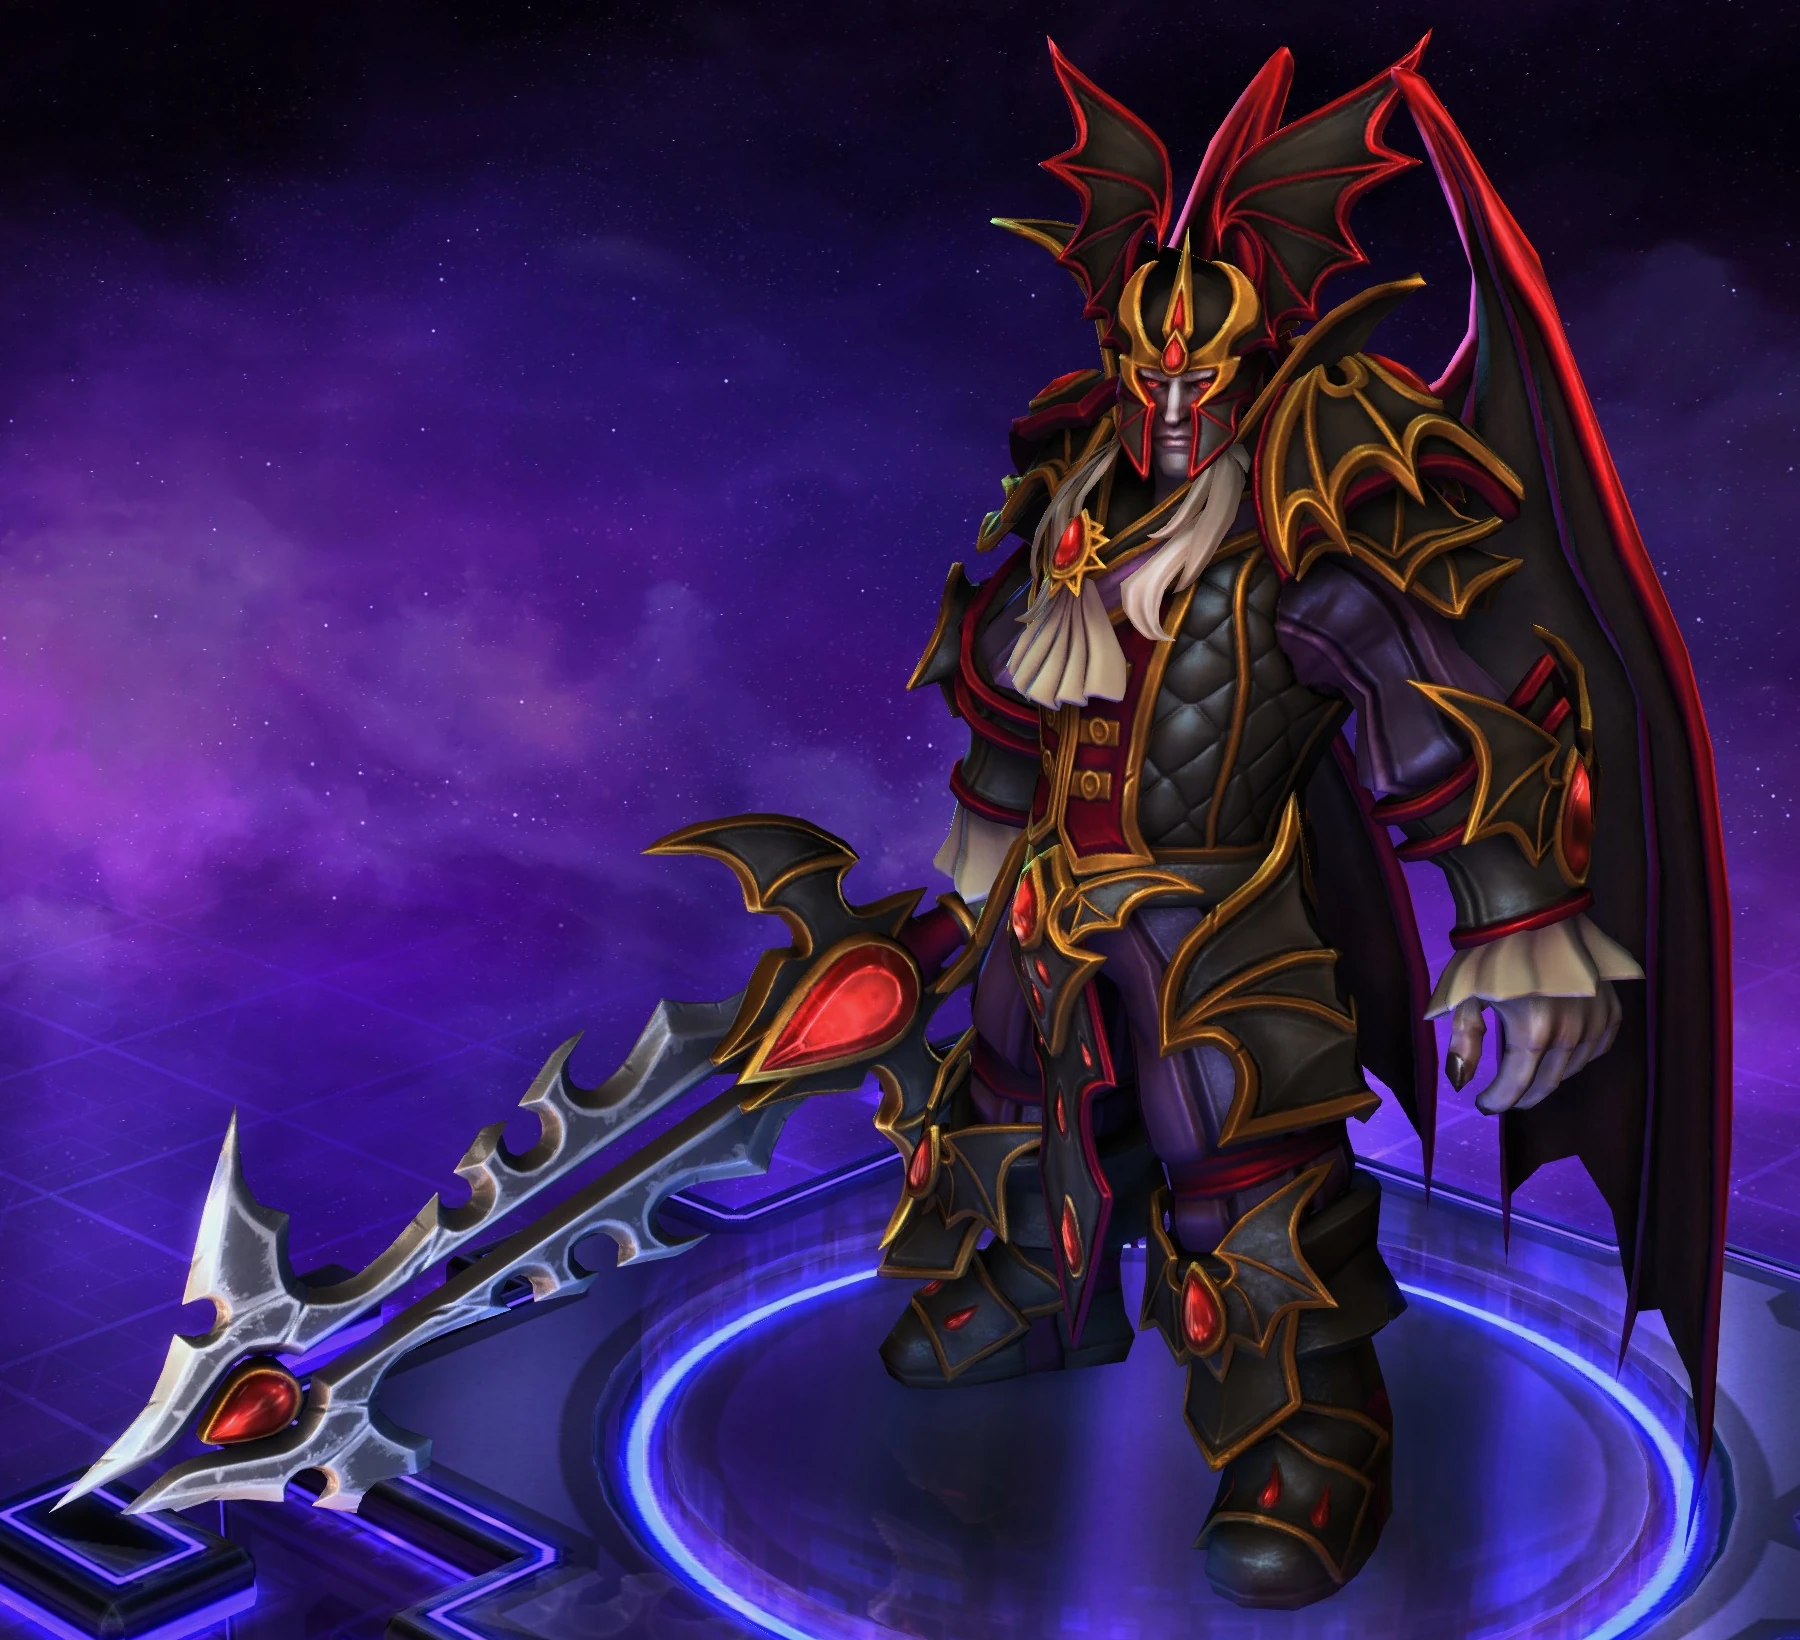
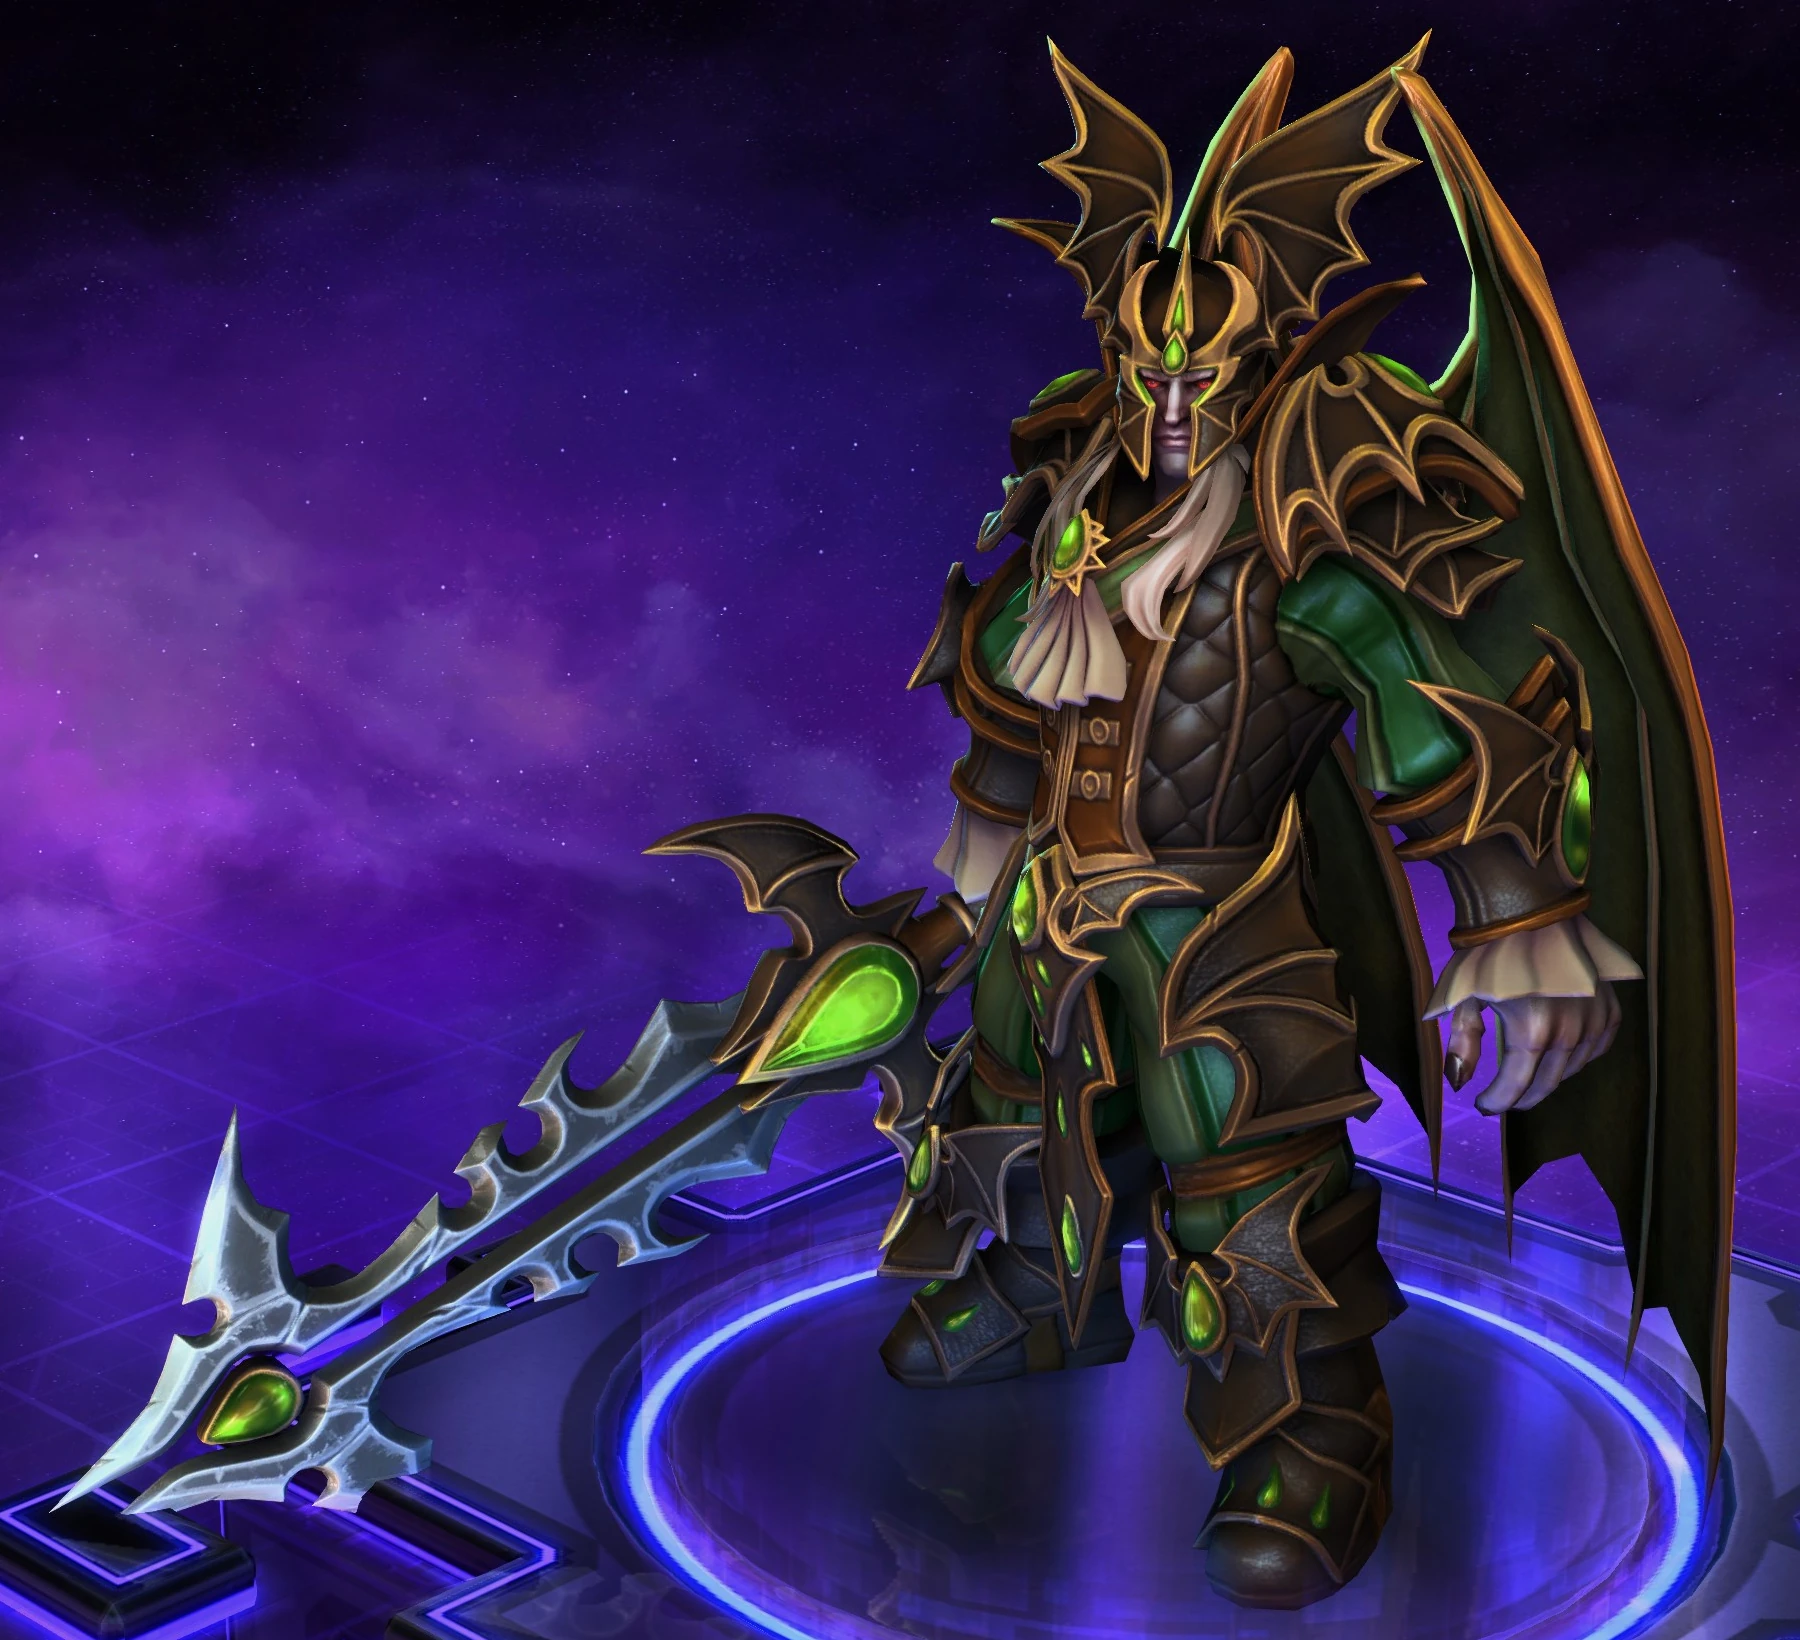
| Backstory: Few of Sarah von Kerrigan's suitors are as bold or brash as Marquis Arthas du Menethíl. The Crimson Count hopes their unholy union will spell doom for Raven Court's vampire slayers. | |||||||||||||||||||||||||||||||||||||||||||||||||||||||||||||||||||||||||||||||||||||||||||||||||||||||||||||||||||||||||||||||||||||||||||||||||||||||||||||||||||||||||||||||||||||||||||||||||||||||
| Features: Themed mount, themed abilities. | |||||||||||||||||||||||||||||||||||||||||||||||||||||||||||||||||||||||||||||||||||||||||||||||||||||||||||||||||||||||||||||||||||||||||||||||||||||||||||||||||||||||||||||||||||||||||||||||||||||||
| Notes: This skin theme is part of a shared theme of Raven Court skins. | |||||||||||||||||||||||||||||||||||||||||||||||||||||||||||||||||||||||||||||||||||||||||||||||||||||||||||||||||||||||||||||||||||||||||||||||||||||||||||||||||||||||||||||||||||||||||||||||||||||||
 |
 Toxic |
 Shadow |
 Consecrated | ||||||||||||||||||||||||||||||||||||||||||||||||||||||||||||||||||||||||||||||||||||||||||||||||||||||||||||||||||||||||||||||||||||||||||||||||||||||||||||||||||||||||||||||||||||||||||||||||||||
| Backstory: Corrupted by the Zerg's insatiable bloodlust, Arthas turns battlefields to burial grounds as the King of Blades. | |||||||||||||||||||||||||||||||||||||||||||||||||||||||||||||||||||||||||||||||||||||||||||||||||||||||||||||||||||||||||||||||||||||||||||||||||||||||||||||||||||||||||||||||||||||||||||||||||||||||
| Features: Themed animations, Themed abilities | |||||||||||||||||||||||||||||||||||||||||||||||||||||||||||||||||||||||||||||||||||||||||||||||||||||||||||||||||||||||||||||||||||||||||||||||||||||||||||||||||||||||||||||||||||||||||||||||||||||||
| Notes: This skin theme is part of a shared theme of other universes merging into StarCraft skins. | |||||||||||||||||||||||||||||||||||||||||||||||||||||||||||||||||||||||||||||||||||||||||||||||||||||||||||||||||||||||||||||||||||||||||||||||||||||||||||||||||||||||||||||||||||||||||||||||||||||||
 |
 Venomous |
 Lavawrought | |||||||||||||||||||||||||||||||||||||||||||||||||||||||||||||||||||||||||||||||||||||||||||||||||||||||||||||||||||||||||||||||||||||||||||||||||||||||||||||||||||||||||||||||||||||||||||||||||||||
| Arthas Removed Skins | |||||||||||||||||||||||||||||||||||||||||||||||||||||||||||||||||||||||||||||||||||||||||||||||||||||||||||||||||||||||||||||||||||||||||||||||||||||||||||||||||||||||||||||||||||||||||||||||||||||||
|---|---|---|---|---|---|---|---|---|---|---|---|---|---|---|---|---|---|---|---|---|---|---|---|---|---|---|---|---|---|---|---|---|---|---|---|---|---|---|---|---|---|---|---|---|---|---|---|---|---|---|---|---|---|---|---|---|---|---|---|---|---|---|---|---|---|---|---|---|---|---|---|---|---|---|---|---|---|---|---|---|---|---|---|---|---|---|---|---|---|---|---|---|---|---|---|---|---|---|---|---|---|---|---|---|---|---|---|---|---|---|---|---|---|---|---|---|---|---|---|---|---|---|---|---|---|---|---|---|---|---|---|---|---|---|---|---|---|---|---|---|---|---|---|---|---|---|---|---|---|---|---|---|---|---|---|---|---|---|---|---|---|---|---|---|---|---|---|---|---|---|---|---|---|---|---|---|---|---|---|---|---|---|---|---|---|---|---|---|---|---|---|---|---|---|---|---|---|---|---|
| Backstory: As the victorious Arthas ascended the Frozen Throne the Lich King's voice echoed through his mind... Without warning, the words pulled away as he found himself in the heart of the Nexus. | |||||||||||||||||||||||||||||||||||||||||||||||||||||||||||||||||||||||||||||||||||||||||||||||||||||||||||||||||||||||||||||||||||||||||||||||||||||||||||||||||||||||||||||||||||||||||||||||||||||||
 |
 |
 | |||||||||||||||||||||||||||||||||||||||||||||||||||||||||||||||||||||||||||||||||||||||||||||||||||||||||||||||||||||||||||||||||||||||||||||||||||||||||||||||||||||||||||||||||||||||||||||||||||||
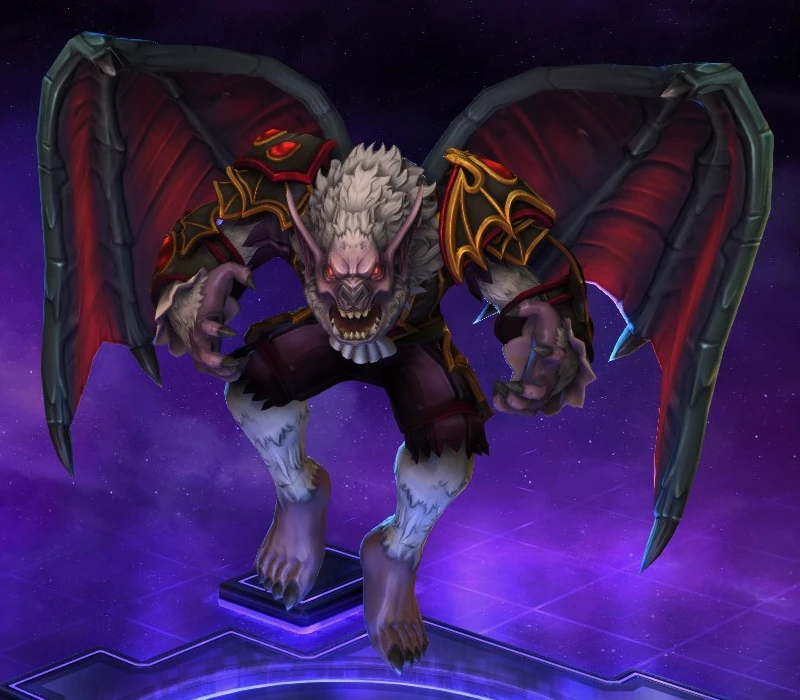
Mounts[ | ]
| Arthas Mounts | |||||||||||||||||||||||||||||||||||||||||||||||||||||||||||||||||||||||||||||||||||||||||||||||||||||||||||||||||||||||||||||||||||||||||||||||||||||||||||||||||||||||||||||||||||||||||||||||||||||||
|---|---|---|---|---|---|---|---|---|---|---|---|---|---|---|---|---|---|---|---|---|---|---|---|---|---|---|---|---|---|---|---|---|---|---|---|---|---|---|---|---|---|---|---|---|---|---|---|---|---|---|---|---|---|---|---|---|---|---|---|---|---|---|---|---|---|---|---|---|---|---|---|---|---|---|---|---|---|---|---|---|---|---|---|---|---|---|---|---|---|---|---|---|---|---|---|---|---|---|---|---|---|---|---|---|---|---|---|---|---|---|---|---|---|---|---|---|---|---|---|---|---|---|---|---|---|---|---|---|---|---|---|---|---|---|---|---|---|---|---|---|---|---|---|---|---|---|---|---|---|---|---|---|---|---|---|---|---|---|---|---|---|---|---|---|---|---|---|---|---|---|---|---|---|---|---|---|---|---|---|---|---|---|---|---|---|---|---|---|---|---|---|---|---|---|---|---|---|---|---|
Bat Form (Crimson Count Arthas exclusive)
| |||||||||||||||||||||||||||||||||||||||||||||||||||||||||||||||||||||||||||||||||||||||||||||||||||||||||||||||||||||||||||||||||||||||||||||||||||||||||||||||||||||||||||||||||||||||||||||||||||||||
| Backstory: Marquis Arthas was never one for intensive study. It is little wonder, then, that his mastery over the power of transformation is somewhat... incomplete. Still, it makes for a fearsome visage. | |||||||||||||||||||||||||||||||||||||||||||||||||||||||||||||||||||||||||||||||||||||||||||||||||||||||||||||||||||||||||||||||||||||||||||||||||||||||||||||||||||||||||||||||||||||||||||||||||||||||
 Free | |||||||||||||||||||||||||||||||||||||||||||||||||||||||||||||||||||||||||||||||||||||||||||||||||||||||||||||||||||||||||||||||||||||||||||||||||||||||||||||||||||||||||||||||||||||||||||||||||||||||
Portraits[ | ]
| Arthas Portraits | |||||||||||||||||||||||||||||||||||||||||||||||||||||||||||||||||||||||||||||||||||||||||||||||||||||||||||||||||||||||||||||||||||||||||||||||||||||||||||||||||||||||||||||||||||||||||||||||||||||||
|---|---|---|---|---|---|---|---|---|---|---|---|---|---|---|---|---|---|---|---|---|---|---|---|---|---|---|---|---|---|---|---|---|---|---|---|---|---|---|---|---|---|---|---|---|---|---|---|---|---|---|---|---|---|---|---|---|---|---|---|---|---|---|---|---|---|---|---|---|---|---|---|---|---|---|---|---|---|---|---|---|---|---|---|---|---|---|---|---|---|---|---|---|---|---|---|---|---|---|---|---|---|---|---|---|---|---|---|---|---|---|---|---|---|---|---|---|---|---|---|---|---|---|---|---|---|---|---|---|---|---|---|---|---|---|---|---|---|---|---|---|---|---|---|---|---|---|---|---|---|---|---|---|---|---|---|---|---|---|---|---|---|---|---|---|---|---|---|---|---|---|---|---|---|---|---|---|---|---|---|---|---|---|---|---|---|---|---|---|---|---|---|---|---|---|---|---|---|---|---|
 Arthas Hero |
 Arthas Mastery |
 |
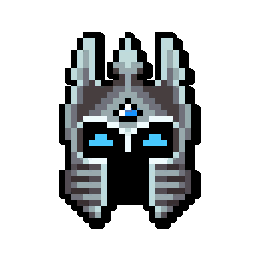
 Carbot Arthas |
 |
 |
 | |||||||||||||||||||||||||||||||||||||||||||||||||||||||||||||||||||||||||||||||||||||||||||||||||||||||||||||||||||||||||||||||||||||||||||||||||||||||||||||||||||||||||||||||||||||||||||||||||
 |
 |
 Warcraft III Corrupted Arthas |
 Warcraft III Death Knight Arthas |
 Warcraft III Prince Arthas |
 WoW Lich King Arthas | ||||||||||||||||||||||||||||||||||||||||||||||||||||||||||||||||||||||||||||||||||||||||||||||||||||||||||||||||||||||||||||||||||||||||||||||||||||||||||||||||||||||||||||||||||||||||||||||||||
Sprays[ | ]
| Arthas Sprays | |||||||||||||||||||||||||||||||||||||||||||||||||||||||||||||||||||||||||||||||||||||||||||||||||||||||||||||||||||||||||||||||||||||||||||||||||||||||||||||||||||||||||||||||||||||||||||||||||||||||
|---|---|---|---|---|---|---|---|---|---|---|---|---|---|---|---|---|---|---|---|---|---|---|---|---|---|---|---|---|---|---|---|---|---|---|---|---|---|---|---|---|---|---|---|---|---|---|---|---|---|---|---|---|---|---|---|---|---|---|---|---|---|---|---|---|---|---|---|---|---|---|---|---|---|---|---|---|---|---|---|---|---|---|---|---|---|---|---|---|---|---|---|---|---|---|---|---|---|---|---|---|---|---|---|---|---|---|---|---|---|---|---|---|---|---|---|---|---|---|---|---|---|---|---|---|---|---|---|---|---|---|---|---|---|---|---|---|---|---|---|---|---|---|---|---|---|---|---|---|---|---|---|---|---|---|---|---|---|---|---|---|---|---|---|---|---|---|---|---|---|---|---|---|---|---|---|---|---|---|---|---|---|---|---|---|---|---|---|---|---|---|---|---|---|---|---|---|---|---|---|
 Army of my Friends |
 Arthas Pixel |
 Carbot Arthas |
 |
 |
 Emoji Arthas |
 | |||||||||||||||||||||||||||||||||||||||||||||||||||||||||||||||||||||||||||||||||||||||||||||||||||||||||||||||||||||||||||||||||||||||||||||||||||||||||||||||||||||||||||||||||||||||||||||||||
Emojis[ | ]
| Arthas Pack 1 |
Arthas Pack 2 | ||||
|---|---|---|---|---|---|
| Emoji | Name | Shortcut | Emoji | Name | Shortcut |

|
Arthas Happy | :arthashappy: :arthhappy: |

|
Arthas Angry | :arthasangry: :arthangry: |

|
Arthas ROFL | :arthaslol: :arthasrofl: :arthlol: :arthrofl: |

|
Arthas Cool | :arthascool: :arthcool: |

|
Arthas Sad | :arthassad: :arthsad: |

|
Arthas Embarrassed | :arthasoops: :arthasembarrassed: :arthoops: :arthembarrassed: |

|
Arthas Silly | :arthassilly: :arthsilly: |

|
Arthas in Love | :arthaslove: :arthasinlove: :arthlove: :arthinlove: |

|
Arthas Speechless | :arthasmeh: :arthasspeechless: :arthmeh: :arthspeechless: |

|
Arthas Surprised | :arthaswow: :arthassurprised: :arthwow: :arthsurprised: |
| Emoji | Name | Shortcut | Emoji | Name | Shortcut |
|---|---|---|---|---|---|

|
Crimson Count Arthas Happy | :arthascrimsoncounthappy: :arthcchappy: |

|
Crimson Count Arthas Angry | :arthascrimsoncountangry: :arthccangry: |

|
Crimson Count Arthas ROFL | :arthascrimsoncountlol: :arthascrimsoncountrofl: :arthcclol: :arthccrofl: |

|
Crimson Count Arthas Cool | :arthascrimsoncountcool: :arthcccool: |

|
Crimson Count Arthas Sad | :arthascrimsoncountsad: :arthccsad: |

|
Crimson Count Arthas Embarrassed | :arthascrimsoncountoops: :arthascrimsoncountembarrassed: :arthccoops: :arthccembarrassed: |

|
Crimson Count Arthas Silly | :arthascrimsoncountsilly: :arthccsilly: |

|
Crimson Count Arthas in Love | :arthascrimsoncountlove: :arthascrimsoncountinlove: :arthcclove: :arthccinlove: |

|
Crimson Count Arthas Speechless | :arthascrimsoncountmeh: :arthascrimsoncountspeechless: :arthccmeh: :arthccspeechless: |

|
Crimson Count Arthas Surprised | :arthascrimsoncountwow: :arthascrimsoncountsurprised: :arthccwow: :arthccsurprised: |
Quotes[ | ]
Trivia[ | ]
- Arthas first appeared in the novel Warcraft: Of Blood and Honor (January 2001). His first in-game appearance was in Warcraft III: Reign of Chaos (July 2002).
- In Warcraft III, Arthas is voiced by Justin Gross. In subsequent appearances, he is voiced by Patrick Seitz (paladin/death knight Arthas) and Michael McConnohie (Lich King Arthas).
- Arthas was one of the 18 heroes revealed at BlizzCon 2013.
- Arthas's model was designed first and his role in the game was decided upon later.[2]
- Blizzard considered giving Crown Prince Arthas a hammer, but that would have required additional animation work, in addition to conflicting with Uther and creating confusion. They also considered making paladin Arthas a skin for Uther, rather than Arthas, but that would have opened another can of worms. Ultimately, they decided to depict paladin Arthas immediately after he picked up Frostmourne. That meant his animations could stay the same, and since he still had his sword he was still recognizable as Arthas.[3][4]
- NECA revealed the Heroes of the Storm Arthas action figure at SDCC 2015.[5]
- Arthas's "hail to the king" quote references a line spoken by Ash Williams in Army of Darkness (February 1993).
- Arthas's "looking for a few dead men" quote references a 1985 United States Marine Corps commercial.
- Arthas's "my condition has left me cold" quote references a line spoken by Mr. Freeze in Batman & Robin (June 1997).
- Arthas's "no man can defeat me" quote references a line spoken by the Witch-king of Angmar in The Lord of the Rings: The Return of the King (December 2003).
- Some of Arthas's quotes reference the running joke about Darkness.
Gallery[ | ]
General[ | ]
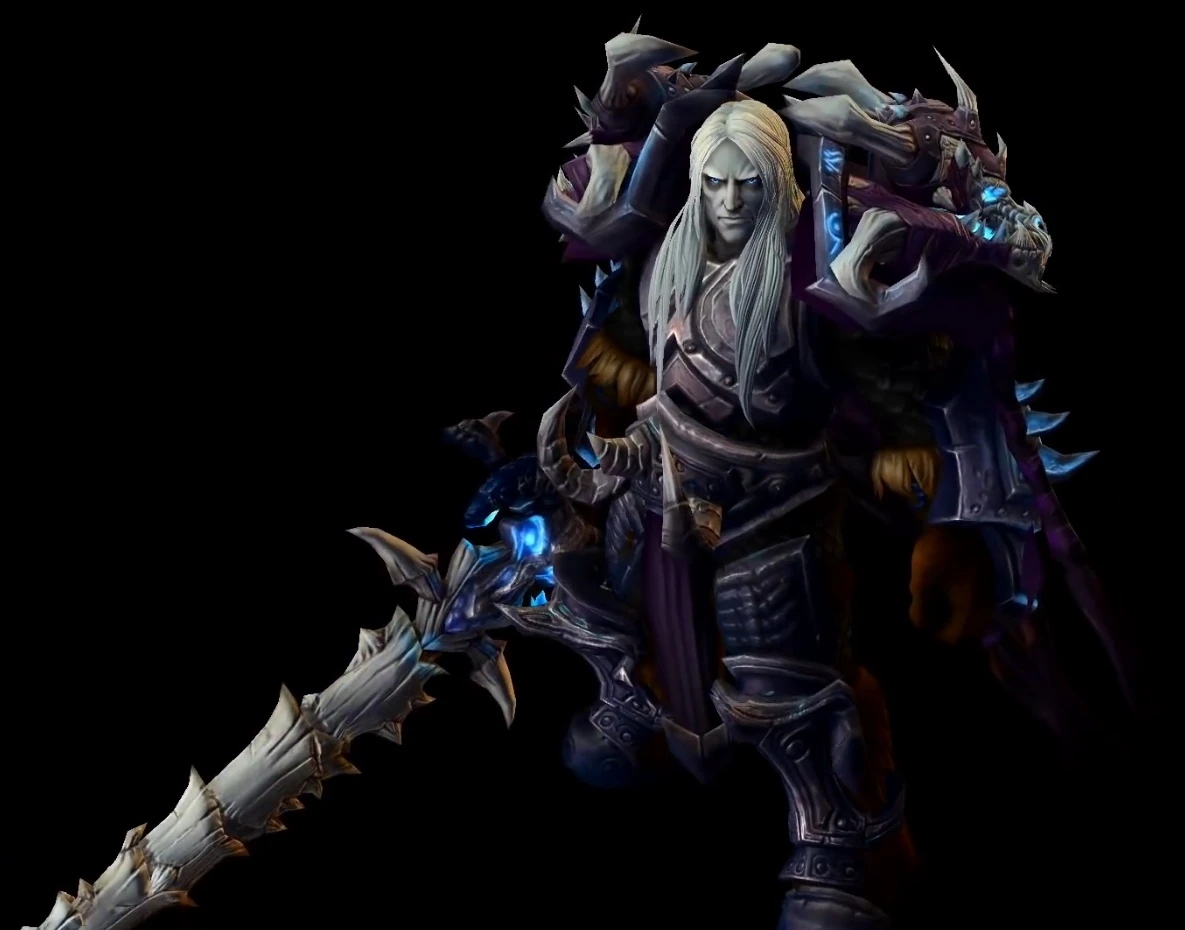
Arthas's artwork

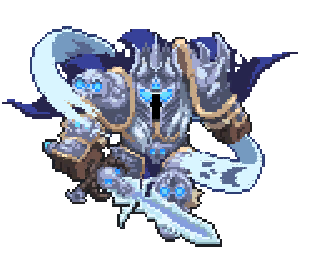
Frost Wyrm Arthas

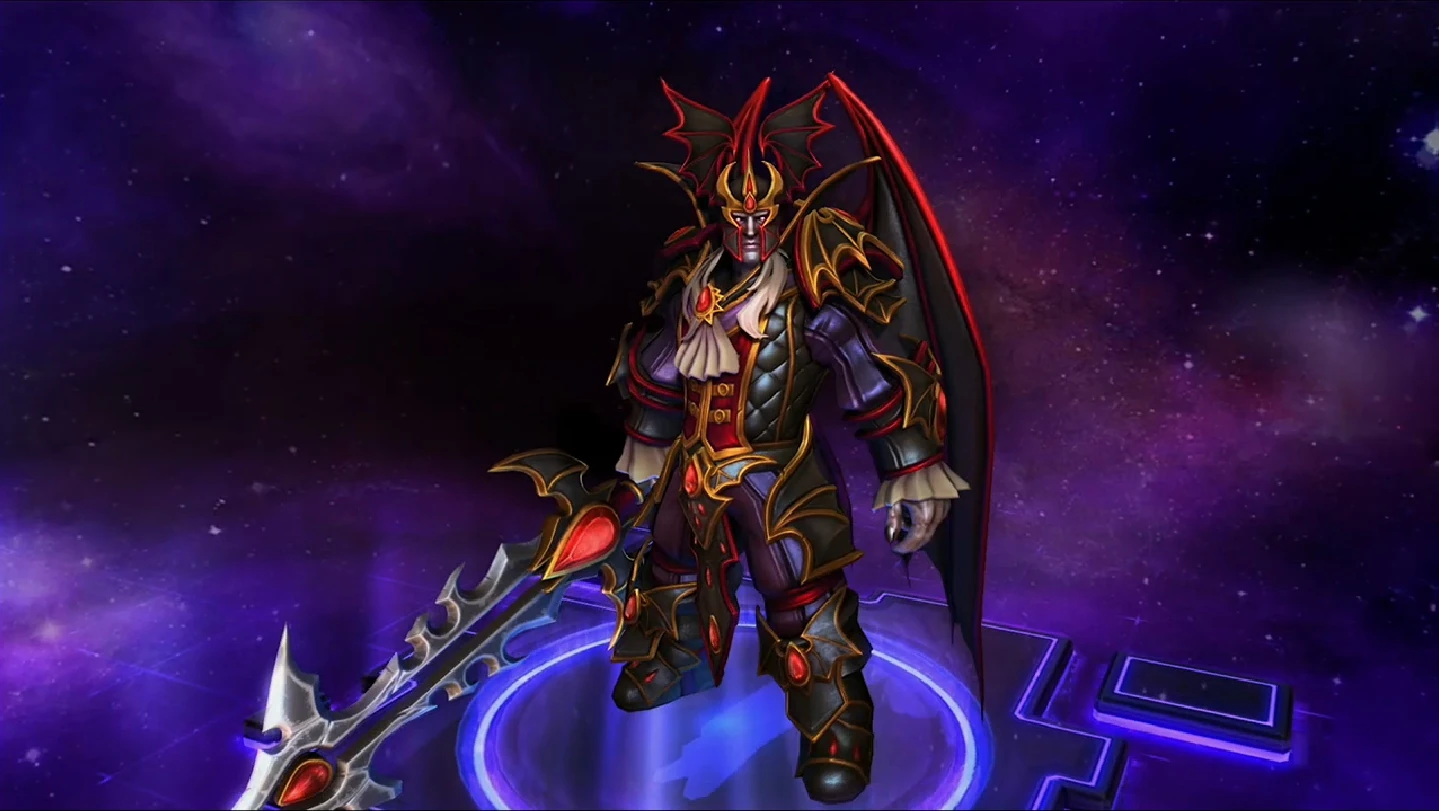
Crimson Count Arthas, in his humanoid form

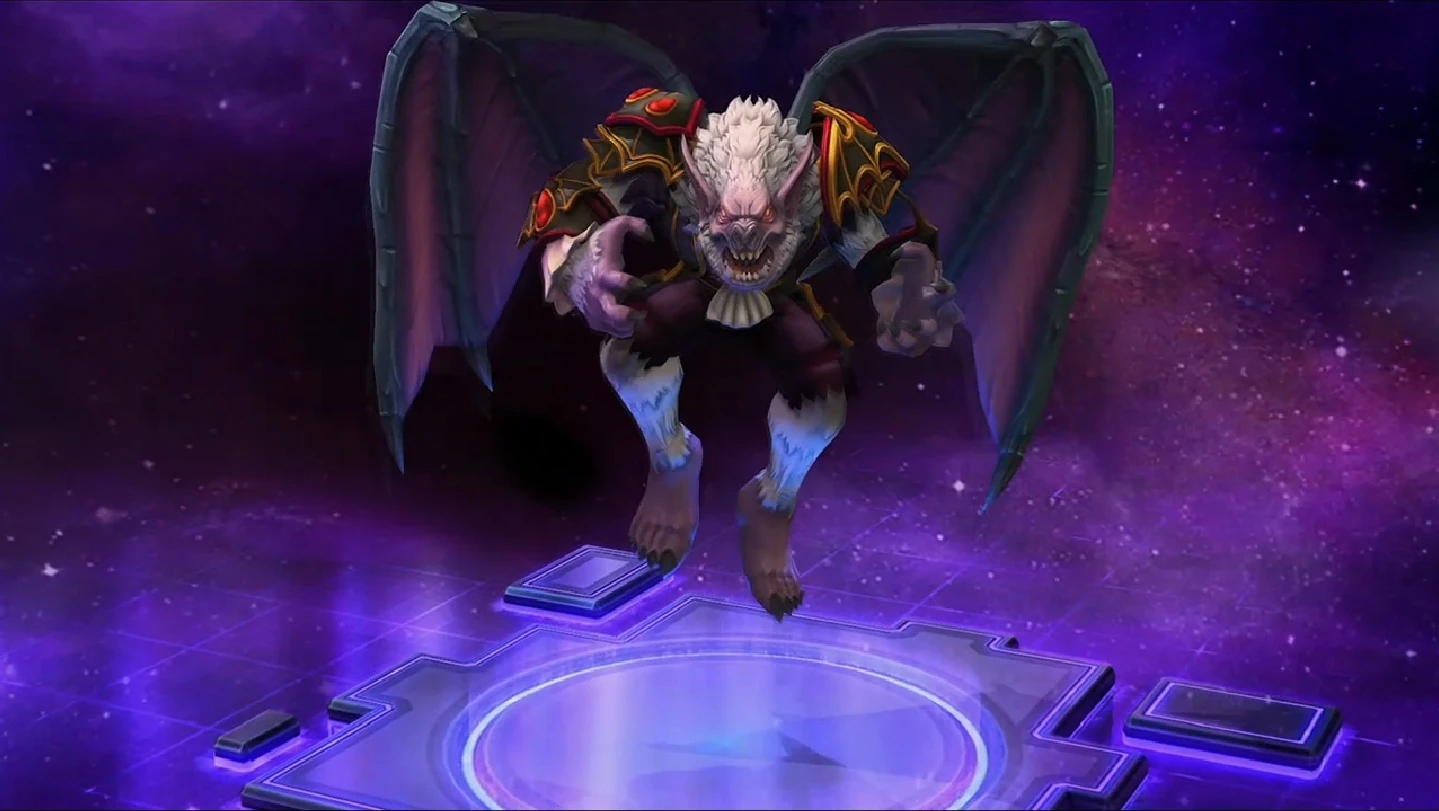
Crimson Count Arthas, in his bat form
Death Knight Arthas attacks an enemy base
King Arthas with King Leoric
Arthas riding a Rainbow Unicorn
The Arthas action figure[5]

![The Arthas action figure[5]](https://static.wikia.nocookie.net/allstars_gamepedia/images/8/84/Arthas_Action_Figure.jpg/revision/latest?cb=20150804201335)
Concept art[ | ]
King of Blades Arthas Concept Art
King of Blades Arthas Concept Art
![Prince Arthas, with Light's Vengeance[3][4]](https://static.wikia.nocookie.net/allstars_gamepedia/images/3/33/Prince_Arthas_Concept_1.jpg/revision/latest?cb=20150707191008)
![Prince Arthas, with Frostmourne[3][4]](https://static.wikia.nocookie.net/allstars_gamepedia/images/2/22/Prince_Arthas_Concept_2.jpg/revision/latest?cb=20150707191011)
Abilities[ | ]
Q: Death Coil
W: Howling Blast
E: Frozen Tempest
R1: Army of the Dead
R2: Summon Sindragosa
Prerelease[ | ]
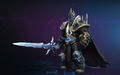
Lich King Arthas (old model)
Prince Arthas (old model)
Prince Arthas (old model), blue tint
Prince Arthas (old model), red tint
Prince Arthas (old model), white tint
Frost Wyrm Arthas (old model)
The Blizzard DOTA models of Arthas and various other heroes
Videos[ | ]
References[ | ]
- ↑ 2011-10-20. Blizzard DOTA Trailer. YouTube. Accessed 2011-10-22.
- ↑ 2011-10-23, BlizzCon 2011 - StarCraft 2: Heart of the Swarm and Blizzard DOTA - Art & Technology Panel (Full). YouTube, accessed on 2011-11-07
- ↑ 3.0 3.1 3.2 2015-06-12, IGN: How Blizzard's Heroes Went From Concepts to Icons
- ↑ 4.0 4.1 4.2 Mr. Jack on DeviantArt: The Lich Prince
- ↑ 5.0 5.1 BlizzPlanet: SDCC 2015 NECA Reveals Heroes of the Storm 7″ Scale Action Figures Series 2
External links[ | ]
- Arthas - Heroes of the Storm
- Arthas Menethil - Wowpedia
- Arthas Balance Changelog - Heroes Patch Notes
- Arthas Sound Files - Sounds of the Storm
| Heroes | |||||||||||||||||||||||||||||||||||||||||||||||||||||||||||||||||||||||||||||||||||||||||||||||||||||||||||||||||||||||||||||||||||||||||||||||||||||||||||||||||||||||||||||||||||||||||||||||||||||||
|---|---|---|---|---|---|---|---|---|---|---|---|---|---|---|---|---|---|---|---|---|---|---|---|---|---|---|---|---|---|---|---|---|---|---|---|---|---|---|---|---|---|---|---|---|---|---|---|---|---|---|---|---|---|---|---|---|---|---|---|---|---|---|---|---|---|---|---|---|---|---|---|---|---|---|---|---|---|---|---|---|---|---|---|---|---|---|---|---|---|---|---|---|---|---|---|---|---|---|---|---|---|---|---|---|---|---|---|---|---|---|---|---|---|---|---|---|---|---|---|---|---|---|---|---|---|---|---|---|---|---|---|---|---|---|---|---|---|---|---|---|---|---|---|---|---|---|---|---|---|---|---|---|---|---|---|---|---|---|---|---|---|---|---|---|---|---|---|---|---|---|---|---|---|---|---|---|---|---|---|---|---|---|---|---|---|---|---|---|---|---|---|---|---|---|---|---|---|---|---|
| Artanis • Chen • Deathwing • Dehaka • D.Va • Gazlowe • Hogger • Imperius • Leoric • Malthael • Ragnaros • Rexxar • Sonya • Thrall • Varian • Xul • Yrel | |||||||||||||||||||||||||||||||||||||||||||||||||||||||||||||||||||||||||||||||||||||||||||||||||||||||||||||||||||||||||||||||||||||||||||||||||||||||||||||||||||||||||||||||||||||||||||||||||||||||
| Alexstrasza • Ana • Anduin • Auriel • Brightwing • Deckard • Kharazim • Li Li • Lt. Morales • Lúcio • Malfurion • Rehgar • Stukov • Uther • Tyrande • Whitemane | |||||||||||||||||||||||||||||||||||||||||||||||||||||||||||||||||||||||||||||||||||||||||||||||||||||||||||||||||||||||||||||||||||||||||||||||||||||||||||||||||||||||||||||||||||||||||||||||||||||||
| Alarak • The Butcher • Illidan • Kerrigan • Maiev • Murky • Qhira • Samuro • Valeera • Zeratul | |||||||||||||||||||||||||||||||||||||||||||||||||||||||||||||||||||||||||||||||||||||||||||||||||||||||||||||||||||||||||||||||||||||||||||||||||||||||||||||||||||||||||||||||||||||||||||||||||||||||
| Azmodan • Cassia • Chromie • Falstad • Fenix • Gall • Genji • Greymane • Gul'dan • Hanzo • Jaina • Junkrat • Kael'thas • Kel'Thuzad • Li-Ming • Lunara • Mephisto • Nazeebo • Nova • Orphea • Probius • Raynor • Sgt. Hammer • Sylvanas • Tassadar • Tracer • Tychus • Valla • Zagara • Zul'jin | |||||||||||||||||||||||||||||||||||||||||||||||||||||||||||||||||||||||||||||||||||||||||||||||||||||||||||||||||||||||||||||||||||||||||||||||||||||||||||||||||||||||||||||||||||||||||||||||||||||||
| Abathur • The Lost Vikings • Medivh • Zarya | |||||||||||||||||||||||||||||||||||||||||||||||||||||||||||||||||||||||||||||||||||||||||||||||||||||||||||||||||||||||||||||||||||||||||||||||||||||||||||||||||||||||||||||||||||||||||||||||||||||||
| Anub'arak • Arthas • Blaze • Cho • Diablo • E.T.C. • Garrosh • Johanna • Mal'Ganis • Mei • Muradin • Stitches • Tyrael | |||||||||||||||||||||||||||||||||||||||||||||||||||||||||||||||||||||||||||||||||||||||||||||||||||||||||||||||||||||||||||||||||||||||||||||||||||||||||||||||||||||||||||||||||||||||||||||||||||||||
| Unknown | Mekkatorque | ||||||||||||||||||||||||||||||||||||||||||||||||||||||||||||||||||||||||||||||||||||||||||||||||||||||||||||||||||||||||||||||||||||||||||||||||||||||||||||||||||||||||||||||||||||||||||||||||||||||