| Thegreat610's Tyrande Guide (2021-02-01)
|
| Builds and Roles
|
| Main Healer/Ranger Build
 [T1311221,Tyrande]
|
Tyrande's role as an Main Healer can be very hard to play effectively and to get maximum value out of, but you are still a powerful threat for many heroes which are afraid of being blown up. Tyrande offers her team different types of utility, much of it being offensive, like providing Armor Reduction. Tyrande's Ranger Build is completely focused on maximizing her Sentinel's power. While "Ranger" and "Empower" add some decent extra damage to Sentinel, "Harsh Moonlight" will greatly reduce the damage and movement speed of up to two enemies. After Level 13, Sentinel can be used either to peel teammates, to engage enemies, or to slow down fleeing Heroes so your allies can easily finish them. Tyrande is suited for more mechanically skilled players, who can easily determine and use abilities to follow up or setup.
|
| Second Healer/Trueshot Build
[T3312223,Tyrande]
|
To play Tyrande as an secondary healer is often much easier to achieve, because you don't need to execute on everything your role requires. The Trueshot build let's you be more offensively while still obtaining all your important strengths of your main role as an healer. This build can be very fitting when you are to support a 'hyper-carry' even further while going for a more offensive build.
|
| Semi-Carry (Damage/Lunar Flare Build)
[T2332333,Tyrande]
|
The Lunar Flare build is the hardest build to play. If you want to be very effective, you need to act as an playmaker and you will also need to utilize Tyrande to the fullest. If you play this build effectively you can make plays, like being able to release over 3 Lunar Flare's on the same hero, being able to instantly kill many of the squishier heroes or to remove over 40% of a Tank's maximum health. This playstyle is very draft dependent in theory, but if you are good enough, you can make Tyrande one of the best semi-carries in the game. If you would have some sort of 'turtle' composition, with lots of kill potential against the other team, this can work. 'Powerpick' heroes to consider if you want to play this build: Rehgar, Ragnaros, E.T.C, Diablo, Tassadar.
The build is best played following this composition:
- Main Healer > Rehgar, Uther, Malfurion, Stukov, Anduin
- *Second Healer/Support* > Tyrande
- Main Tank > Johanna, Muradin, Stitches, Varian
- Hyper-carry > Greymane, Tassadar, Sylvanas, Ragnaros
- Hyper-carry/Offlane > Ragnaros, Arthas, Mal'Ganis, Dehaka, Blaze, Tyrael
|
| Semi-Carry (Supportive)
[T3332114,Tyrande]
|
This build follows almost every single rule as the Lunar Flare build, but only that you aren't as offensive, and you rely much more on your carries.
|
| Abilities and strategy
|
1. Tips & Tricks
- Use Sentinel as frequently as possible. The vision it provides helps your team in making better decisions.
- Always mind your positioning when playing Tyrande. If caught by surprise, she is an easy Hero to get taken down.
- Shadowstalk is an incredibly versatile Heroic Ability. Use it to ambush the enemy team or to cover your retreat.
- Landing Lunar Flare on moving targets requires practice and experience. Try to anticipate their movement paths and aim accordingly.
- Hunter's Mark can be used on non-Heroic targets, such as Bosses, Immortals, or Punishers, in order to kill them faster.
- To make the most out of your healing, you should be always using basic attacks. In many situations it will be dangerous to do so, and you should be waiting for enemy tank to use his Abilities to start delivering Basic Attacks.
- Starfall will greatly reduce Light of Elune's cooldown. Be ready to use it quickly to not waste any healing.
- All of Light of Elune's charges are refilled together, so you can have 1 charge left and start attacking. Use it right before the cooldown comes back again, giving you 3 uses of the Ability. This is mostly useful against burst damage to surprise your enemies.
- Tyrande has 6 Basic Attack range at base, utilize this to your advantage to harass as much as possible
- Lunar Flare is Tyrande's most important ability when it comes to securing a kill. If you have picked and completed the level 1 quest, "Lunar Blaze", you have the potential to burst a Tank for about 12-15% of a Tank's maximum health. The burst damage from Lunar Flare is 657 (at level 20 without modifiers), and that is really high considering it stuns for a brief moment, possibly interrupting your enemy and that you also have access to one of the strongest team-fighting traits; which is Hunter's Mark.
- The level 13 talent "Ranger's Mark", increases Tyrande's damage potential in teamfights by substantial amounts. This is because Tyrande can actually reset her Basic Attack cooldowns when she utilize correct animation timings from Sentinel and Light of Elune, which ultimately let's her spam Lunar Flare more often, while also getting amazing synergy from her level 7 talent, "Huntress' Fury".
- Many people doesn't consider the level 1 talent, "Trueshot Aura" to be strong, but that is widely false. To be able to reset your Hunter's Mark in the heat is already quiet powerful, but it also passively increases your physical damage output by 15% as well as you and your whole team by 25% if you activate it (high potential). This doesn't only increase healing from Elune's Chosen, but it also helps with trading and is most always a good option if you draft her correctly. Pair this talent with heroes such as Greymane, Raynor, Butcher, Ragnaros, Illidan and Thrall for huge benefits. Though it can still be very powerful if you only have one 'real' physical damage dealer, it works for double support compositions to improve overall team DPS or for many solo laners. It is still very similar to Deckard's level 13 talent: "Ancient Blessing", only that the separate actives have different effects, modifiers and cooldowns. Both actives are still like an additional Heroic Ability for them to use.
- The level 4 upgrade: "Mark of Mending", can heal every single thing that deals physical damage. Which means it can heal things like structures, objectives and Camp Bosses. The uses of this talent might be limited, but it has excellent synergy with High-Attack Speed heroes like Tracer, as it can heal an attacking Tracer for 16% of her maximum health/second.
|
2. Tactics
- Tyrande's main purpose is to provide with enough kill potential through her offensive abilities to end fights in an advantageous manner, potentially denying map control.
- Tyrande's damage is very high for being classified as an healer, though it isn't always that she can control fights how she wants, but she can impact it greatly, just by good ability usage.
- More often then not, it is always good to be the aggressor as Tyrande, it's better to trade then do nothing, she has long range for her abilities anyways.
- Her individual mid to late game is incredibly powerful compared to most other healers in the game, as she is one of the only ones who can easily kill any hero all by herself.
- Playing out of vision with Tyrande can be smart, because it makes it easier to land your Lunar Flare onto them, which is the difference if you are getting a kill or not.
|
3. Light of Elune
|
Light of Elune (Q)
Mana: 15
Cooldown: 15 seconds
|
Heal an ally Hero for 270 (+4% per level) Health. Light of Elune's cooldown is reduced by 1.5 seconds every time Tyrande damages an enemy.
Stores up to 2 charges. Cooldown replenishes all charges at the same time.
|
Being Tyrande's only burst heal ability, Light of Elune is crucial in order to keep allies and herself alive. Tyrande should use Light of Elune regularly, as the ability comes with 2 charges. In order to heal with maximum efficiency, it is of utmost importance to consistently use Basic Attacks with Tyrande, as every attack lowers the cooldown of Light of Elune.
|
4. Sentinel
|
Sentinel (W)
Mana: 50
Cooldown: 15 seconds
|
Send an Owl that travels across the battleground revealing its path. Deals 120 (+4% per level) damage to the first enemy Hero hit and reveals them for 5 seconds.
|
Sentinel can be used in order to scout if you do not see the opposing team on your Minimap or before blindly facechecking bushes. However, keep in mind that in certain situations it may not be the best choice to use Sentinel. If your team is trying to capture Mercenary Camps or Golem Bosses for example, an ill timed Owl could tell enemies about your position and consequently enable them to catch you off guard.
|
5. Lunar Flare
|
Lunar Flare (E)
Mana: 60
Cooldown: 13 seconds
|
After 0.75 seconds, deal 150 (+4% per level) damage and Stun enemies in the target area for 0.75 seconds.
|
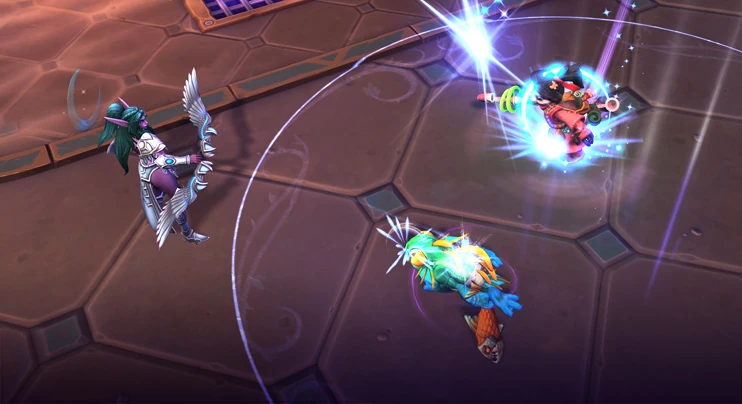
Lunar Flare is a powerful ability that adds some great crowd control to Tyrande's kit. Unlike most other Healers, Tyrande can be played as a strong ganker.
While Lunar Flare allows Tyrande to disrupt enemies from a safe distance, the fact that it is a skillshot makes it a skill that requires a lot of experience in order to be used efficiently. One of the most important things to keep in mind when using Lunar Flare is to predict your target's movement path. Anticipating the position of your target correctly is crucial when playing Tyrande.
|
6. Starfall
|
Starfall (R)
Mana: 75
Cooldown: 80 seconds
|
Deal 92 (+4% per level) damage per second and Slow enemies by 20% in an area. Lasts 6 seconds.
|
Starfall slows and damages every enemy in its area of effect which makes it a very powerful Heroic Ability during team fights and pushes. As soon as a team fight breaks out, Starfall should be first abilitiy to be cast. Doing so maximizes the damage output during the fight and provides Tyrande with cooldown reduction on her Light of Elune. One of Starfall's greatest advantages is its versatility, because it can be used both offensively and defensively. If used offensively, Starfall is able to slow retreating enemies which allows your teammates to collapse on them. If used defensively, Starfall can be used to disengage and run away from charging enemies.
|
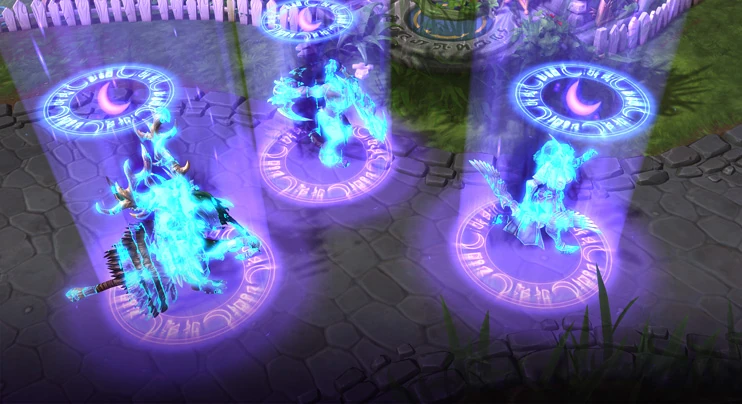
7. Shadowstalk
|
Shadowstalk (R)
Mana: 75
Cooldown: 90 seconds
|
Grant all allied Heroes Stealth for 10 seconds and heal them for 380 Health over 10 seconds. Remaining stationary for at least 1.5 seconds while Stealthed grants Invisible.
|
Shadowstalk is a useful supportive Heroic Ability, which provides significant healing to your allies. Furthermore, it allows Tyrande to initiate hidden maneuvers on the map to catch the enemy team off guard.
On bigger maps like Cursed Hollow or Sky Temple on which it is harder for the enemy team to predict your position, Shadowstalk can gain a lot of value. On smaller maps like Towers of Doom or Tomb of the Spider Queen, however, the strong AoE-damage from Starfall can sometimes be the better choice as you can much easier defend lanes against the Spiders or you can control key-points much more reliably.
|
8. Hunter's Mark
|
Hunter's Mark (Combat Trait)
Cooldown: 20 seconds
|
Reveal a non-Structure enemy and reduce their Armor by 15 for 4 seconds.
|
Tyrande's Hunter's Mark is one of the strongest Traits in the game when it comes to taking down a single target very quickly. It's synergy is extremely well put with both Tyrande's own and her allies' sources of burst damage. Hunter's Mark can even cause enemy Tanks and Bruisers to become relatively squishy targets, which forces them to think carefully about engaging a team fight or not.
Keep in mind that Hunter's Mark can be used to greatly increase Lunar Flare's and Sentinel's damage as well. Since it has the same casting range as your Basic Attack, it becomes recommended marking your chosen target first before hitting it with your other abilities in order to maximize your overall damage.
|
| Counters and match-ups
|
| 1. Bad against...
|
|
|
- Maiev has the tools which can ensure she can deal with Tyrande and her compositions. Maiev is able to reliably initiate using her Spirit of Vengeance + Umbral Bind combo. Her potential to even dive behind the frontline and into the backline using a timed Warden's Cage.
- Maiev can situationally, but rather consistently deal a ton of AoE damage, using Fan of Knives. This is even further amplified against Tyrande, as she tends to be present in many triple frontline compositions.
- Vault of the Wardens can effectively be used to deny many dangerous abilities, making her a more resilient assassin compared to others.
- Containment Disc can be a powerful ability to shut-down some of the more threatening heroes in Tyrande's composition. This could be used to disable many of the powerful active abilities such as: Malfurion's Tranquility or Uther's Divine Shield, or to disable hyper-carries or frontliners, such as: Arthas ( Army of the Dead), Illidan, Greymane, Malthael ( Tormented Souls) Kerrigan, Tassadar ( Archon).
- She is a strong ganker which can be force Tyrande to play more around her Sentinel around bushes and unseen areas.
- Can take control over map objectives and camps very easily, as her level 1 talent: "Naisha's Memento", let's her clear waves very fast and to be possibly the fastest Mercenary Camp clearer in the early- to mid game. This can be troublesome for Tyrande based compositions, as their gameplan is usually to invade the enemy side of the map and force aggressive plays as much as possible.
- Is a good 4-man complementary piece for The Lost Vikings, who is a potentially strong counter-pick.
|
|
|
- Muradin is an very versatile tank who has high base stats and can suit different play-styles, which let's him be drafted liberally. During team fights, he can either play defensively—by peeling and/or counter-engaging for his team—or play aggressively—by engaging and/or diving on vulnerable enemy Heroes.
- Muradin's Thunder Clap together with "Reverberation" at level 4 and even "Imposing Presence" at level 16 can immensely reduce your carries effectiveness in teamfights, as he can effectively reduce their attack speed by 75% for over 3 seconds with the active in a reasonable Area of Effect radius, potentially shutting down heroes such as Greymane and Illidan in crucial moments.
- Can scout the map and setup for dangerous ganks near bushes without having to risk much, because of his high maximum health, and mobility/escape option in form of Dwarf Toss, which can evade many abilites such as Tyrande's Lunar Flare.
- Has potential for Haymaker to shine as Tyrande doesn't have much utility to stop it, and it can occasionally be used to push in vulnerable heroes into his team, forcing saves such as Uther's Divine Shield.
- Has amazing siege and objective push potential with his Storm Bolt oriented build, picking "Perfect Storm" at level 1 and "Sledgehammer" at level 4. He can also stack his baseline quest much easier against melee heroes, granting him his biggest power spike much earlier.
- Avatar help to protect Muradin from much of the burst damage that Tyrande compositions inherit.
- Is a Tank who can fight for long periods of time, thanks to his passive: Second Wind, something Tyrande doesn't like.
|
|
|
- Deathwing is permanently Unstoppable and has positive Armor, due to his passive: Aspect of Death. This reduces Tyrande and her team's overall effectiveness, because they can't burst him down as quickly as other heroes, while also not being able to disable him to the same extent. The Armor also helps him to counter-negate Hunter's Mark quiet fairly.
- Dragonflight makes him a global hero, who can then join possible fights after clearing waves, taking a Mercenary Camp or if he's fully restored.
- Deathwing is a strong early game hero, as he has access to Cataclysm at the 4 minute mark.
- Bellowing Roar is an powerful Heroic ability for Deathwing to use, as he uses this to displace or to create distortion in an advantageous manner, which opens up for opportunity to strike first, potentially winning a teamfight. It's low cooldown of just 60 second, makes it available for every major fight.
- Has outstanding burst damage through Molten Flame, especially when paired with massive crowd-control abilities or tools abilities such as: Leoric's Entomb, E.T.C.'s Mosh Pit, Maiev's Warden's Cage and Deckard's Scroll of Sealing.
- Can easily interrupt with Earth Shatter or Bellowing Roar heroes such as E.T.C. if he's using his Mosh Pit, and make some strong hero picks in your team less effective.
- Great at pushing and sieging enemy Structures, which can be troublesome if you are losing fights, as you will have a harder time reaching late game.
- Is a good 4-man complementary piece for The Lost Vikings, who is a potentially strong counter-pick.
|
|
|
- Dehaka's global, Brushstalker is an huge threat to Tyrande and most backliners, especially on some maps consisting of many bushes, as one Drag or Isolation can ensure a kill.
- Burrow can effectively be used to dodge much of the crowd-control and follow-ups which are essential to kill him.
- Dehaka has extremely good sustain with Essence Collection. And has good negation of spell damage due to his level 1: "Enduring Swarm".
- Good when paried with other dive heroes, and he is also very good versus non-kiting heroes, or heroes who lack proper saves.
- Is good on most maps, where Tyrande shines.
|
|
|
- Very high damage potential against frontline based comps, as Phase Bomb can provide alot of sustained AoE poke which slows frequently versus such heroes, while Repeater Cannon offers amazing single target damage with upgrades of being an extremely powerful Giant Killer with "Offensive Cadence" at level 16, and is even stronger at level 20, when you have access to "Singularity Charge".
- Even mobile when "Divert Power: Weapons" is picked at level 7, that 40% movement speed modifier can make him really empower his defensive and offensive capabilities.
- Very flexible pick, and always have an adaptive playstyle.
- Amazing waveclear and higher base health then normal Marksmans, due to his shield from his passive: Shield Capacitor.
- Warp let's him have a chance to escape some skillshots such as Lunar Flare, and or to play more aggressively by closing in.
- Both his Heroic abilities: Purification Salvo and Planet Cracker provide significant AoE damage. Both are good with several different combos, remarkably, Zeratul's Void Prison, Leoric's Entomb and E.T.C.'s Mosh Pit.
- Fenix is good with the same powerpicks as Tyrande.
|
|
|
- Provides his team with mobility and sustained healing, which can further empower the dive playstyle.
- Because of his outstanding mobility he could often times chase slower heroes down, securing a kill.
- "Summer Anthem" at level 20 can deny combos which can single handedly turn a fight around.
- Nice save potential vs burst damage after the mid game, with talents like: Soundbarrier at level 10, and "Rejuvenescência" at level 16.
- Nigh impossible to land certain skillshots on, due to his passive; Wall Ride, as well as his Push Off and Crossfade- Speed Boost.
- Lúcio is good with the same powerpicks as Tyrande.
- Good poke potential versus frontliners, as well as AoE damage with the level 7: "Reverse Amp.
|
|
|
- One of the strongest and most consistent siegers starting from the early game, due to her passive: Nature's Toxin, especially if "Nature's Culling" is picked up on level 4.
- Lunara can spread out Nature's Toxin rather easily, dealing a ton of damage over time and has good kiting potential versus slower heroes such as: Arthas, Mal'Ganis, Ragnaros and Uther.
- Strong, mobile ganker and roamer after level 4, as she has enough waveclear to be doing other things. Can even help harass some solo laners at level 1, defying some of Tyrande's required coordination to be strong.
- Can fill up many sub-roles in the same match, which let's you draft her under conditions where you have her as an secondary/adaptive solo laner or supportive damage dealer with cleanse through the level 13 talent: "Abolish Magic"
- Dryad's Swiftness empower her mobility greatly which let's her dodge many skillshots, which includes Lunar Flare. Has incredible engage tools with Leaping Strike at level 10 and "Galloping Gait" at level 20.
- Has a good amount of reliable AoE damage in form of Thornwood Vine, which can also be used to clear waves/Mercenary Camps in a matter of seconds without risking to get ganked, due to her natural mobility.
- Access to Giant Killer at level 16: "Invigorating Spores".
- Has map awareness advantages, due to Wisp.
- Very flexible and active hero who can fit into many compositions. Even though Lunara might not be very good vs double support compositions in fights, she still has scaling capabilities, as well as being able to split-push to trade value, when at an disadvantage.
|
| Others
|
- Heroes with the ability to save someone from being blown up: Medivh ( Force of Will), Anduin ( Leap of Faith), Whitemane ( Scarlet Aegis), Garrosh ( "Into the Fray" level 7 talent).
- Heroes who are mobile and have the ability to kite around some of the frontliners: Tracer, Genji, Sylvanas, Zeratul
- Damage dealers with Giant Killer, or have long range: Tychus ( Minigun), Falstad( "Giant Killer" level 13) , Zagara ( "Corrosive Saliva" level 16), Valla ( "Manticore" level 16), Raynor, Chromie
- Heroes who can empower diving or find/create openings: Anduin ( Lightbomb), Johanna ( Blessed Shield // Falling Sword), Zarya, Chen ( Wandering Keg), Yrel
- Heroes who dictate the map: The Lost Vikings.
|
| 2. Good against...
|
|
|
- Tyrande is a long range caster when using her abilities, and she often never needs to extend towards your frontliners, making E.T.C. and his abilities very ineffective versus her in particular.
- E.T.C.'s Powerslide, can easily be cleansed at all times at level 16, when you have "Celestial Attunement" available.
- Lunar Flare is an very effective interrupt on Mosh Pit and she can also hit him rather easily if he uses Powerslide to escape from certain death.
- E.T.C. is very vulnerable towards being bursted down, and Tyrande is all about that.
- Tyrande has an easy time Basic Attacking him and kiting him, which can be useful if you are going for "Huntress' Fury" at level 7, "Ranger's Mark" at level 13 and "Darnassian Archery" at level 16, when going for a more offensive playstyle.
- E.T.C as an solo laner, isn't always going to get value as you still disable his potential without any problems.
|
|
|
- Lunar Flare is an great ability to punish Shade of Mephisto usage.
- Due to this short range with his Basic abilities: Lightning Nova and Skull Missile, it can be hard for him to play liberally without getting caught.
- Very vulnerable towards burst damage, sometimes one or two Lunar Flares can effectively kill him off.
- Needs to get into the late game to be considered a threat to Tyrande compositions, which is debatable, as it is one of the strongest.
|
|
|
- Gul'dan can very easily get hit by Lunar Flare, and it also good to interrupt his Drain Life, making it almost completely useless in fights.
- Gul'dan's burst damage isn't very high, so it can be hard for him to be the great factor in killing double support/triple frontline compositions.
- Easy target for many hyper-carries to kill, because of his lack of mobility.
- He isn't good vs hyper-carries in-general. Almost anything he wants to do, is negligible compared to other damage dealers against Tyrande compositions.
|
|
|
- Rexxar and Misha are both very vulnerable against crowd-control effects. Rexxar is in fact, not a true hero, if Misha is dead.
- Unleash the Boars is a good disengage and engage ultimate ability, but it still doesn't justify his lack of self peeling, as abilities such as Lunar Flare can setup for an easy kill.
- "Feign Death" at level 16 can be dangerous to use as Rexxar, as one good Lunar Flare onto him or Misha will kill them.
- Rexxar as an Marksman can be hard to play as well, as even if indeed have a stronger frontline backing you up, it can be hard to use Misha liberally, and you will need often need late game to beat Tyrande compositions in trades, most noticeably "Aspect of the Hawk at level 13 .
- Rexxar with more defensive compositions, lack aggression on the map, which can lead to Tyrande compositions doing their own thing on the map, forcing Rexxar's team to fight an uneven battle.
- Tyrande is usually drafted with a solo laner such as Arthas: Who is indeed a very neutral match-up versus Rexxar in the solo lane.
|
|
|
- Very vulnerable to skillshots and crowd-control while in her Siege Mode.
- Has very limited in-combat mobility and requires an more defensive composition to make her viable.
- "Siege Tactics" at level 4 isn't often enough to escape many types of engages and crowd-control.
- Is weak against displacements, and possibly heroes such as Artanis (who has access to Purifier Beam, Phase Prism and Suppression Pulse) and Stitches (who has access to Hook, Putrid Bile and Gorge), who both work fine with Tyrande.
- Isn't able to be aggressive without proper map control.
|
|
|
- Diablo's engage versus heroes such as Arthas is really bad. It can be very hard for Diablo to even find an proper opening with his combos.
- Sometimes limited in extended fights, as he can be hit by different types of abilities and ultimately killed very easily.
- Apocalypse can be hard to setup for, granted you want dive heroes, when you are providing the crowd-control. Heroes such as Uther can still deny much of It's potential, due to negating burst damage through Devotion.
- Tyrande compositions naturally counters Diablo compositions, as powerpick heroes such as: Alexstraza, Mephisto, Li-Ming, Ana, Thrall and Rehgar isn't that powerful against them.
- Diablo is often picked for his ability to reliably initiate and counter team compositions that rely on one key damage dealer or Healer. This isn't the case with Tyrande compositions.
|
|
|
- The Butcher is extremely vulnerable reliable crowd-control, potential crowd-control, debuffs and burst damage.
- Very easy to ruin Butcher in the early game, and deny him his Fresh Meat baseline quest.
- Multiple ways for Tyrande compositions to negate both of his Heroic abilities: Lamb to the Slaughter and Furnace Blast .
- Should often be picked as an solo laner, who is hard-countered by Arthas both in lane and in team-fights.
- Easy to punish his Ruthless Onslaught.
- Can only compete in the late game, if for some reason he would have completed his baseline quest.
- His roaming capabilities gets countered by Sentinel.
- Cannot rely on the map for advantages, needs to be aggressive and get kills to force an advantage, which is not easy or even theoretically possible in most circumstances.
- All of his natural powerpicks are countered by Tyrande compositions. Heroes that get countered are: Rehgar, Illidan, Rexxar, Ragnaros, Diablo, E.T.C, Alexstraza, Tyrael.
|
| Others
|
- Heroes who are extremely vulnerable to being bursted, while also not being able to dive: Kel'Thuzad, Ana, Azmodan, Lt. Morales, Probius, Kael'thas.
- Late-game heroes who cannot compete before quest completions or in the early game: Nazeebo ( Voodo Ritual), Zul'jin (You Want Axe?), Alarak (Sadism).
- Heroes who rely much upon a hyper-carry to work effectively: Auriel.
- Heroes who can are afraid to be killed globally: Abathur.
|
| 3. Works well with...
|
|
|
- Tyrande and Malfurion truly are a love couple, as they unironically are very good together in many double support compositions. Malfurion naturally helps to remove much of the defects that Tyrande has in her kit, like having bad sustain and AoE healing for her team, and being weak towards certain dive heroes. Malfurion becomes this "Jack of All Trades" type of healer, who has enough kill potential, damage and healing to be very flexible, especially when drafted with Tyrande. These two also inherit some good talent synergies which compliment each-other.
- Tranquility and Regrowth can single handedly make up for any lacking healing the team gets, as he is one of the best sustain healers in the game.
- Malfurion grants more powerful follow-up potential with Twilight Dream and Entangling Roots, which can turn a fight instantly.
- Malfurion can play more offensive talents without repercussions, talents such as: "Celestial Alignment" at level 1, Twilight Dream at level 10, "Revitalize" at level 13 and finally "Lunar Shower" or "Astral Communion" at level 20. Malfurion's effective DPS can rise over 550 with Tyrande, which is over 2 times more DPS then most healers, and just about half of a Marksman's DPS.
|
|
|
- Arthas is a amazingly good solo laner when paried with Tyrande. Arthas can very easily deny some of the melee divers strengths in team-fights and skirmishes. He provides reliable space and peeling for Tyrande to shine even more.
- Arthas starts to shine in the mid to late game when he gets access to his most powerful talents: Army of the Dead at level 10, "Shattered Reach" at level 13, "Remorseless Winter" at level 16 and "Death's Advance" or "Legion of the Northrend" at level 20. The exact same thing goes for Tyrande, but they can still work together in marvelous ways in the early game to improve overall kill potential. And when late game hits, it can become very hard to react to this duo, due to their combined strength.
- Arthas greatly benefits from talents such as "Trueshot Aura" at level 1, "Elune's Chosen" at level 4, "Quickening Blessing" at level 13, which all helps with front-lining and dishing out more damage.
- You can easily follow up on Howling Blast with Lunar Flare. Much of the same thing goes for his other crowd-control effects, like his other basic ability: Frozen Tempest.
- It can be very plausible to get even maximum value from Starfall.
|
|
|
- Night Rush is a great engage ability and initial crowd-control effect to setup for wombos.
- Mal'ganis has natural self-sustain through his passive; Vampiric Touch, which relieves some of the burden that Tyrande has on healing many different allies.
- Mal'Ganis can deal alot of damage in certain situations or when having picked some talents, this overall helps with Tyrande's gameplan. If he picks "Black Claws" at level 7, you have high uptime on that Armor debuff.
- Mal'Ganis fills his role very well and can also even provide with some decent waveclear.
- Both level 20 talents: "Seeker Swarm" and "Alone in the Dark", have quiet good potential with compositions which focus on their crowd-control to win fights. The reduction of vision can be really good to be able to land abilities on them.
- Can even fill the role as an solo laner, which really compliments your team-fight potential.
- Has good sustain damage for being classified as an Tank, and with Necrotic Embrace talents: "Echo of Doom" at level 7 and "Plague Bats" at level 16, he is able to double soak without complications.
- Tyrande can help reduce his weakness of being rather bad vs kiting heroes, she can harass them and even catch them off-guard.
|
|
|
- Due to Uther's versatility about his roles, Uther can provide a little bit of everything Tyrande compositions benefit from, like having greater healing, crowd-control, stronger engage, and create more powerful hyper-carries with Divine Shield and Devotion.
- If Uther is played as an Bruiser of Main Tank, he can chose other talents which can him more flexible. Most often, either the Hammer of Justice build or the Holy Light build.
- Hammer of Justice and Divine Storm are both good initiation abilities which guarantees different types of follow-up.
- Uther can relieve his team from getting dived upon. This is because of his potential to fight back using his own initiation, his powerful cleanse: "Hand of Protection" and Armor buffs from Devotion, which can all help remove much of the burst damage your team takes.
- Is a hero who can take more risks because of his trait: Eternal Vanguard.
|
|
|
- Ragnaros is at his best when coupled with Heroes that feature some form of reliable crowd control. This is implemented as Tyrande is often run in those types if compositions. Ragnaros can himself handle much of your team's waveclear, defense and damage. He is a very solid pick with Tyrande.
- Ragnaros can help your team reach that late game as early as possible, as there is a place for Lava Wave to shine or him just defending lanes against many of the objectives or pushes with Bosses using his Molten Core. He provides also some good map control if you are ahead, as he can potentially solo Hard camps on maps like Tomb of the Spider-Queen and Sky Temple at just level 4.
- Ragnaros can fill the roles as an melee assassin and solo laner, so he is a rather flexible Bruiser, who has more then average damage in his class.
- Sulfuras Smash becomes easy to land with initial crowd-control, this is important, as this is one of the strongest nukes in the game, which can nearly one-shot any squishy hero who has about 3000-3500 health points. Hunter's Mark helps improve his damage output even further, which can then even kill some Bruisers, instantly.
|
|
|
- Taunt is a really reliable ability which makes for easy follow-up with Lunar Flare.
- Varian benefits from "Trueshot Aura", because he inherit alot of damage from his Basic Attacks.
- Both "Banner of Dalaran" and "Glory to the Alliance" are huge benefactors in the late game to your team's overall survivability and damage output.
- Is an natural counter pick against the heroes such as: Tychus, Fenix, Tracer and Zeratul, who is good against Tyrande herself, which is a offer for good amounts of peeling.
- Has good amounts of reliable self-sustain.
- Parry with "Shield Wall" at level 10 makes him able to take alot of burst and sustain damage without you needing to give him all the attention and heal him using "Elune's Chosen" or Light of Elune.
|
|
|
- Possibly the strongest hyper-carry in the late game, because of his amazing damage output is not only good versus heroes, but also to push with. Every utility Tyrande brings greatly benefits Greymane. "Trueshot Aura" is basically a free "Wizened Duelist" modifier for 5 seconds. Not to note that if you apply Hunter's Mark on an enemy hero, Greymane will deal a bit over 40% more damage to that target, this can be devastating against every hero in the game.
- With enough healing and peeling from his team, he can become really hard to kill, and really hard to stop. Greymane will continue to win if you are ahead, which spikes for not needing late game, even against tougher match-ups.
- Greymane with double support doesn't need "On the Prowl" at level 13, especially not with Tyrande as she can take "Quickening Blessing" at the same level. This opens up an opportunity that he could instead take the more risk, but more rewarding talent: "Unfettered Assault". This can really stick out if he decides to pick two of the other highest reward talents: "Eager Wolf" at level 16 and "Tooth and Claw" at level 20. His effective DPS at this point could be over 2500 against a single target, which makes him the strongest damage dealer in the entire game, in terms of output.
|
| Others
|
- Heroes who can create combos or effectively follow-up on them: Gazlowe ( Grav-O-Bomb 3000), Kerrigan ( Summon Ultralisk), Alarak, Zarya ( Graviton Surge), The Butcher, Nova ( Precision Strike).
- Most hyper-carries/semi-carries who can clear waves fast: Tassadar, Sylvanas, Valla, Orphea.
- Flexible healers, which offers offensive playstyles and/or waveclear: Li Li ( Water Dragon), Anduin, Rehgar ( Bloodlust), Alexstraza ( Dragonqueen).
- Heroes who can punish heroes from globally: Nova (Precision Strike), Artanis ( Purifier Beam), Mephisto ( Consume Souls).
|


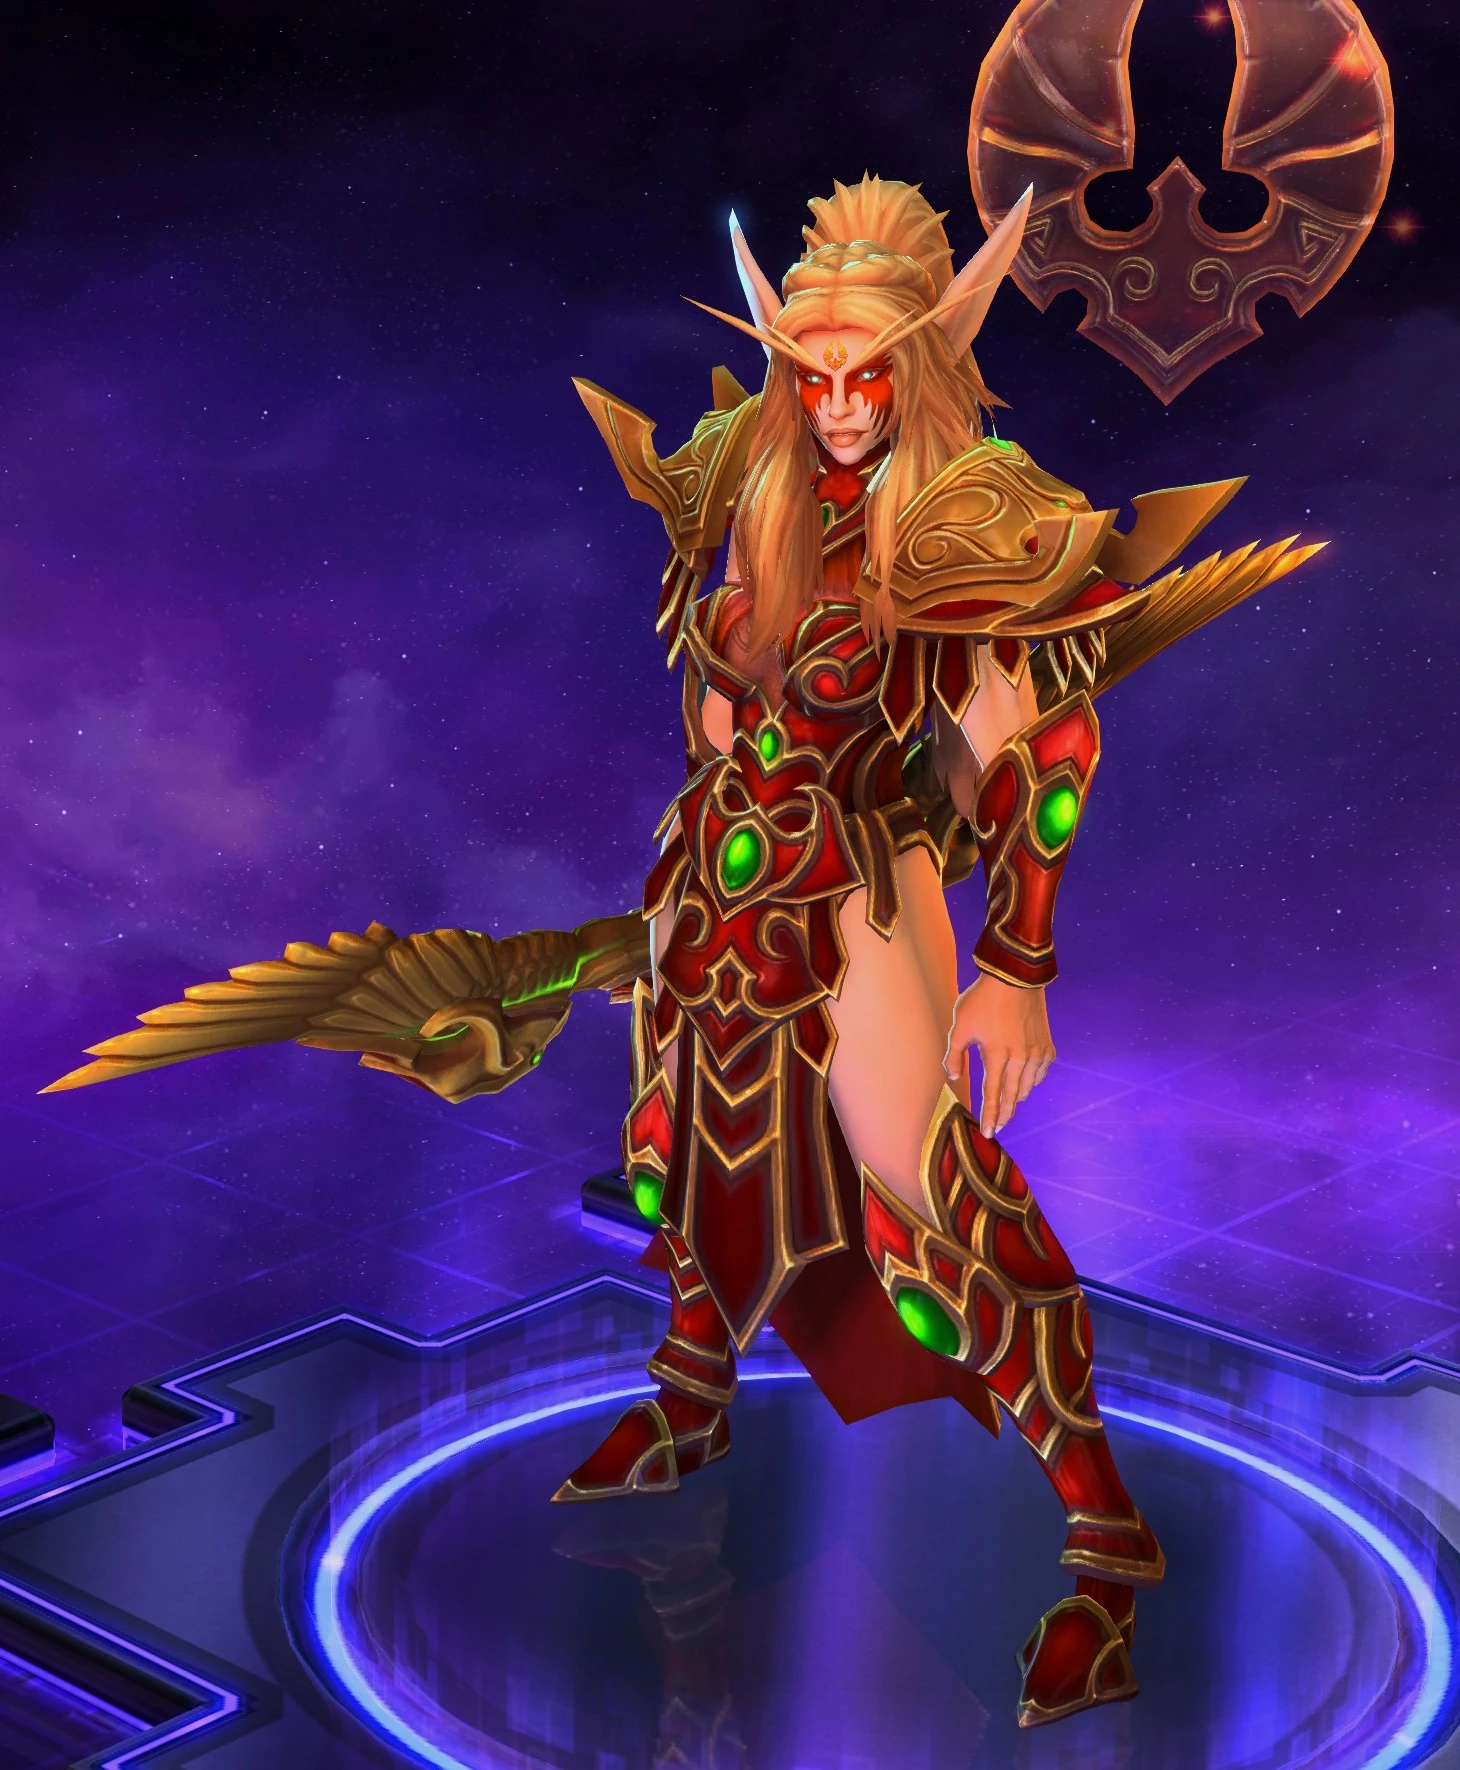

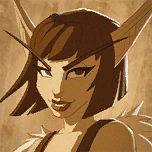
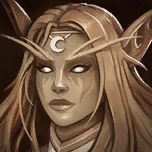

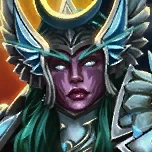


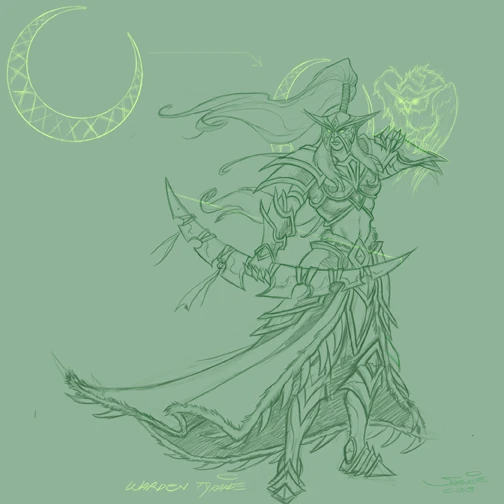
![Concept art for Tyrande.[4]](https://static.wikia.nocookie.net/allstars_gamepedia/images/2/26/Tyrande_Concept.jpg/revision/latest?cb=20150707185151)